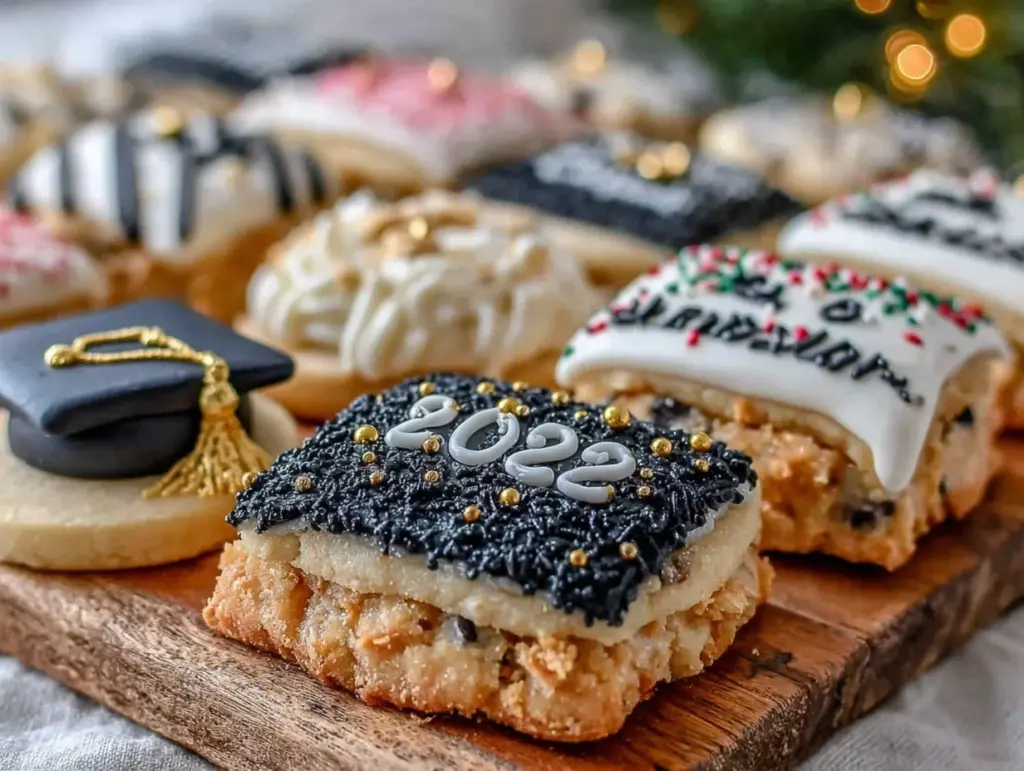
“You’re kidding, right? Class of 2026 sugar cookies already?” That’s what my friend texted me when I casually mentioned I was baking decorated sugar cookies for a graduation party this early in the year. Honestly, it started as a last-minute whim after I found a box of royal icing mix buried in the back of my pantry while cleaning out. I wasn’t sure if it would actually work—royal icing can be finicky, and I’m definitely not the most patient decorator. But the moment I pulled those perfectly smooth, crisp sugar cookies out of the oven and started piping the glossy icing with “Class of 2026” in bold, cheerful colors, everything clicked.
It’s funny how a simple batch of cookies turned into a full-blown obsession for me. I made them again and again, tweaking the icing consistency and experimenting with colors until they felt just right—balanced sweetness, firm edges, and that iconic royal icing shine. The best part? Watching those smiles when the cookies were handed out at the party. Somehow, these decorated sugar cookies became more than just a treat; they were a little celebration of hope and excitement for what’s ahead. And maybe that’s why this recipe stuck with me. It’s not just about baking—it’s about marking a moment in time, one cookie at a time.
Why You’ll Love This Recipe
This recipe for Perfect Class of 2026 Decorated Sugar Cookies with Royal Icing is a winner for so many reasons, and I’ve learned a lot from making these over and over. Here’s why you’ll find yourself coming back to it:
- Quick & Easy: The dough comes together in under 15 minutes, and the royal icing whips up just as fast. Great for last-minute celebrations or when you’re juggling a million things.
- Simple Ingredients: No obscure pantry finds here—just basics like flour, sugar, eggs, and powdered sugar. Plus, you probably already have vanilla extract and meringue powder lying around.
- Perfect for Celebrations: Whether it’s a graduation party, a school event, or just a sweet way to cheer on the Class of 2026, these cookies fit the bill beautifully.
- Crowd-Pleaser: Kids, parents, teachers—everyone loves these. The subtle vanilla flavor and fun, colorful icing make them irresistible.
- Unbelievably Delicious: The cookie base is buttery but not too sweet, and the royal icing dries to that perfect smooth finish that’s both pretty and tasty.
What sets this recipe apart is the balance between ease and elegance. The royal icing recipe is forgiving enough for beginners but can be adjusted to various consistencies for piping fine details or flooding large areas. Plus, I’ve included tips to keep the cookies soft yet sturdy enough to hold the decorations. These aren’t your average sugar cookies—they feel special without the fuss. It’s like having your own little bakery moment right at home, with a sprinkle of nostalgia and fun.
Honestly, this recipe feels like a little time capsule. Every cookie decorated is a chance to slow down and savor the moment—especially when you’re surrounded by family or friends who are excited about the future, just like the Class of 2026. It’s a sweet way to mark memories that last.
What Ingredients You Will Need
This recipe uses straightforward, wholesome ingredients to deliver that classic sugar cookie flavor with royal icing that dries perfectly smooth and shiny. Most of these are pantry staples, with a few specialty items that you can find easily online or at baking stores.
- For the Sugar Cookies:
- All-purpose flour – 3 cups (360 g), sifted for a tender crumb
- Baking powder – 1 teaspoon (4 g), for a slight lift
- Salt – ½ teaspoon (3 g), balances sweetness
- Unsalted butter – 1 cup (227 g), softened (I recommend Kerrygold for richness)
- Granulated sugar – 1 cup (200 g), provides classic sweetness
- Large egg – 1, room temperature (helps bind the dough)
- Vanilla extract – 1 teaspoon (5 ml), for warmth and depth
- Almond extract – ¼ teaspoon (optional, adds a subtle nutty note)
- For the Royal Icing:
- Powdered sugar – 4 cups (480 g), sifted (this is your base for smooth icing)
- Meringue powder – 3 tablespoons (30 g), the key to perfect stiff peaks without raw egg whites
- Warm water – ⅔ cup (160 ml), adjust for consistency
- Vanilla extract – 1 teaspoon (5 ml), or lemon juice for a citrus twist
- Gel food coloring – assorted colors, for vibrant, fade-resistant decorations (AmeriColor gels are my go-to)
If you want a dairy-free option, swap the butter with a plant-based spread of similar fat content. For gluten-free cookies, almond flour or a gluten-free baking blend works well, though the texture will be slightly different. In summer, I sometimes add a pinch of lemon zest to the cookie dough—gives a fresh brightness that pairs nicely with the vanilla icing.
Equipment Needed
- Mixing bowls – at least two, for dough and icing separately
- Electric mixer or stand mixer – essential for creaming butter and whipping royal icing to the right peaks
- Measuring cups and spoons – accurate measurements are key for consistent results
- Rolling pin – preferably non-stick or lightly floured surface to roll dough evenly
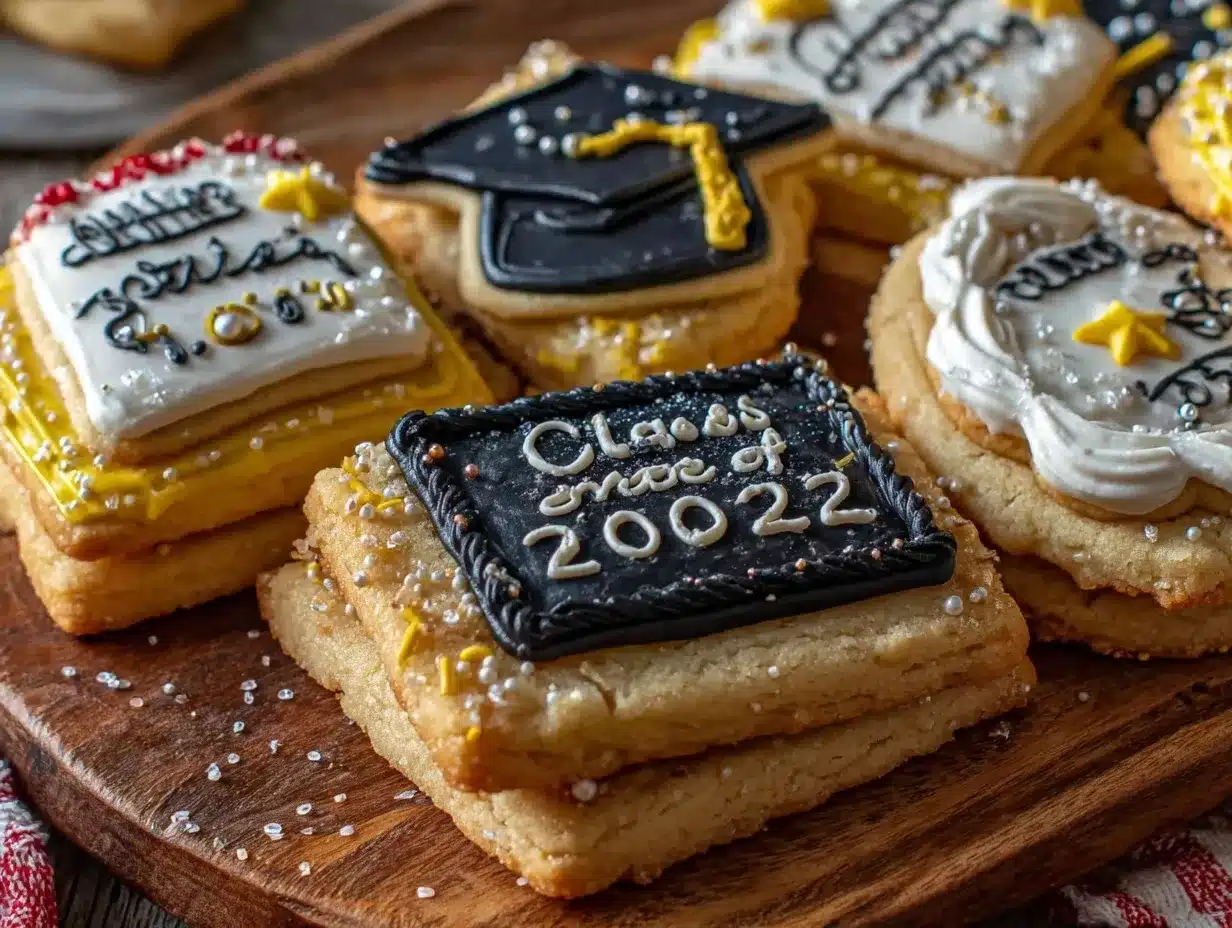
- Cookie cutters – graduation cap shapes, numbers, or classic circles and stars work well for the Class of 2026 theme
- Baking sheets – lined with parchment or silicone mats to prevent sticking
- Piping bags and tips – fine round tips (#1 or #2) for outlining, wider round tips (#3 or #4) for flooding
- Spatula – for mixing and spreading
- Wire racks – to cool cookies completely before icing
If you don’t have piping bags, small zip-top bags with a tiny corner snipped off can work in a pinch. For frosting colors, using gel food coloring rather than liquid helps maintain the icing’s consistency better. I’ve found that investing in a good set of piping tips makes decorating much less frustrating, especially when working on detailed designs like the numbers in “2026”. Cleaning tips: soaking meringue powder residue in warm soapy water right after use saves a lot of scrubbing later.
Preparation Method
- Make the Dough: In a medium bowl, whisk together the flour, baking powder, and salt. Set aside. In your mixer bowl, beat the softened butter and granulated sugar on medium speed until light and fluffy—about 3 to 4 minutes. This step is crucial for tender, melt-in-your-mouth cookies.
- Add Eggs and Flavor: Crack in the egg, then add vanilla extract and almond extract if using. Beat until fully combined and smooth. Scrape down the sides with a spatula as needed.
- Incorporate Dry Ingredients: Gradually add the flour mixture in two additions, mixing on low speed just until combined. Overmixing here can make the cookies tough, so keep it gentle.
- Chill the Dough: Turn the dough out onto a piece of plastic wrap, flatten into a disk, wrap tightly, and refrigerate for at least 1 hour (or up to 24 hours). Chilling prevents spreading and helps with clean cookie edges.
- Roll and Cut: Preheat your oven to 350°F (175°C). Line baking sheets with parchment paper or silicone mats. Lightly flour your work surface and rolling pin, then roll dough to about ¼ inch (6 mm) thickness. Use your cookie cutters to cut shapes and transfer carefully to baking sheets, spacing about 1 inch (2.5 cm) apart.
- Bake: Bake for 8–10 minutes, or until the edges just start to turn golden. Cookies should be firm but not browned. Let them cool on the sheets for 5 minutes, then transfer to wire racks to cool completely before decorating.
- Prepare Royal Icing: In a clean bowl, combine powdered sugar and meringue powder. Add warm water and vanilla extract. Beat on low speed until the mixture is smooth, then increase speed to medium-high and whip for 5–7 minutes until stiff peaks form. Adjust the consistency by adding more water (a few drops at a time) for flooding or more powdered sugar for piping outlines.
- Color the Icing: Divide the icing into separate bowls and tint with gel food coloring. Mix well for even color. Transfer each color to piping bags fitted with the appropriate tips.
- Decorate: Outline each cookie with thicker icing, then flood the center with thinner icing. Use a toothpick to spread and pop air bubbles. Allow the base layer to dry slightly before adding details like “Class of 2026” lettering or graduation caps. Dry completely for several hours or overnight.
Pro tip: If your icing crusts too fast while decorating, cover your work area with a damp towel to maintain humidity. Also, when piping lettering, steady your hand by resting your elbow on the table—makes a noticeable difference. Lastly, don’t rush the drying; patience here means clean, crisp designs that won’t smudge.
Cooking Tips & Techniques
Royal icing can be intimidating, but a few tricks make it much easier. First, always sift your powdered sugar before mixing to avoid gritty texture. Using meringue powder instead of raw egg whites is safer and more reliable, especially if you’re baking for a crowd. When mixing, start slow to avoid a sugar cloud explosion, then whip it up to stiff peaks—this is what gives your icing that beautiful sheen and structure.
One common mistake is making the icing too runny. If you want crisp outlines, the icing should hold its shape on a spoon for a few seconds before slowly flattening. For flooding, thinning it until it flows smoothly but not so thin it runs off the cookie edges is key. You know you’ve got it right when the icing spreads evenly and levels out within 10-15 seconds.
When piping detailed text like “Class of 2026,” practice on parchment paper first. If you mess up, quickly wipe the cookie with a damp brush and let it dry before trying again. I’ve learned that patience and a light touch beat speed every time. Also, don’t underestimate the power of drying time—rushing this step has ruined more than one batch of mine.
If you want a little extra flair, try adding a sprinkle of edible glitter or sanding sugar after flooding but before the icing sets. And if you’re short on time, these cookies can be decorated a day ahead and stored in an airtight container, which actually helps flavors meld beautifully.
Variations & Adaptations
Feel free to customize these decorated sugar cookies to suit different tastes or occasions. Here are a few ideas:
- Dietary Adaptations: For gluten-free, swap all-purpose flour with a blend like Bob’s Red Mill Gluten-Free Flour. Use dairy-free butter alternatives and coconut yogurt for egg replacement if needed. For a vegan royal icing, aquafaba (chickpea water) can replace meringue powder, but expect subtle texture differences.
- Seasonal Themes: Swap out the “Class of 2026” text with holiday greetings, birthdays, or other milestones. Using seasonal colors—like pastel tones for spring or deep reds and golds for winter—makes these cookies versatile year-round.
- Flavor Twists: Add lemon or orange zest to the dough for citrus notes. For the icing, try almond or peppermint extract instead of vanilla for a fun flavor change. I once added a touch of cocoa powder to half the dough for chocolate sugar cookies, which paired beautifully with white royal icing.
- Cooking Methods: If you want a faster bake, try using a convection oven set at 325°F (163°C) for 7-8 minutes, but keep a close eye to avoid overbrowning. For even edges, chilling cut-out cookies on the baking sheet before baking helps maintain shape.
Personally, I’ve experimented with piping multicolor swirls and ombré effects on the icing for a more playful look. Don’t be afraid to get creative—it’s part of the fun!
Serving & Storage Suggestions
These decorated sugar cookies are best served at room temperature, allowing the full flavor and texture to shine. Arrange them on a festive platter or wrap individually in cellophane bags tied with a ribbon for party favors. They pair wonderfully with a glass of milk or a fresh cup of tea during a cozy gathering.
Store leftover cookies in an airtight container at room temperature for up to 5 days. If you want to keep them longer, freeze undecorated cookies in a single layer wrapped in plastic wrap, then in a freezer bag for up to 3 months. Once thawed, decorate them fresh or enjoy plain. For decorated cookies, refrigeration can cause icing to sweat, so it’s best avoided unless your kitchen is very warm.
Reheating isn’t necessary, but if you want a softer bite, a few seconds in the microwave wrapped in a damp paper towel can help. Over time, the flavors meld and the icing hardens just enough to give you that satisfying snap—kind of like those classic cookies you remember from childhood.
Nutritional Information & Benefits
Each sugar cookie (approximately 3-inch diameter) contains roughly 150-180 calories, depending on thickness and icing amount. These cookies provide a moderate amount of carbohydrates and fats, mainly from butter and sugar, making them an occasional treat rather than an everyday snack.
The key ingredients—eggs and butter—add protein and fat that contribute to satiety, while the royal icing relies on meringue powder, a source of egg whites but without cholesterol. This recipe is gluten-containing unless you use a gluten-free flour substitute.
While these cookies are not low in sugar, they’re free from artificial preservatives and colorings when made at home, allowing you control over ingredients. For those mindful of allergens, note that this recipe includes dairy, eggs, and gluten by default, but can be adapted for special diets.
From a wellness perspective, I appreciate how baking these cookies at home means I can skip the additives and adjust sweetness levels. It turns a simple sugar cookie into a mindful celebration treat that feels good to share.
Conclusion
These Perfect Class of 2026 Decorated Sugar Cookies with Royal Icing are more than just a sweet snack—they’re a way to capture excitement, pride, and a little bit of magic all in one bite. Whether you’re a novice cookie decorator or a seasoned pro, this recipe offers a balance of simplicity and style that makes it a go-to for celebrations. Feel free to tweak it, change up the colors, or personalize the messages to suit your event or mood.
What I love most about this recipe is how it brings people together—kids crowding around the kitchen counter, friends admiring your piping skills, and family savoring moments that feel special. It’s a small, delicious way to mark big milestones.
If you try these cookies, I’d love to hear how you decorated yours or any fun twists you added. Sharing those stories keeps the joy of baking alive and inspires others to try their hand at it. Happy baking, and here’s to many more celebrations ahead!
FAQs
- Can I make the dough ahead of time? Absolutely! The dough can be refrigerated for up to 24 hours before rolling and cutting. Just bring it to room temperature for about 15 minutes before rolling out.
- How long does royal icing take to dry? It typically dries to the touch in about 1-2 hours, but for full hardening, especially thick layers, allow 6-8 hours or overnight.
- What if my icing is too thick or too thin? Add a few drops of water to thin it or more powdered sugar to thicken. Adjust slowly to avoid overshooting the consistency.
- Can I use liquid food coloring? Gel food coloring is preferred because it doesn’t alter the icing consistency like liquids do, but you can use liquids sparingly.
- How should I store decorated sugar cookies? Store them in an airtight container at room temperature. Avoid refrigeration to prevent icing from sweating.
For a fun twist on celebratory treats, you might enjoy the champagne cupcakes with gold sprinkles I’ve shared before, perfect for pairing with these cookies for a festive spread. And if brunch is on your mind, the fluffy lemon ricotta pancakes are a bright, tangy complement to any celebration morning.
Pin This Recipe!
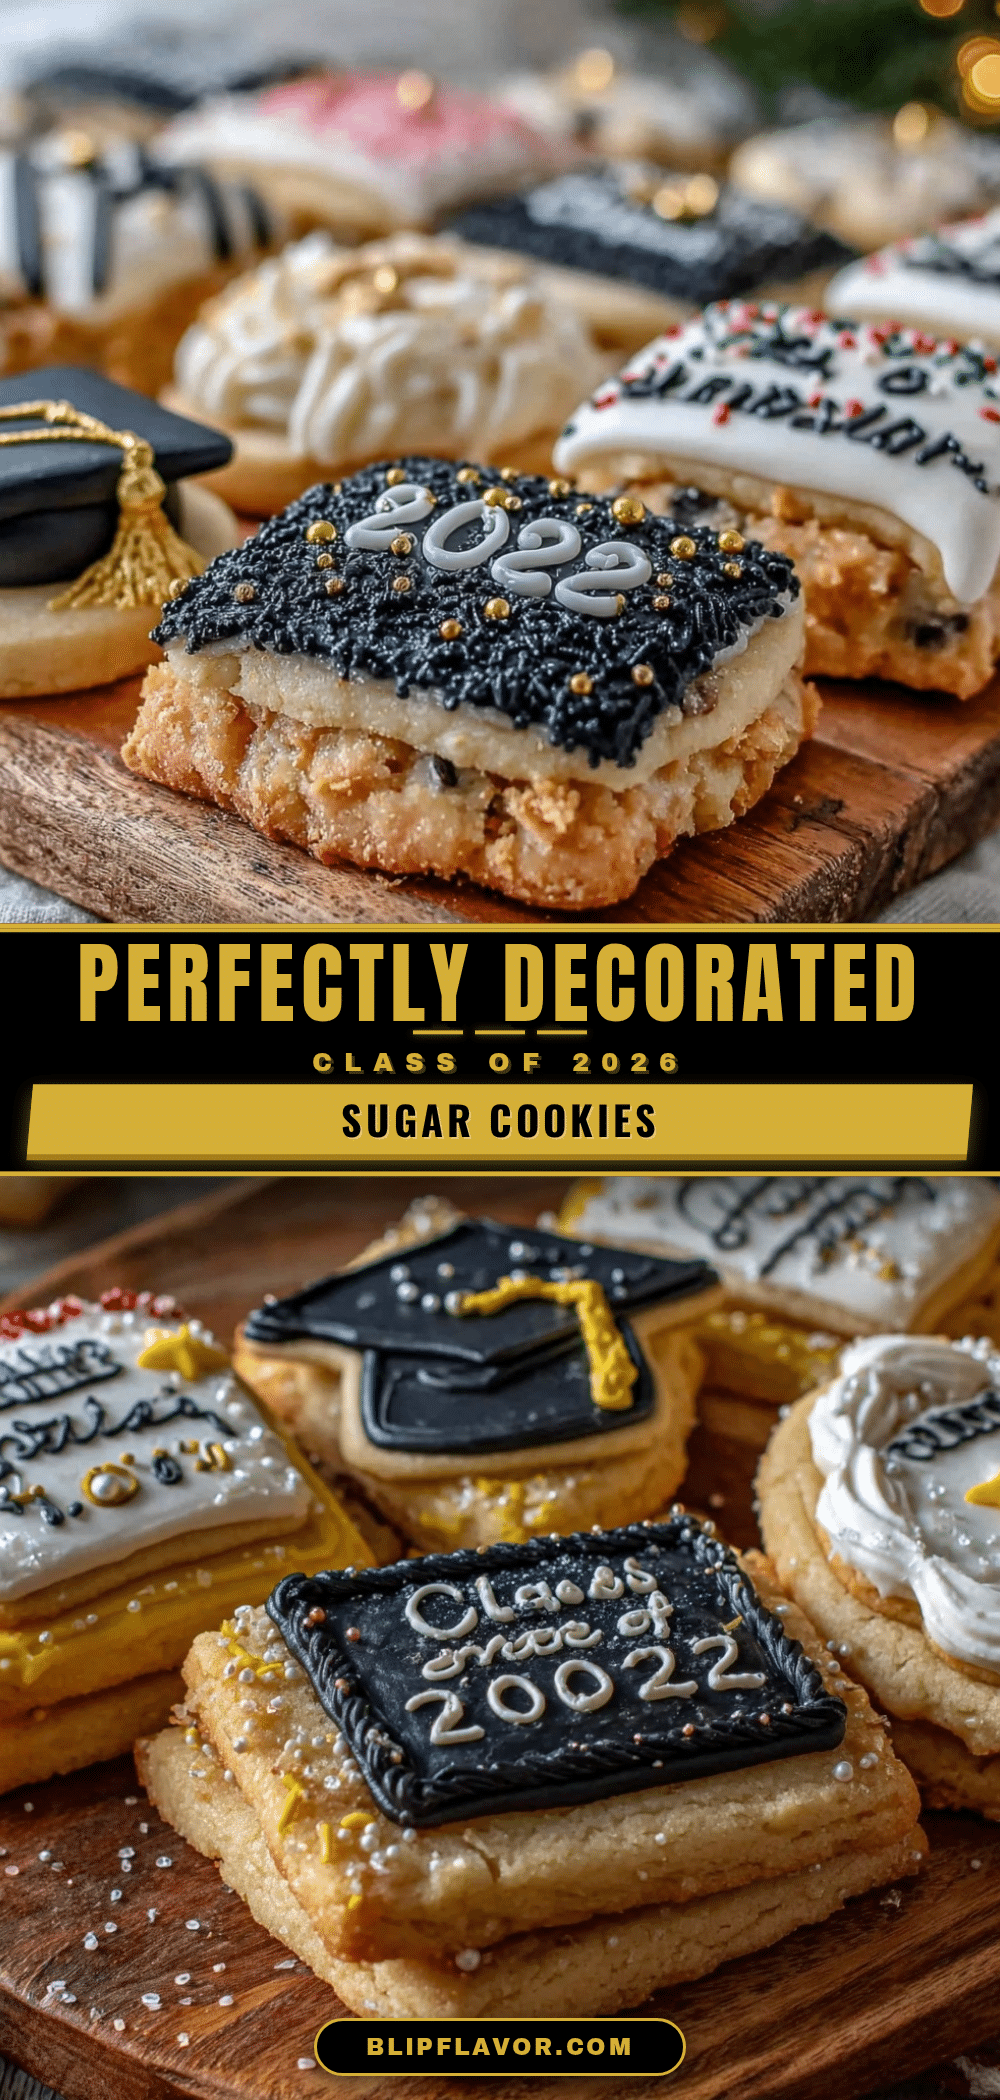
Perfect Class of 2026 Decorated Sugar Cookies Easy Royal Icing Recipe
These decorated sugar cookies feature a buttery, tender base with smooth, glossy royal icing perfect for celebrations like graduation parties. The recipe balances ease and elegance, making it ideal for both beginners and experienced bakers.
- Prep Time: 15 minutes
- Cook Time: 10 minutes
- Total Time: 1 hour 25 minutes
- Yield: 24 cookies 1x
- Category: Dessert
- Cuisine: American
Ingredients
- 3 cups all-purpose flour (360 g), sifted
- 1 teaspoon baking powder (4 g)
- ½ teaspoon salt (3 g)
- 1 cup unsalted butter (227 g), softened
- 1 cup granulated sugar (200 g)
- 1 large egg, room temperature
- 1 teaspoon vanilla extract (5 ml)
- ¼ teaspoon almond extract (optional)
- 4 cups powdered sugar (480 g), sifted
- 3 tablespoons meringue powder (30 g)
- ⅔ cup warm water (160 ml)
- 1 teaspoon vanilla extract (5 ml) or lemon juice
- Gel food coloring, assorted colors
Instructions
- Make the Dough: In a medium bowl, whisk together the flour, baking powder, and salt. Set aside. In your mixer bowl, beat the softened butter and granulated sugar on medium speed until light and fluffy, about 3 to 4 minutes.
- Add Eggs and Flavor: Crack in the egg, then add vanilla extract and almond extract if using. Beat until fully combined and smooth. Scrape down the sides with a spatula as needed.
- Incorporate Dry Ingredients: Gradually add the flour mixture in two additions, mixing on low speed just until combined. Avoid overmixing.
- Chill the Dough: Turn the dough out onto plastic wrap, flatten into a disk, wrap tightly, and refrigerate for at least 1 hour or up to 24 hours.
- Roll and Cut: Preheat oven to 350°F (175°C). Line baking sheets with parchment paper or silicone mats. Lightly flour your work surface and rolling pin, roll dough to about ¼ inch (6 mm) thickness. Cut shapes with cookie cutters and place on baking sheets about 1 inch apart.
- Bake: Bake for 8–10 minutes until edges just start to turn golden. Let cool on sheets for 5 minutes, then transfer to wire racks to cool completely.
- Prepare Royal Icing: In a clean bowl, combine powdered sugar and meringue powder. Add warm water and vanilla extract. Beat on low speed until smooth, then whip on medium-high for 5–7 minutes until stiff peaks form. Adjust consistency with water or powdered sugar as needed.
- Color the Icing: Divide icing into bowls and tint with gel food coloring. Transfer to piping bags fitted with appropriate tips.
- Decorate: Outline cookies with thicker icing, flood centers with thinner icing. Use a toothpick to spread and pop air bubbles. Allow base layer to dry slightly before adding details like lettering. Dry completely for several hours or overnight.
Notes
If icing crusts too fast, cover work area with a damp towel to maintain humidity. Rest your elbow on the table for steadier piping. Allow icing to dry fully to avoid smudging. Use gel food coloring for best consistency. Dough can be refrigerated up to 24 hours before rolling. Store decorated cookies in airtight container at room temperature up to 5 days. Freeze undecorated cookies for up to 3 months.
Nutrition
- Serving Size: 1 cookie (approximat
- Calories: 165
- Sugar: 16
- Sodium: 90
- Fat: 7
- Saturated Fat: 4
- Carbohydrates: 25
- Protein: 2
Keywords: decorated sugar cookies, royal icing, graduation cookies, Class of 2026, easy sugar cookies, celebration cookies, cookie decorating


