
“Wait, you put salt in gummy bears?” my friend asked, eyebrows raised over a cup of herbal tea. Honestly, I was skeptical too the first time I tried tossing a pinch of Himalayan pink salt into these homemade gummies. I’d been fiddling with electrolyte drinks for ages, frustrated with the chalky powders and artificial flavors, when I stumbled on this quirky idea while cleaning out my spice cabinet. The faint, rosy crystals caught my eye, and I thought, why not?
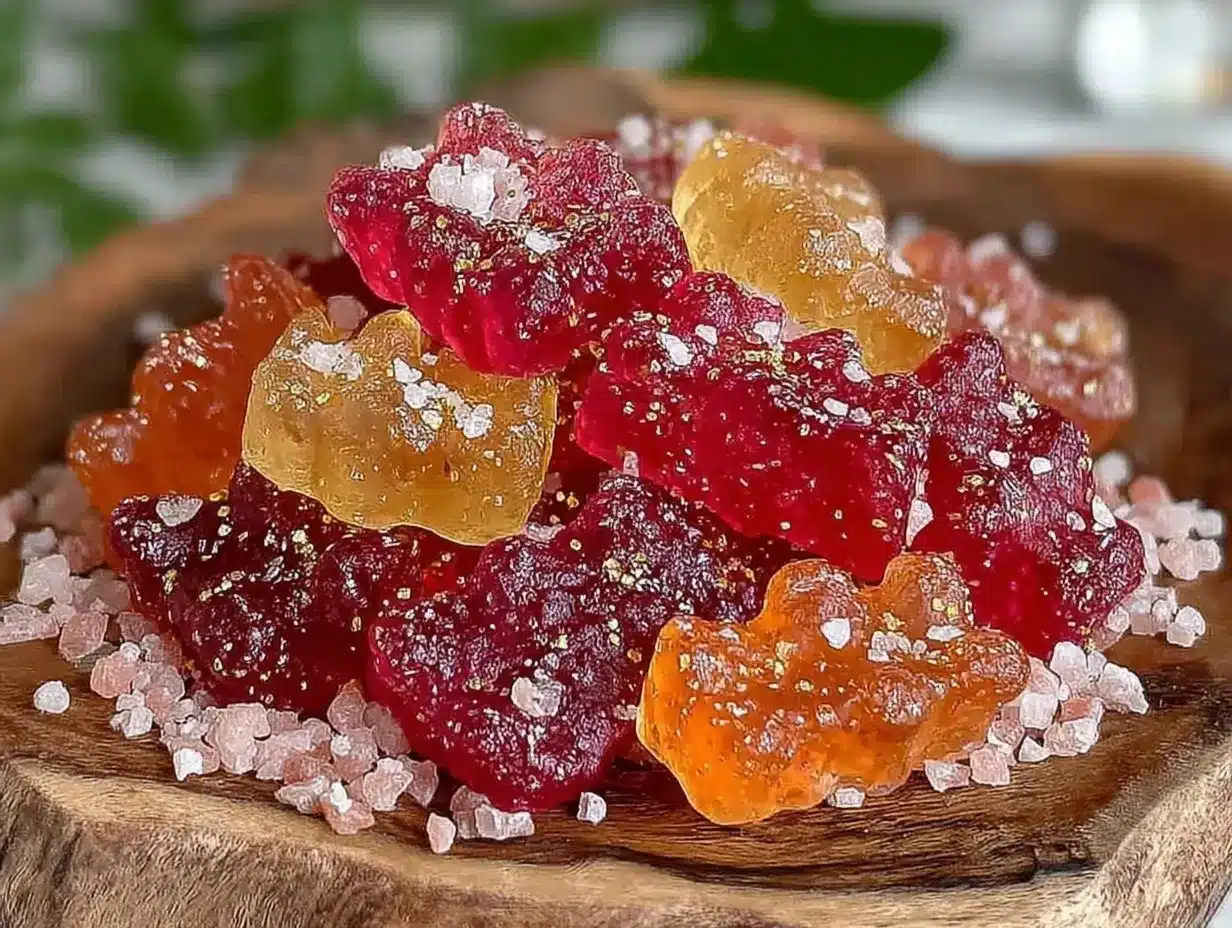
That afternoon, in a kitchen filled with the sticky-sweet aroma of simmering fruit juice and gelatin, I made a batch on a whim. The result? Unexpectedly bright and refreshing little bears that didn’t just taste good—they felt like little bursts of hydration and energy. The salt didn’t overpower but rather played a subtle role, balancing the sweetness and nudging the flavors to a new level. The texture was delightfully soft, with a gentle chew that reminded me of those nostalgic candies from childhood but with a grown-up twist.
I kept them in the fridge, and they became my go-to snack for long days at the desk or after workouts. They’re simple, fun, and, honestly, kind of magical in their own low-key way. This recipe stuck because it’s one of those rare treats that feels indulgent but also purposeful—perfect for when you need a little pick-me-up without the guilt.
So, whether you’re curious about homemade electrolyte snacks or just want a fresh spin on gummy bears, this recipe with Himalayan pink salt quietly promises to be a small but satisfying game changer in your kitchen.
Why You’ll Love This Recipe
Making your own refreshing electrolyte gummy bears with Himalayan pink salt is easier than you think and comes with perks that store-bought versions just can’t match. After testing and tweaking this recipe a handful of times, here’s what makes it stand out:
- Quick & Easy: Whip up these gummies in under 30 minutes, making them ideal for busy afternoons or last-minute hydration needs.
- Simple Ingredients: No need to hunt down exotic components; most are pantry staples or easy to find at your local market.
- Perfect for Active Days: Whether you’re hiking, working out, or just need a natural electrolyte boost, these gummies help replenish lost minerals without artificial junk.
- Crowd-Pleaser: Kids and adults alike love their chewy texture and subtle fruity flavor, making them great for parties or as a healthy treat.
- Unbelievably Delicious: The Himalayan pink salt adds a unique mineral taste that balances sweetness and enhances the natural fruit flavors.
This recipe isn’t your average gummy bear mix. Instead of just sugar and gelatin, the inclusion of Himalayan pink salt brings a naturally mineral-rich element that supports hydration better than plain sweets. Plus, I’ve found that blending real fruit juice instead of artificial flavorings makes these gummies taste fresh and vibrant. Honestly, every batch has turned into a little experiment in flavor and texture, with each tweak making them more addictive.
If you love brunch treats like the fluffy lemon ricotta pancakes or need a refreshing twist for your snacking moments, these gummy bears fit right in—they’re like a mini celebration for your taste buds without the sugar crash.
What Ingredients You Will Need
This recipe uses simple, wholesome ingredients to deliver bold flavor and satisfying texture without the fuss. You’ll notice most are everyday kitchen staples, but the Himalayan pink salt is the star that brings the electrolyte magic.
- Fruit Juice: 1 cup (240 ml) of your favorite 100% juice—cranberry, orange, or mixed berry work great for vibrant color and natural sweetness.
- Unflavored Gelatin: 3 tablespoons (about 30 grams), the key to that perfect gummy texture. I prefer Knox for consistency.
- Honey or Maple Syrup: 2 tablespoons (30 ml) for gentle sweetness (optional if your juice is already sweet).
- Himalayan Pink Salt: 1/4 teaspoon (about 1.5 grams), finely ground to blend smoothly; this adds essential electrolytes.
- Lemon Juice: 1 tablespoon (15 ml), fresh-squeezed for brightness and a subtle tart edge.
- Vitamin C Powder (optional): 1/2 teaspoon (2 grams) to boost immunity and preserve color, but skip if unavailable.
Ingredient tips: For a vegan option, try agar-agar powder in place of gelatin, but note the texture will be slightly different. If fresh lemon juice isn’t handy, bottled works too, but fresh always tastes brighter.
Equipment Needed
- Small Saucepan: For gently warming the juice mixture.
- Whisk: To blend gelatin smoothly without lumps.
- Silicone Gummy Bear Mold: The easiest way to shape your gummies, but mini muffin tins with parchment paper work in a pinch.
- Measuring Spoons and Cups: For precise ingredient amounts.
- Dropper or Small Spoon: To fill molds neatly and avoid mess.
- Refrigerator: For chilling and setting the gummies.
Personally, I’ve tried metal molds, but silicone is hands-down better for easy gummy removal. If you’re on a budget, smaller ice cube trays can substitute, though the shapes won’t be as cute. Keeping the gelatin warm while mixing is crucial—too hot and you lose texture, too cool and it clumps, so patience helps here.
Preparation Method
- Warm the Juice: Pour 1 cup (240 ml) fruit juice into a small saucepan over low heat. Warm gently—don’t let it boil—to about 110°F (43°C). This usually takes 3-5 minutes. Warming helps the gelatin dissolve smoothly without lumps.
- Add Gelatin: Sprinkle 3 tablespoons (30 g) unflavored gelatin evenly over the warm juice. Let it sit for 1 minute to bloom (absorb moisture).
- Whisk Smooth: Stir continuously for 2-3 minutes until the gelatin fully dissolves. The mixture should be smooth and slightly thickened but not grainy. If you feel any lumps, keep stirring gently over low heat.
- Sweeten and Season: Add 2 tablespoons (30 ml) honey or maple syrup, 1 tablespoon (15 ml) lemon juice, 1/4 teaspoon (1.5 g) finely ground Himalayan pink salt, and optional 1/2 teaspoon (2 g) vitamin C powder. Whisk until everything blends well.
- Pour Into Molds: Using a dropper or small spoon, carefully fill silicone gummy bear molds. Work quickly but gently to avoid air bubbles. If you don’t have molds, pour into a parchment-lined shallow pan for a slab gummy to cut later.
- Chill to Set: Transfer molds to the refrigerator and chill for at least 2 hours until gummies are firm to the touch and easily pop out.
- Store Properly: Remove gummies and store in an airtight container in the fridge for up to 2 weeks.
Pro tip: If your gummies stick, dust them lightly with cornstarch or coconut flour before storing. Also, keep the gelatin mixture warm for pouring but avoid overheating—it can change the texture.
Cooking Tips & Techniques
Getting these electrolyte gummies just right took a few tries, so here’s what I’ve learned along the way:
- Don’t rush blooming gelatin: Giving the gelatin time to absorb liquid before stirring prevents grainy textures.
- Temperature matters: Warm the juice gently. Too hot, and gelatin loses its setting power; too cool, and it won’t dissolve properly.
- Use fresh juice when possible: It makes a noticeable difference in flavor and color compared to store-bought concentrates or powders.
- Choosing the right mold: Silicone is best for easy gummy removal and fun shapes. Metal molds tend to stick and make popping gummies out trickier.
- Adjust sweetness carefully: Since the Himalayan pink salt brightens flavor, you may want to reduce added sweeteners compared to typical gummy recipes.
- Stir gently: Vigorous whisking after gelatin dissolves can create bubbles, affecting gummy clarity.
I once overheated the mixture and ended up with rubbery gummies that no one wanted to chew. Lesson learned: low and slow wins the texture game. Also, prepping molds ahead of time and working swiftly when pouring helps avoid uneven setting.
Variations & Adaptations
One of the best things about this recipe is how easy it is to tweak for your taste or dietary needs.
- Flavor swaps: Try fresh-squeezed citrus juices like lemon or grapefruit for a tangier kick, or blend in a splash of coconut water for extra minerals.
- Sweetener alternatives: Use agave syrup or stevia to keep it lower in sugar. If you prefer a sugar-free option, erythritol powder works well but adjust to taste.
- Vegan version: Replace gelatin with agar-agar powder (follow package instructions for setting times). Texture will be less bouncy but still tasty.
- Boost nutrients: Add a pinch of powdered turmeric or spirulina for color and extra health benefits without overpowering flavor.
- Seasonal twists: In summer, try muddled fresh berries pureed into the juice for a natural burst of color and antioxidants.
Once, I made a batch with green tea and honey, adding a pinch of matcha powder—turned out surprisingly refreshing and a bit energizing. It’s fun to experiment, and each variation brings its own personality to the gummies.
Serving & Storage Suggestions
These electrolyte gummy bears are best served cold straight from the fridge, especially on a hot day or after exercise. Their cool, chewy texture is pretty much irresistible when chilled.
For a fun presentation, try placing them in a small glass jar or bowl at your next brunch or casual gathering. They pair nicely with light, fresh dishes like a fresh spring roll bowl with peanut sauce or alongside a crisp, sparkling drink.
Store leftover gummies in an airtight container in the refrigerator for up to two weeks. Avoid room temperature storage as they can become sticky or melt slightly. If you want to keep them longer, popping them in the freezer works well—just thaw briefly before enjoying.
Flavors subtly deepen after a day or two in the fridge, so if you can resist, let them sit overnight for a more rounded taste. Just remember to dust with a tiny bit of cornstarch before storing to prevent clumping.
Nutritional Information & Benefits
Each serving of these refreshing electrolyte gummy bears offers a modest boost of minerals thanks to the Himalayan pink salt, which contains trace amounts of potassium, magnesium, and calcium—not something you get from typical candies. Combined with natural fruit juice, they provide hydration support and a small dose of vitamin C if you use powder or fresh lemon juice.
Roughly estimated per serving (about 10 gummies):
| Calories | Carbohydrates | Sugar | Protein | Fat |
|---|---|---|---|---|
| 50-60 kcal | 13-15 g | 10-12 g | 1-2 g | 0 g |
This makes them a light, energizing snack rather than a heavy dessert. Plus, the absence of artificial colors, flavors, and preservatives means you get a cleaner treat you can feel good about sharing with family or friends.
Keep in mind, if you swap in sweeteners or use agar-agar, nutritional values will vary.
Conclusion
This recipe for refreshing electrolyte gummy bears with Himalayan pink salt has quietly become one of my favorite homemade treats. It’s simple, fun, and brings a little unexpected pep to the usual gummy bear experience. What I love most is how adaptable it is—you can play with flavors, sweeteners, or even textures to suit your mood or needs.
Whether you want a better way to stay hydrated, need a quick snack after exercise, or just want to impress friends with a quirky homemade candy, this recipe fits the bill. Plus, making them yourself means you know exactly what’s inside—no mystery ingredients or artificial nonsense.
Try making a batch and see if they don’t become your new favorite snack. And if you love the idea of fresh, homemade delights, you might enjoy the delicate charm of rose-shaped apple tarts or the lightness of fluffy lemon ricotta pancakes—both perfect for when you want to bring a little extra to the table.
So, what’s your favorite way to enjoy these electrolyte gummies? I’d love to hear your twists and tips in the comments below!
FAQs about Refreshing Electrolyte Gummy Bears with Himalayan Pink Salt
Can I use flavored gelatin instead of unflavored gelatin?
It’s best to use unflavored gelatin for this recipe to control sweetness and flavor. Flavored gelatin often contains added sugars and artificial flavors that might clash with the juice and salt.
How long do these electrolyte gummy bears last?
Stored in an airtight container in the fridge, they last about two weeks. For longer storage, freeze them and thaw briefly before eating.
Can I make these gummies without gelatin?
Yes, you can substitute with agar-agar for a vegan option, but expect a firmer, less chewy texture. Follow the agar-agar package instructions for best results.
What types of juice work best?
100% fruit juices like cranberry, orange, or mixed berry are ideal. Freshly squeezed juices add brightness, but store-bought can work if they’re natural and without added sugars.
Is Himalayan pink salt necessary?
The pink salt adds essential minerals and a unique flavor balance, but if unavailable, fine sea salt can be a substitute—just use sparingly to avoid overpowering the gummies.
Pin This Recipe!
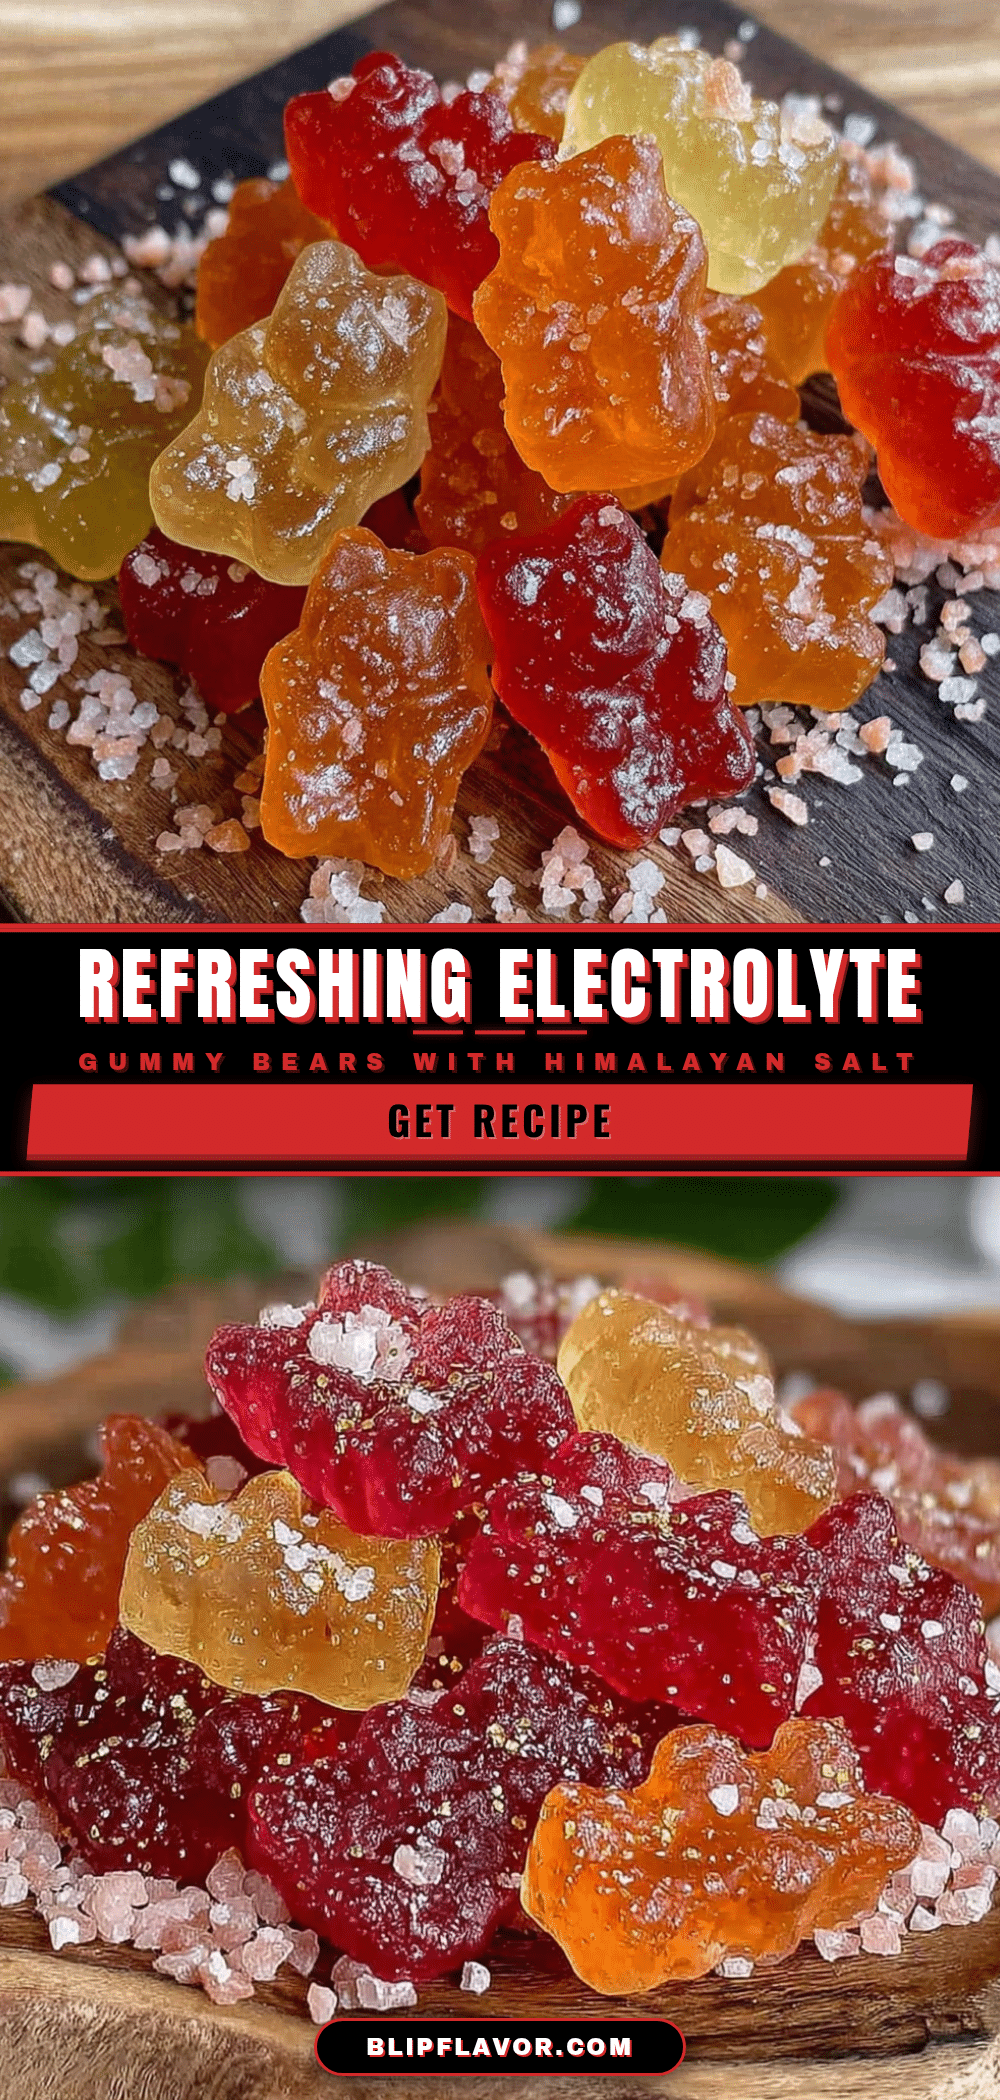
Refreshing Electrolyte Gummy Bears Recipe with Himalayan Pink Salt
These homemade electrolyte gummy bears combine natural fruit juice and Himalayan pink salt for a refreshing, hydrating snack with a soft, chewy texture and subtle fruity flavor.
- Prep Time: 10 minutes
- Cook Time: 5 minutes
- Total Time: 2 hours 15 minutes
- Yield: About 10 gummies per serving 1x
- Category: Snack
- Cuisine: American
Ingredients
- 1 cup (240 ml) 100% fruit juice (cranberry, orange, or mixed berry)
- 3 tablespoons (30 grams) unflavored gelatin
- 2 tablespoons (30 ml) honey or maple syrup (optional)
- 1/4 teaspoon (1.5 grams) finely ground Himalayan pink salt
- 1 tablespoon (15 ml) fresh-squeezed lemon juice
- 1/2 teaspoon (2 grams) vitamin C powder (optional)
Instructions
- Pour 1 cup (240 ml) fruit juice into a small saucepan over low heat. Warm gently to about 110°F (43°C), avoiding boiling.
- Sprinkle 3 tablespoons (30 g) unflavored gelatin evenly over the warm juice. Let it sit for 1 minute to bloom.
- Whisk continuously for 2-3 minutes until the gelatin fully dissolves and the mixture is smooth and slightly thickened.
- Add 2 tablespoons (30 ml) honey or maple syrup, 1 tablespoon (15 ml) lemon juice, 1/4 teaspoon (1.5 g) finely ground Himalayan pink salt, and optional 1/2 teaspoon (2 g) vitamin C powder. Whisk until well blended.
- Using a dropper or small spoon, carefully fill silicone gummy bear molds. Work quickly to avoid air bubbles.
- Transfer molds to the refrigerator and chill for at least 2 hours until gummies are firm and easily pop out.
- Remove gummies from molds and store in an airtight container in the refrigerator for up to 2 weeks.
Notes
Do not overheat the juice mixture to preserve gelatin setting power. Bloom gelatin properly before stirring to avoid grainy texture. Use silicone molds for easy gummy removal. Dust gummies lightly with cornstarch or coconut flour if they stick before storing.
Nutrition
- Serving Size: About 10 gummies
- Calories: 5060
- Sugar: 1012
- Sodium: 150
- Carbohydrates: 1315
- Protein: 12
Keywords: electrolyte gummies, homemade gummy bears, Himalayan pink salt, healthy snacks, natural electrolyte snack, fruit juice gummies, gelatin gummies


