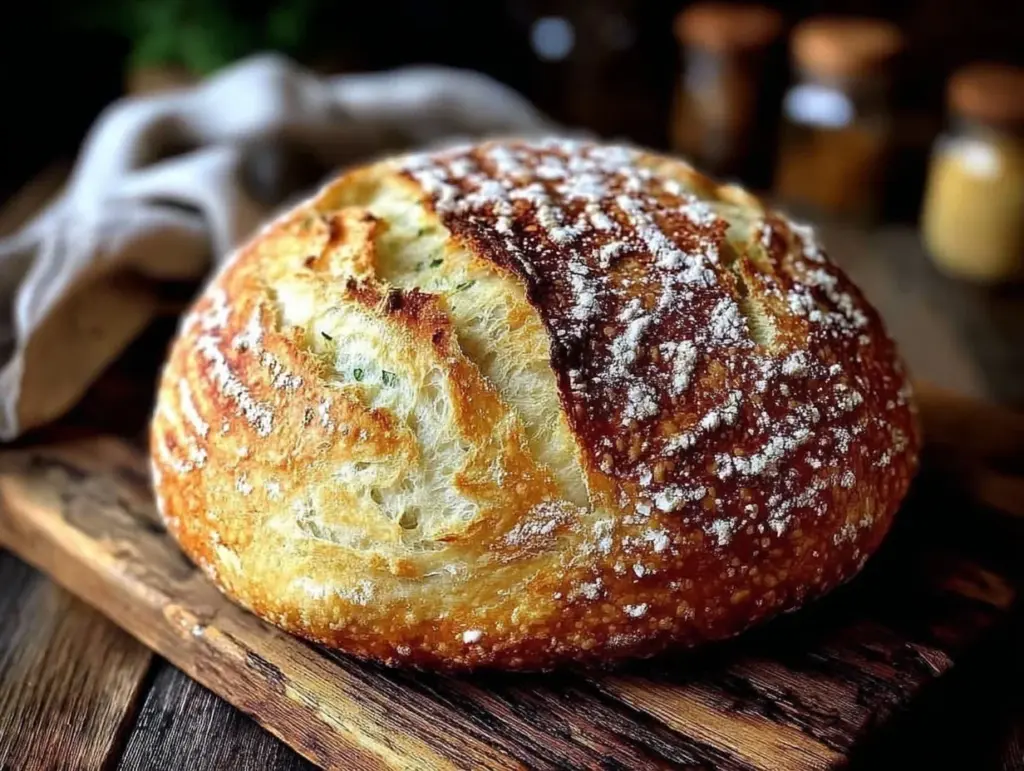
“I swear, the first time I made this easy no-knead Dutch oven bread, I was half-expecting a brick,” I confessed to my roommate one sleepy evening. We had just moved into a new place, the kitchen was still a mess, and honestly, I wasn’t feeling up to wrestling with complicated dough. But I’d read about this no-fuss bread that promised an artisan crust without the usual arm workout, so why not try? I tossed the ingredients together, let it sit, and after an anxious hour or two, slid the dough into the Dutch oven. The smell that filled the apartment? Honestly, it made me pause and smile—like a cozy bakery corner had magically appeared in our tiny kitchen.
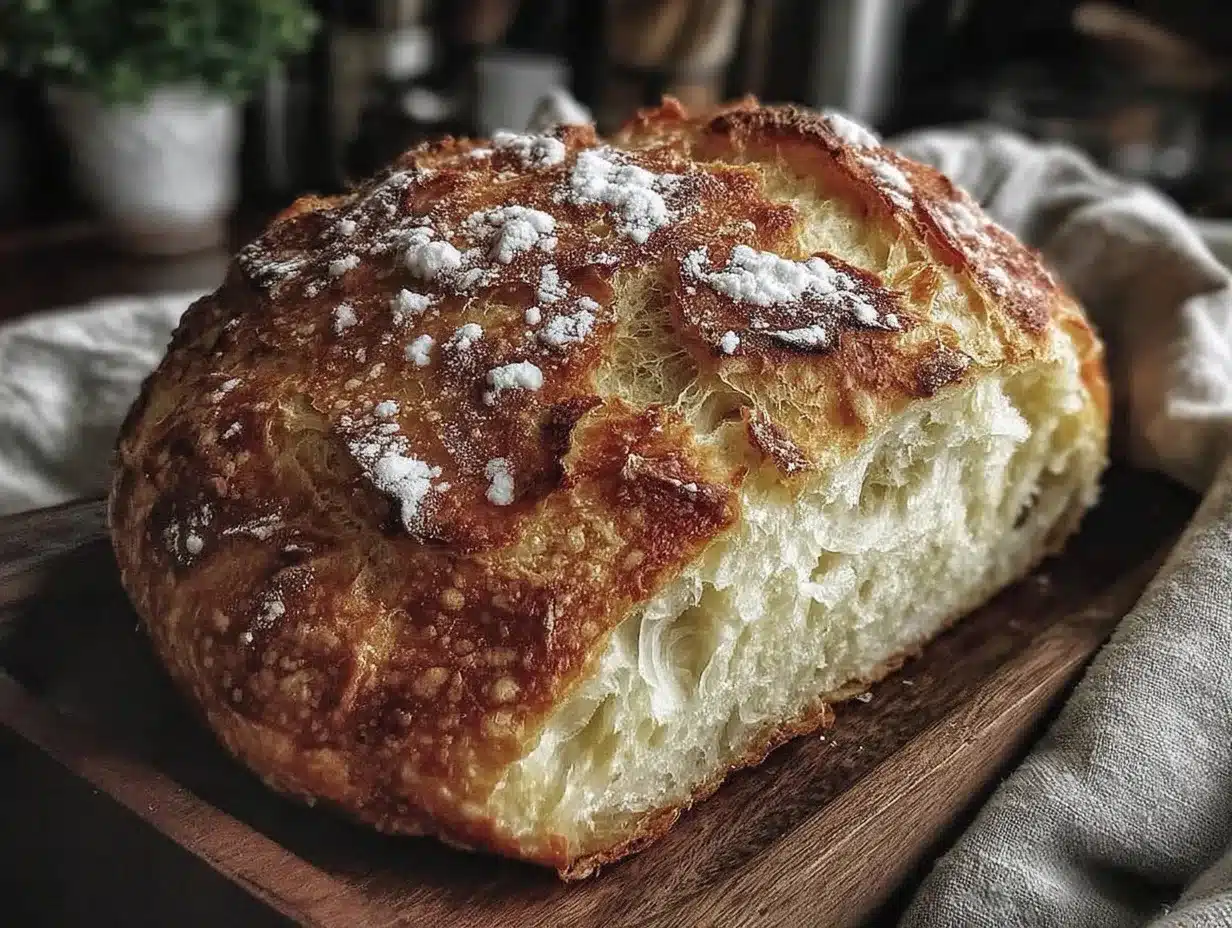
The crust came out crispy, the crumb surprisingly airy, and the flavor? Rich, nutty, and wildly satisfying. It wasn’t just bread; it was a small victory on a day that felt otherwise chaotic. This easy no-knead Dutch oven bread with crispy artisan crust has since become my go-to whenever I need something comforting yet straightforward. No kneading, minimal fuss, and a result that feels like a hug from the oven. If you’re skeptical about homemade bread or think it’s a weekend-only project, this recipe might just change your mind. Because honestly, if I can pull this off in a cluttered kitchen with zero baking experience, so can you.
Why You’ll Love This Recipe
After testing countless bread recipes, this easy no-knead Dutch oven bread recipe stood out for its approachable method and fantastic results. Here’s why it’s become a staple in my kitchen:
- Quick & Easy: The hands-on time is under 15 minutes, and it requires no kneading—perfect for those hectic days when you want fresh bread without the hassle.
- Simple Ingredients: You just need flour, water, yeast, and salt. No fancy flours or additives—just pantry staples.
- Perfect for Any Occasion: Whether it’s a cozy dinner or a weekend brunch, this bread pairs beautifully with everything from creamy soups to a homemade quiche Lorraine like the one I whipped up recently.
- Crowd-Pleaser: It has this irresistible crispy artisan crust that impresses guests and satisfies picky eaters alike.
- Unbelievably Delicious: The slow fermentation develops deep flavor, and the Dutch oven traps steam to create that perfect crust and airy crumb.
This isn’t just a quick bread recipe. The trick is the long fermentation and baking in a preheated heavy pot, which mimics professional steam ovens without any fancy equipment. I love how it transforms simple ingredients into something that tastes like it took hours of work. It’s comfort food with an artisan soul—without the stress.
What Ingredients You Will Need
This recipe uses simple, wholesome ingredients to deliver bold flavor and a satisfying texture without the fuss. Most are probably already in your pantry, which makes it an easy choice any day of the week.
- All-purpose flour (3 ¼ cups / 400g) – I prefer King Arthur for consistent results, but store brands work fine too.
- Instant yeast (1/4 teaspoon) – You can use active dry yeast; just proof it first in warm water.
- Salt (1 ½ teaspoons) – Fine sea salt works best for even seasoning.
- Warm water (1 ½ cups / 360ml) – Not hot, just comfortably warm to activate the yeast.
That’s it! No oil, no sugar, no complicated additions. For those wanting to experiment, you can swap up to half of the all-purpose flour for whole wheat for a nuttier flavor, but be warned—it changes the texture a bit. Also, if you’re gluten-free, almond or oat flour won’t give the same rise, so this recipe is best as-is for gluten lovers.
Equipment Needed
The beauty of this easy no-knead Dutch oven bread is that you don’t need fancy gadgets. Here’s what I use and recommend:
- Dutch oven (5 to 7-quart) – This is the key to that crispy crust. A heavy cast iron pot with a tight lid traps steam wonderfully. If you don’t have one, a heavy oven-safe pot with a lid can work.
- Mixing bowl – Big enough to hold the dough as it rises.
- Wooden spoon or spatula – For mixing the sticky dough.
- Kitchen towel or plastic wrap – To cover the dough while it rises.
- Cooling rack – Helps prevent soggy bottoms when the bread cools.
I’ve tried this recipe with different Dutch ovens, and the enamel-coated ones heat evenly and clean up nicely, but the classic cast iron versions develop a better crust due to their heat retention. Also, if you’re on a budget, thrift stores often have great cast iron pots for a steal. Just make sure your pot is oven-safe up to 450°F (230°C) because the baking temperature is on the higher side.
Preparation Method
- Mix the dough: In a large mixing bowl, combine 3 ¼ cups (400g) all-purpose flour, 1/4 teaspoon instant yeast, and 1 ½ teaspoons salt. Stir to evenly distribute the yeast and salt.
- Add water: Pour in 1 ½ cups (360ml) warm water. Using a wooden spoon or spatula, mix until a shaggy, sticky dough forms. It might look rough and uneven—that’s perfect. No kneading needed here.
- First rise: Cover the bowl with plastic wrap or a kitchen towel. Let the dough rest at room temperature for 12 to 18 hours. This slow fermentation is what gives the bread its flavor and airy texture. You’ll know it’s ready when the surface is dotted with bubbles and the dough has doubled.
- Preheat the oven: About 30 minutes before baking, place your Dutch oven with lid inside your oven and preheat to 450°F (230°C). This ensures the pot is hot enough for that crispy crust.
- Shape the dough: Lightly flour a clean surface and your hands. Turn the dough out onto the surface; it will be sticky, so use a bench scraper if you have one. Shape it gently into a ball by folding the edges underneath. Don’t overwork it!
- Second rise: Place the dough seam-side down on a piece of parchment paper. Cover with a kitchen towel and let it rest for 30 to 60 minutes until it puffs up slightly.
- Bake: Carefully remove the hot Dutch oven from the oven. Lift the parchment paper with the dough and place it inside the pot. Cover with the lid and bake for 30 minutes.
- Finish baking: Remove the lid and bake for another 15 to 20 minutes. This browns the crust and crisps it up perfectly. The bread is done when it’s deep golden and sounds hollow when tapped on the bottom.
- Cool: Transfer the bread to a cooling rack and let it cool completely before slicing. This resting time lets the crumb set nicely.
If your dough feels too sticky to handle, dust your hands and surface lightly with flour, but don’t overdo it—too much flour makes the bread dense. Also, be careful removing the hot Dutch oven from the oven; these pots hold heat like a beast.
Cooking Tips & Techniques
Making this easy no-knead Dutch oven bread is straightforward, but a few tips can help you get the best results:
- Use instant yeast: It mixes right into the flour without proofing, saving time and fuss.
- Don’t skip the long rise: That slow fermentation develops flavor and airiness. Resist the urge to rush it.
- Preheat the Dutch oven: This is key for that crackly crust. Placing cold dough into a hot pot traps steam and creates the artisan texture.
- Handle the dough gently: It’s sticky and delicate. Treat it with care to keep the bubbles intact for a light crumb.
- Watch the baking time: Ovens vary, so start checking crust color around 40 minutes total. If it browns too fast, tent with foil.
Once, I forgot to preheat the Dutch oven and ended up with flat, dense bread. Lesson learned: patience with the rise and heat with the pot make all the difference. Also, multitasking during the long rise—like prepping a fresh spring roll bowl with peanut sauce—makes the wait feel productive.
Variations & Adaptations
This recipe is a perfect base for tweaks and experiments. Here are a few ways to make it your own:
- Whole wheat twist: Replace up to half the all-purpose flour with whole wheat for a heartier loaf. The crumb is denser but packed with flavor.
- Herb-infused bread: Add 1 to 2 tablespoons of fresh rosemary or thyme during mixing for a fragrant loaf that pairs beautifully with soups.
- Cheesy crust: Sprinkle grated Parmesan or sharp cheddar on the dough before baking for a savory crust variation.
- Gluten-free option: This recipe relies heavily on gluten’s structure, so for gluten-free, try a specialized no-knead recipe designed for alternative flours.
- Different vessels: If you don’t have a Dutch oven, try a heavy-duty oven-safe pot with a lid or even a covered baking dish. The crust won’t be quite the same but still tasty.
Personally, I added fresh herbs once when making a creamy asparagus risotto dinner; the flavors paired so well, it became an instant favorite.
Serving & Storage Suggestions
This bread is best served warm or at room temperature. The crispy crust softens a bit after cooling, but that initial crunch is a delight. Slice it thick for dipping into honey lemon glazed salmon sauce or use it to soak up creamy spinach artichoke dip at your next gathering.
Store any leftovers wrapped in a clean kitchen towel or paper bag at room temperature for up to 2 days. For longer storage, slice and freeze in airtight bags; toast slices directly from frozen for fresh taste.
Reheating in a hot oven (350°F / 175°C) for 5 to 10 minutes restores some crispness. Flavors deepen when the bread rests overnight, so baking ahead is a great option for busy mornings or entertaining.
Nutritional Information & Benefits
This easy no-knead Dutch oven bread is a wholesome choice made with minimal ingredients. A typical slice (about 2 ounces / 56g) provides approximately 150 calories, 5 grams of protein, 30 grams of carbohydrates, and less than 1 gram of fat.
Key benefits include:
- Whole grain option: Using half whole wheat flour adds fiber and nutrients.
- Simple ingredients: No preservatives or additives, making it a clean-label bread.
- Low fat and sugar: Ideal for balanced diets.
For those with gluten sensitivities, this recipe is not suitable, but for most, it’s a nourishing and satisfying bread that fits well into a wholesome lifestyle.
Conclusion
This easy no-knead Dutch oven bread recipe delivers a crispy artisan crust and soft crumb with minimal effort. It’s become a reliable, comforting staple in my kitchen, perfect for everything from casual sandwiches to complementing elegant dishes like quiche Lorraine or a fresh spring roll bowl with peanut sauce. What I love most is how this recipe turns simple pantry ingredients into something that feels special, even on the busiest days.
Feel free to make this bread your own with herbs, cheese, or whole grain swaps. Baking bread doesn’t have to be intimidating, and this recipe proves that beautifully. If you try it, I’d love to hear how your loaf turns out and any creative twists you add!
Happy baking, and may your kitchen smell like fresh-baked comfort.
FAQs
Can I use active dry yeast instead of instant yeast?
Yes, just dissolve active dry yeast in the warm water and let it sit for about 5 minutes before mixing with the flour.
Do I have to use a Dutch oven?
A Dutch oven is ideal because it traps steam and creates a crispy crust, but a heavy oven-safe pot with a lid can work as a substitute.
How long can I store this bread?
At room temperature, store it wrapped in a towel or paper bag for up to 2 days. You can freeze sliced bread for longer storage.
Can I add seeds or nuts to the dough?
Absolutely! Add up to ½ cup of seeds like sunflower or flax for extra texture and flavor.
What if my dough is too sticky to handle?
Lightly flour your hands and work surface, but avoid adding too much flour to keep the crumb light and airy.
Pin This Recipe!
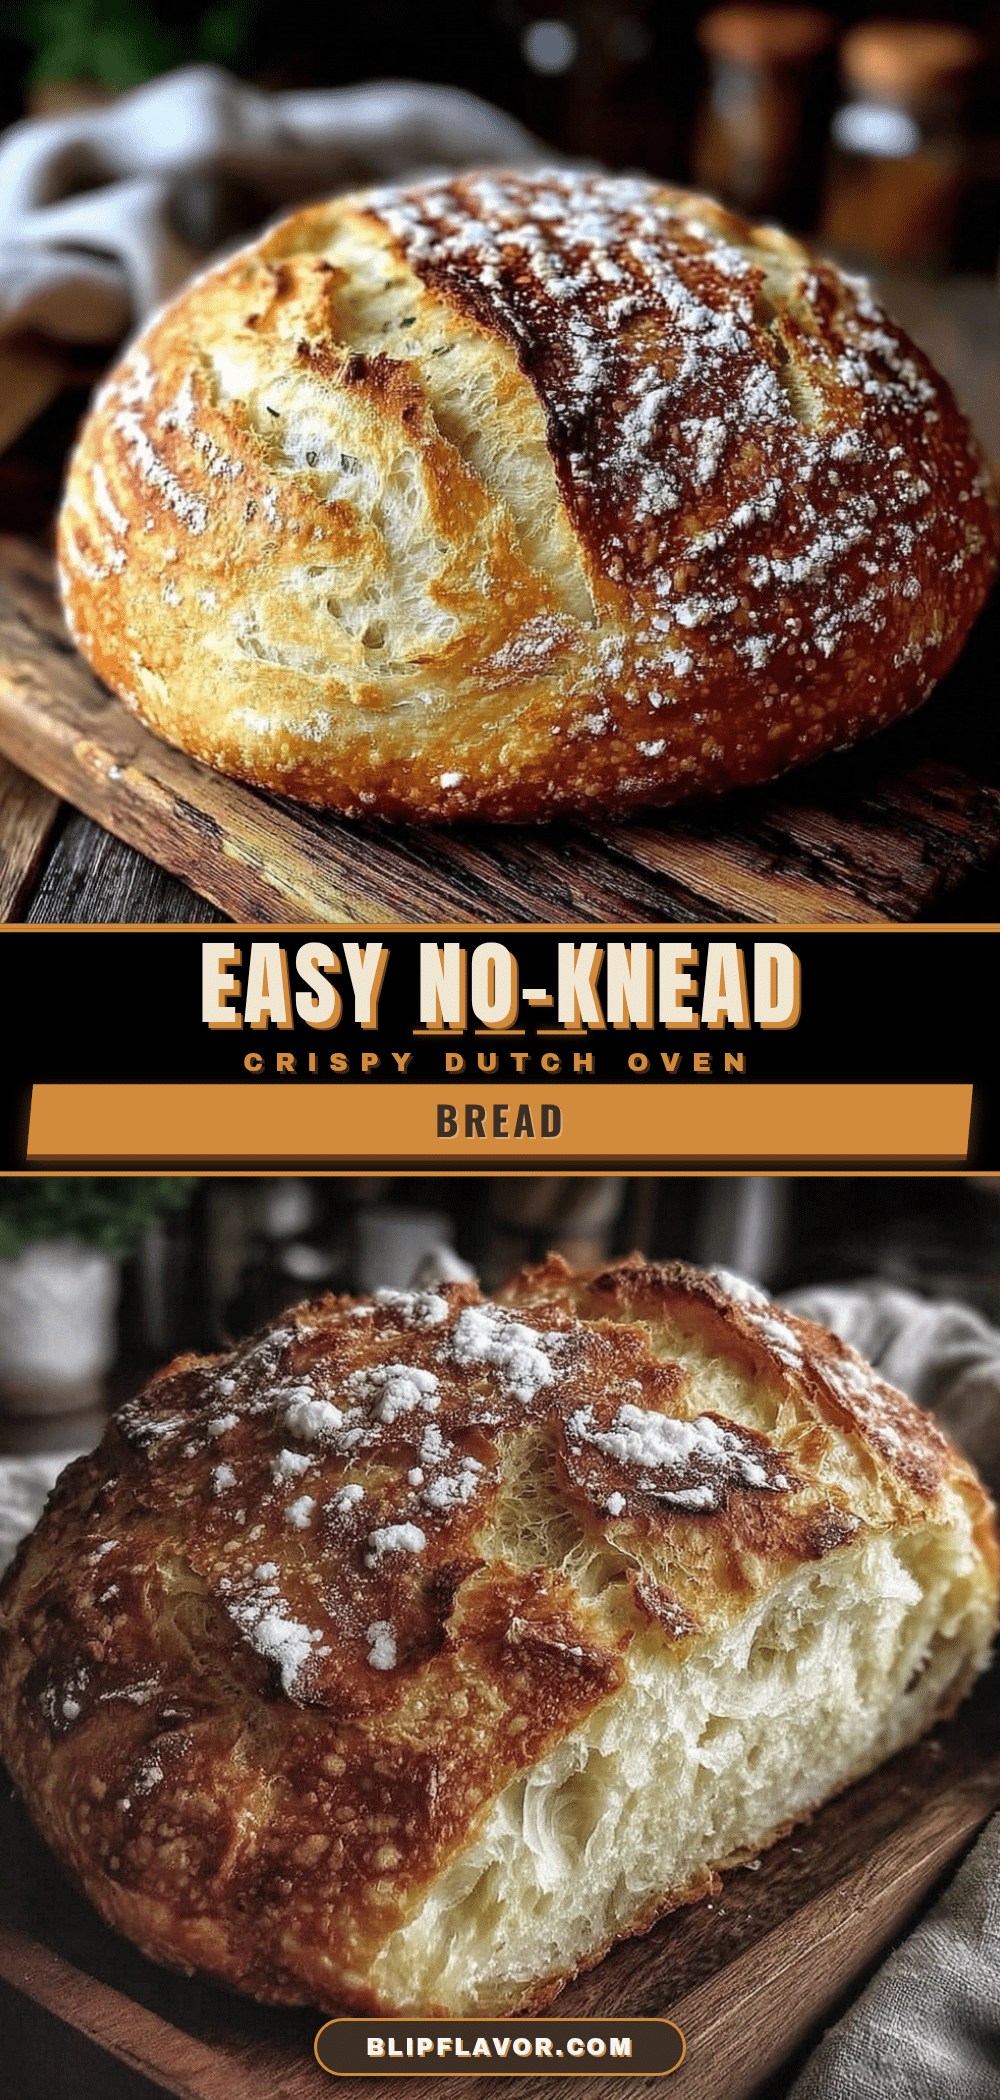
Easy No-Knead Dutch Oven Bread Recipe for Perfect Crispy Artisan Crust
This easy no-knead Dutch oven bread recipe delivers a crispy artisan crust and soft crumb with minimal effort, using simple pantry ingredients and no kneading.
- Prep Time: 15 minutes
- Cook Time: 45 minutes
- Total Time: 13 hours
- Yield: 1 loaf (about 8 servings) 1x
- Category: Bread
- Cuisine: American
Ingredients
- 3 ¼ cups (400g) all-purpose flour
- 1/4 teaspoon instant yeast
- 1 ½ teaspoons salt
- 1 ½ cups (360ml) warm water
Instructions
- In a large mixing bowl, combine 3 ¼ cups (400g) all-purpose flour, 1/4 teaspoon instant yeast, and 1 ½ teaspoons salt. Stir to evenly distribute the yeast and salt.
- Pour in 1 ½ cups (360ml) warm water. Using a wooden spoon or spatula, mix until a shaggy, sticky dough forms.
- Cover the bowl with plastic wrap or a kitchen towel. Let the dough rest at room temperature for 12 to 18 hours until doubled and bubbly.
- About 30 minutes before baking, place your Dutch oven with lid inside your oven and preheat to 450°F (230°C).
- Lightly flour a clean surface and your hands. Turn the dough out onto the surface and shape gently into a ball by folding the edges underneath.
- Place the dough seam-side down on a piece of parchment paper. Cover with a kitchen towel and let it rest for 30 to 60 minutes until it puffs up slightly.
- Carefully remove the hot Dutch oven from the oven. Lift the parchment paper with the dough and place it inside the pot. Cover with the lid and bake for 30 minutes.
- Remove the lid and bake for another 15 to 20 minutes until deep golden and crusty.
- Transfer the bread to a cooling rack and let it cool completely before slicing.
Notes
Use instant yeast for convenience or proof active dry yeast in warm water before mixing. Do not skip the long rise for best flavor and texture. Preheat the Dutch oven to trap steam and create a crispy crust. Handle dough gently to preserve air bubbles. If dough is too sticky, lightly flour hands and surface but avoid excess flour to keep crumb light.
Nutrition
- Serving Size: 1 slice (about 2 oun
- Calories: 150
- Sodium: 300
- Fat: 1
- Carbohydrates: 30
- Fiber: 1
- Protein: 5
Keywords: no-knead bread, Dutch oven bread, artisan bread, easy bread recipe, crispy crust bread, homemade bread


