“Are you sure this will work?” I muttered under my breath, staring at the sticky blob of dough resting in my oversized bowl. Honestly, I had been skeptical about this Easy No-Knead Crusty Artisan Bread Recipe from the start. Baking bread always felt like a complex science experiment, with kneading, proofing, and timing that seemed intimidating. But one rainy Sunday afternoon, tired of store-bought loaves that never quite hit the mark, I decided to give this simple method a shot—no fancy tools, no hour-long kneading sessions, just flour, water, salt, and yeast.
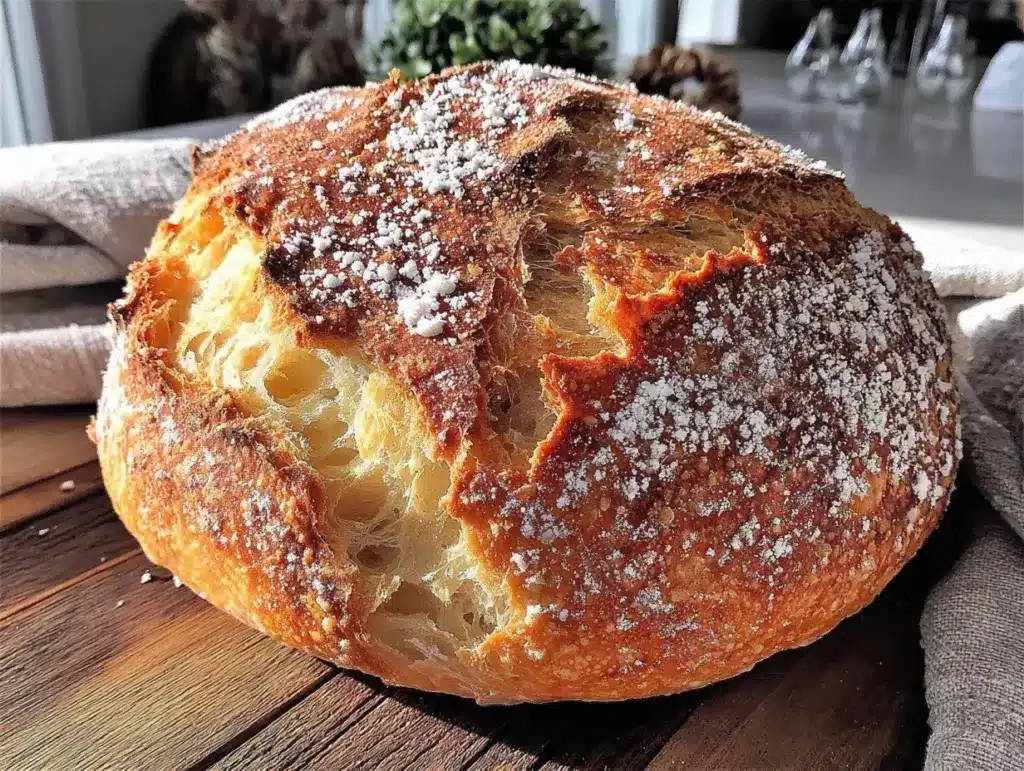
The smell of yeast waking up, the quiet bubbling of the dough as it rested overnight—it all felt oddly meditative. When I finally slid that dough into my hot Dutch oven and peeked at the golden crust after baking, my doubts melted away. The crust was crackly, the crumb soft and airy, and the flavor? Well, it was pure, honest bread—the kind that makes you pause and savor each bite.
Since then, this no-knead crusty artisan bread recipe has become my go-to comfort food, especially on chaotic mornings or when I want a little homemade magic without the fuss. It’s funny how something so simple can feel like a small victory in a busy week. And honestly, that first crackly slice with melting butter still feels like a quiet promise that good things can come from patience and a little trust in the process.
Why You’ll Love This Recipe
This Easy No-Knead Crusty Artisan Bread Recipe isn’t just a loaf—it’s a little bit of kitchen therapy wrapped in a golden crust. After testing countless bread recipes and tweaking techniques, I can say this one stands out for several reasons:
- Quick & Easy: It takes under 15 minutes of hands-on time to mix everything together. The rest is all about letting the dough do its thing—perfect for anyone juggling work, family, or just craving fresh bread without the hassle.
- Simple Ingredients: No need for specialty flours or fancy gadgets. Just basic pantry staples like all-purpose flour, yeast, and salt. I recommend using King Arthur flour for the best texture, but honestly, most all-purpose flours will do.
- Perfect for Any Occasion: Whether it’s a cozy dinner alongside a bowl of creamy asparagus risotto or a casual brunch spread with soft scrambled eggs, this bread fits right in.
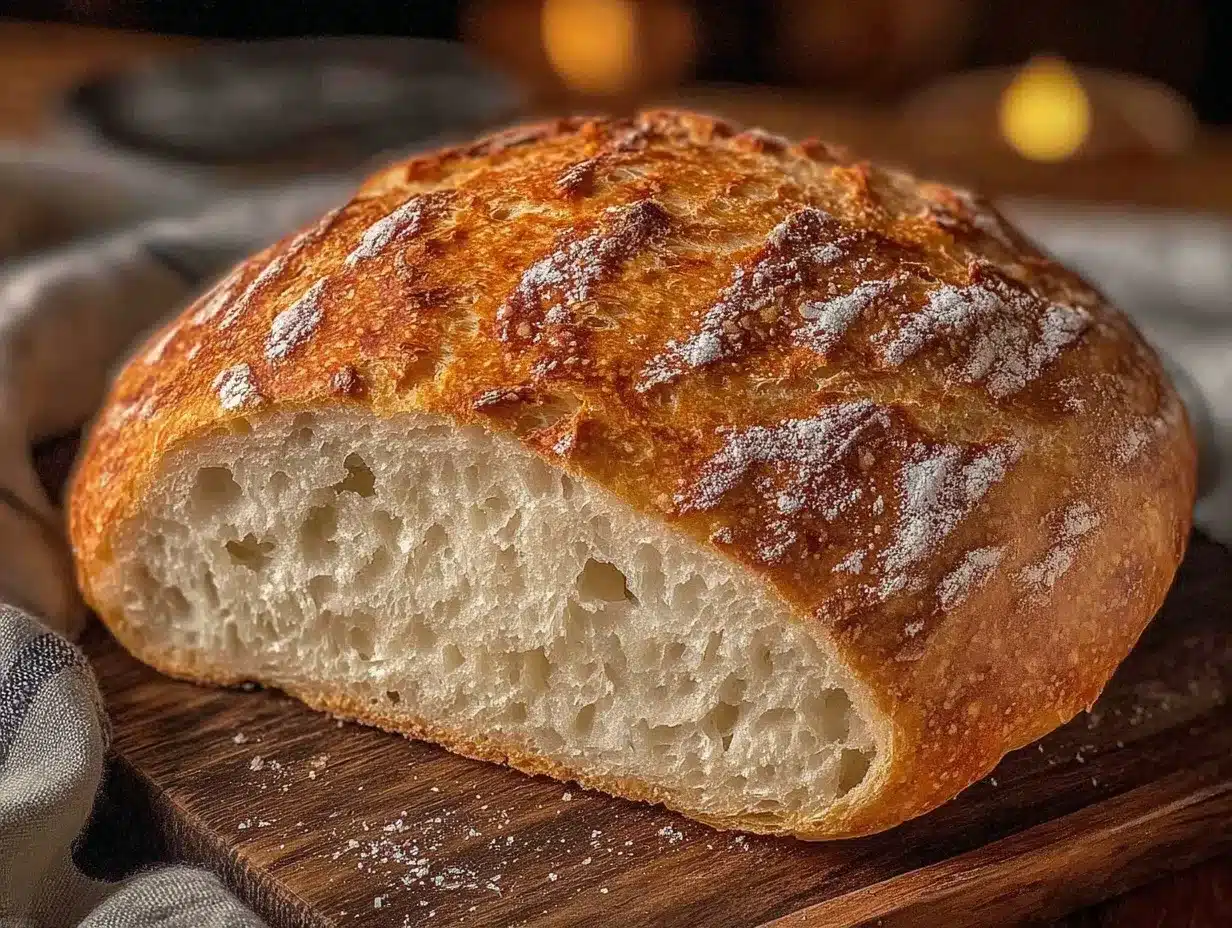
- Crowd-Pleaser: Friends and family always ask for seconds. The crust is satisfyingly crunchy, while the inside stays tender and chewy—a texture combo that’s hard to beat.
- Unbelievably Delicious: The slow fermentation overnight develops a depth of flavor that you just can’t get from quick bread recipes. It’s like artisan bakery quality without leaving your kitchen.
This recipe isn’t your run-of-the-mill loaf either. The magic lies in the long, slow rise that builds flavor and texture, combined with baking in a hot, covered pot that traps steam, creating that iconic crust. It’s bread that makes you close your eyes after the first bite, savoring the simplicity and comfort of homemade baking done right.
What Ingredients You Will Need
This recipe uses simple, wholesome ingredients to deliver bold flavor and satisfying texture without the fuss. Most are pantry staples, which means you probably have them on hand already.
- All-purpose flour: 3 cups (360g) – I like King Arthur for consistent results, but any good-quality all-purpose flour works fine.
- Instant yeast: 1/4 teaspoon – no need to proof; this yeast works right away.
- Salt: 1 1/4 teaspoons – fine sea salt works best for even seasoning.
- Warm water: 1 1/2 cups (355ml), about 105°F to 110°F (40-43°C) – warm enough to wake the yeast but not hot enough to kill it.
Optional:
- Olive oil: 1 tablespoon – adds a subtle richness, but you can skip it for a more traditional crust.
- Flour for dusting: for shaping and surface dusting before baking.
If you want a gluten-free version, swapping in a gluten-free all-purpose blend works, though the crust won’t be quite as crisp. For an extra touch, try folding in herbs like rosemary or thyme after the first rise for a fragrant twist.
Equipment Needed
One of the best parts about this no-knead crusty artisan bread is how little gear you need:
- A large mixing bowl – for combining and overnight rising. I like glass or stainless steel.
- A wooden spoon or spatula – for stirring the sticky dough.
- A kitchen scale (optional but helpful) – for accuracy, especially if you bake often.
- A Dutch oven or heavy oven-safe pot with a lid – this creates the perfect steamy environment for the crust. If you don’t have a Dutch oven, a heavy cast iron pot or even a covered roasting pan works.
- A cooling rack – to let the bread rest and keep the crust crisp.
I used to worry about not having special bread tools, but honestly, my trusty old cast iron pot did just fine. If you’re on a budget, even a deep ovenproof skillet with a metal bowl as a lid can do the trick. Just make sure it can withstand high oven temperatures (450°F / 230°C).
Preparation Method
- Mix the dry ingredients: In your large mixing bowl, whisk together 3 cups (360g) of all-purpose flour, 1/4 teaspoon instant yeast, and 1 1/4 teaspoons salt. This ensures even distribution of the salt and yeast. (5 minutes)
- Add warm water: Pour in 1 1/2 cups (355ml) of warm water, around 105°F to 110°F (40-43°C). Stir with a wooden spoon or spatula until the dough comes together into a sticky, shaggy mass. No kneading needed—just mixing. The dough will be loose and sticky, and that’s exactly right. (5 minutes)
- First rise: Cover the bowl tightly with plastic wrap or a clean kitchen towel. Leave it at room temperature (around 70°F / 21°C) for 12 to 18 hours. You’ll notice bubbles forming on the surface and the dough rising dramatically. This slow fermentation develops flavor. (Overnight)
- Preheat your oven and pot: Place your Dutch oven (or heavy pot with lid) in the oven and preheat to 450°F (230°C) for at least 30 minutes before baking. This step is key for a crisp crust.
- Shape the dough: Lightly flour a clean surface and your hands. Turn the dough out onto it—it will be sticky. With floured hands, gently fold it over itself once or twice to shape it into a ball. Don’t press too hard. Let it rest for 30 minutes while the oven heats. (30 minutes)
- Bake the bread: Carefully remove the hot pot from the oven. Transfer the dough ball into the pot (it can be sticky, so use a spatula if needed). Cover with the lid and bake for 30 minutes.
- Finish baking: After 30 minutes, remove the lid and bake uncovered for an additional 15 to 20 minutes until the crust is deeply golden and crisp.
- Cool: Remove the bread and transfer it to a cooling rack. Let it cool for at least 1 hour before slicing to allow the crumb to set. (1 hour)
Tip: If your crust is browning too quickly, tent it lightly with foil during the last 10 minutes. If the dough feels too sticky to shape, wet your hands slightly to prevent sticking.
Cooking Tips & Techniques
Making this no-knead crusty artisan bread is straightforward but there are some tricks I learned along the way that can make a world of difference.
- Patience is key: The long rise time is where the magic happens. Don’t rush it. The dough develops flavor and structure over those hours.
- Temperature matters: Use warm water, but not hot. Too hot and you kill the yeast; too cold and it slows the rise.
- Don’t skip preheating the pot: The hot Dutch oven traps steam, creating a crackly crust just like a bakery.
- Handling sticky dough: This dough is wetter than traditional bread dough. Flour your hands and surface lightly, but avoid adding too much flour or you’ll get a denser loaf.
- Crust control: For an even crispier crust, you can spritz the dough with water before baking or add a few ice cubes in the hot pot before covering to generate steam.
- Cooling matters: Let the bread cool completely before slicing to avoid gummy texture inside. I know it’s tempting, but trust me on this!
I remember rushing once and cutting into the bread right out of the oven—it was a gummy mess. Lesson learned the hard way! Now, I always plan ahead and let it rest. Also, multitasking during the rise time helps—the dough’s doing most of the work while I prepare sides like a fresh spring salad or a creamy spinach artichoke dip.
Variations & Adaptations
Though this classic no-knead crusty artisan bread is a staple, I love to switch it up depending on mood and pantry contents.
- Herb-infused bread: Add 1 tablespoon chopped rosemary, thyme, or sage into the dough for a fragrant loaf that pairs wonderfully with savory dishes.
- Whole wheat twist: Substitute half of the all-purpose flour with whole wheat flour for a nuttier flavor and denser crumb. The dough will require a bit more water, so add gradually.
- Seeded loaf: Incorporate 2 tablespoons of sunflower seeds, flaxseeds, or sesame seeds into the dough or sprinkle on top before baking for extra crunch and nutrition.
- Gluten-free option: Use a gluten-free flour blend designed for baking bread. The texture will differ slightly, but the crust can still get that lovely crispness.
- Quick version: If you’re short on time, shorten the rise to 6-8 hours in a slightly warmer spot, but expect a milder flavor and less airy crumb.
One variation I tried recently was folding in olives and sun-dried tomatoes. It was a hit at brunch alongside a batch of fluffy lemon ricotta pancakes and blueberry compote. That combo felt like the perfect balance of savory and sweet for a lazy weekend morning.
Serving & Storage Suggestions
This crusty artisan bread is best enjoyed fresh, but here’s how you can make the most of it beyond the oven:
- Serving temperature: Serve at room temperature to fully appreciate the texture and flavor. Warm slices slightly for breakfast or alongside soup.
- Pairings: It’s fantastic with creamy dips, like a spinach artichoke dip, or alongside a rich honey lemon glazed salmon dinner.
- Storage: Keep leftover bread wrapped loosely in a linen towel or paper bag at room temperature for up to 2 days to maintain the crust’s texture.
- Freezing: Slice and freeze in an airtight bag for up to 3 months. Toast slices straight from the freezer for a nearly fresh taste.
- Reheating: Revive the crust by warming bread in a 350°F (175°C) oven for 5-10 minutes. Avoid microwaving as it softens the crust.
Over time, the flavors mellow, and the bread becomes softer, making it perfect for sandwiches or toasts. In fact, when I have extra loaf, I like to make bruschetta or a rustic bread salad, which brings another level of deliciousness to leftovers.
Nutritional Information & Benefits
This no-knead crusty artisan bread is a straightforward recipe with simple ingredients, making it a wholesome option for your homemade baking.
- Calories per slice (approx.): 150-180 calories depending on slice thickness.
- Key nutrients: Provides carbohydrates for energy, small amounts of protein from the flour, and fiber, especially if whole wheat flour is used.
- Health benefits: Minimal additives and preservatives compared to store-bought bread. The slow fermentation aids digestion and flavor development.
- Dietary notes: Naturally vegan and dairy-free. Easily adapted for gluten-free diets with proper flour substitutions.
- Allergens: Contains gluten and yeast. Not suitable for those with celiac disease unless gluten-free flours are used.
From a wellness perspective, I appreciate that this bread uses nothing but real ingredients. Baking at home lets you control what goes in, avoiding unnecessary sugars or preservatives. It’s comforting to know that a simple loaf can be both soul-satisfying and nourishing.
Conclusion
There’s a special kind of satisfaction in pulling a warm loaf of crusty artisan bread from your own oven, especially when it comes together with such ease. This easy no-knead crusty artisan bread recipe has become a staple in my kitchen—not just for how good it tastes, but for how it fits into the rhythm of real life, turning a few simple ingredients into something memorable.
Feel free to make it your own, whether by adding herbs, seeds, or trying different flours. Baking bread at home doesn’t have to be intimidating or time-consuming; sometimes, the simplest methods yield the best results.
If you try this recipe, I’d love to hear how it turned out for you, any twists you added, or your favorite ways to enjoy your homemade loaf. Sharing these moments keeps the joy of baking alive. Happy baking, and here’s to many golden crusts in your future!
FAQs
- Can I use active dry yeast instead of instant yeast?
Yes, but you’ll need to proof active dry yeast in warm water for about 5 minutes before mixing it with other ingredients. - What if my dough doesn’t rise much overnight?
Make sure your water is warm enough and your kitchen is not too cold. Yeast is sensitive to temperature, so a slightly warmer spot helps. - Can I bake this bread without a Dutch oven?
Yes, use a heavy oven-safe pot or a baking stone with a pan of water in the oven to create steam for a good crust. - How long does this bread keep fresh?
Best eaten within 2 days at room temperature. You can freeze slices for longer storage. - Can I add flavors like garlic or cheese?
Absolutely! Fold in finely chopped garlic, herbs, or grated cheese after the first rise for a tasty variation.
Pin This Recipe!
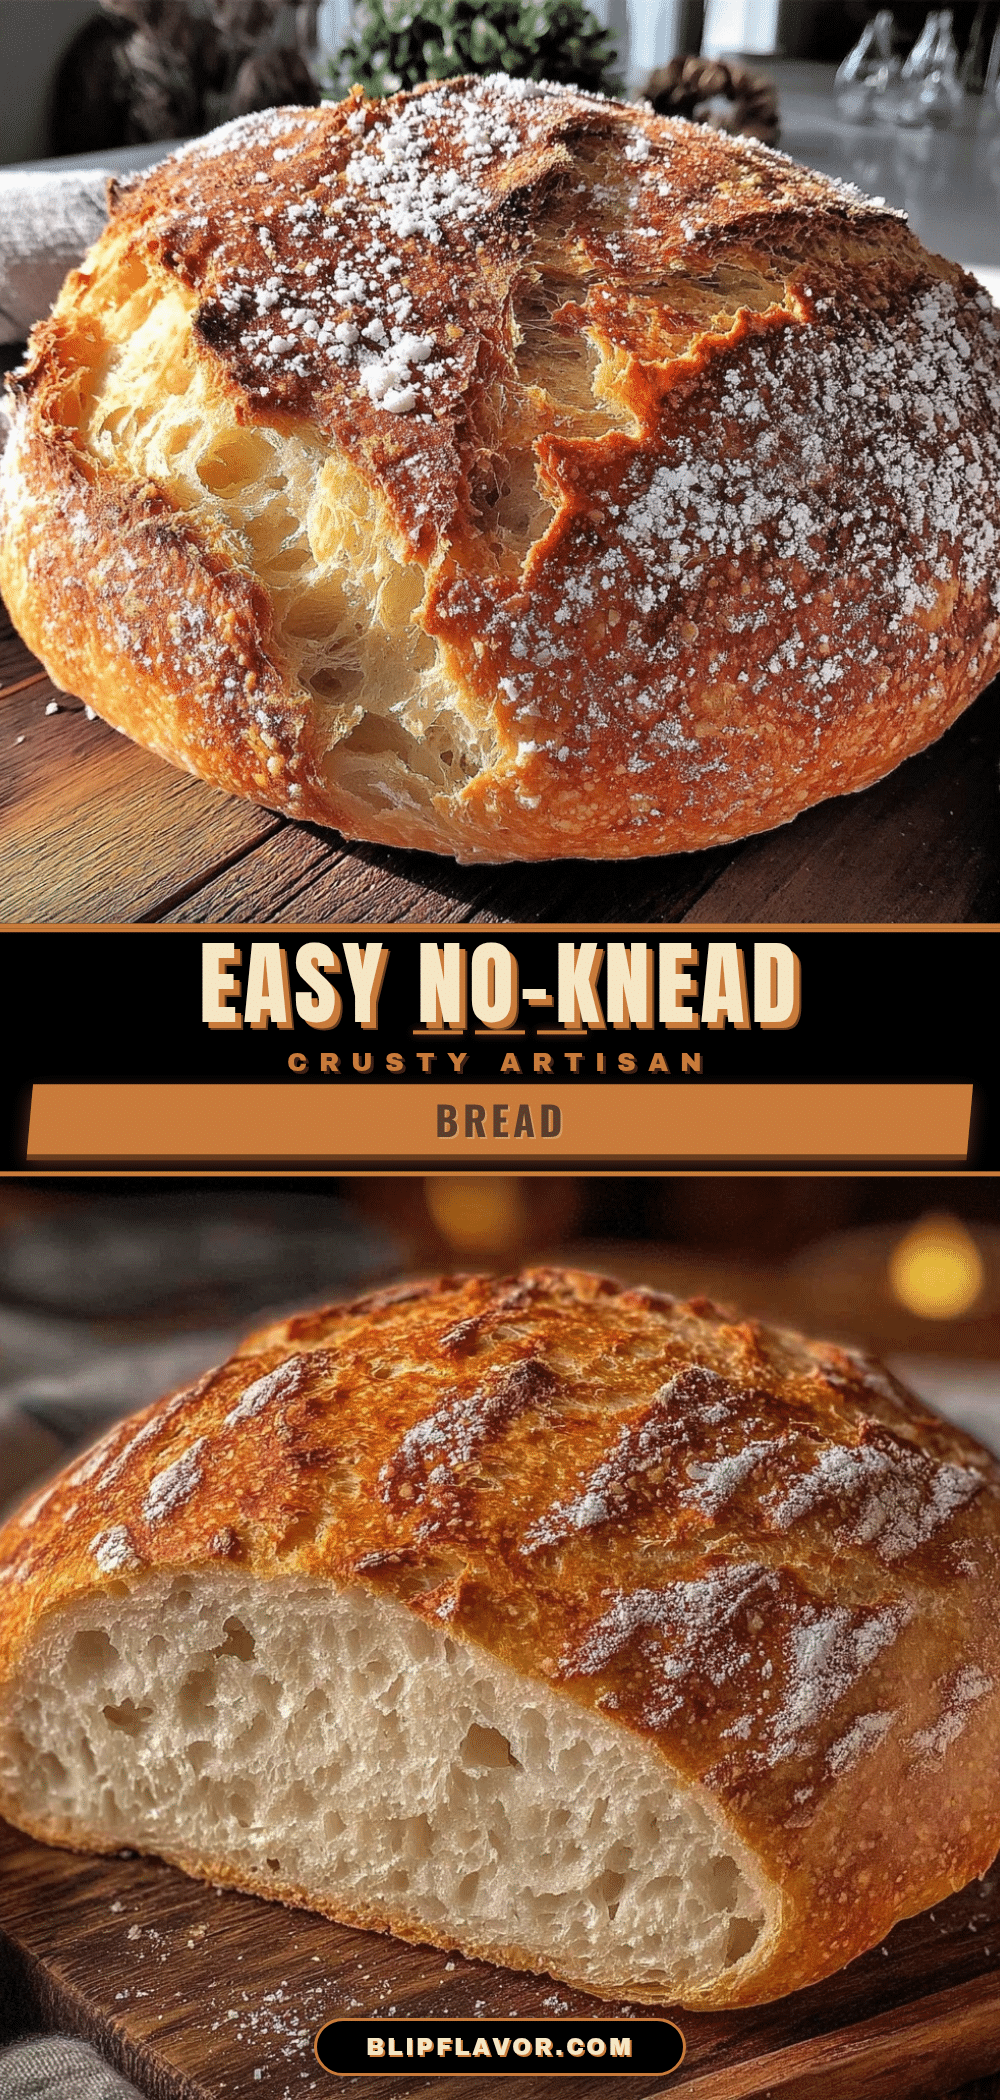
Easy No-Knead Crusty Artisan Bread Recipe Perfect for Homemade Baking
A simple no-knead artisan bread recipe that requires minimal hands-on time and yields a crusty, airy loaf with deep flavor developed through slow fermentation.
- Prep Time: 15 minutes
- Cook Time: 45 minutes
- Total Time: 13 hours
- Yield: 1 loaf (about 8-10 slices) 1x
- Category: Bread
- Cuisine: American
Ingredients
- 3 cups (360g) all-purpose flour
- 1/4 teaspoon instant yeast
- 1 1/4 teaspoons salt
- 1 1/2 cups (355ml) warm water (105°F to 110°F / 40-43°C)
- Optional: 1 tablespoon olive oil
- Optional: flour for dusting
Instructions
- Mix 3 cups (360g) all-purpose flour, 1/4 teaspoon instant yeast, and 1 1/4 teaspoons salt in a large mixing bowl until evenly combined.
- Add 1 1/2 cups (355ml) warm water (105°F to 110°F / 40-43°C) and stir with a wooden spoon or spatula until a sticky, shaggy dough forms. No kneading needed.
- Cover the bowl tightly with plastic wrap or a clean kitchen towel and let the dough rise at room temperature (around 70°F / 21°C) for 12 to 18 hours until bubbles form and the dough rises.
- Preheat the oven to 450°F (230°C) with a Dutch oven or heavy oven-safe pot inside for at least 30 minutes.
- Lightly flour a clean surface and your hands. Turn the dough out onto the surface and gently fold it over itself once or twice to shape into a ball. Let it rest for 30 minutes while the oven heats.
- Carefully remove the hot pot from the oven and transfer the dough ball into it. Cover with the lid and bake for 30 minutes.
- Remove the lid and bake uncovered for an additional 15 to 20 minutes until the crust is deeply golden and crisp.
- Remove the bread from the pot and transfer to a cooling rack. Let cool for at least 1 hour before slicing.
Notes
Use warm water (105°F to 110°F) to activate yeast without killing it. Preheat the Dutch oven for at least 30 minutes for a crisp crust. Let bread cool completely before slicing to avoid gummy texture. For a crispier crust, spritz dough with water before baking or add ice cubes to the pot to create steam. If dough is too sticky to shape, wet your hands slightly.
Nutrition
- Serving Size: 1 slice (approximate
- Calories: 150180
- Sugar: 0.1
- Sodium: 300
- Fat: 0.5
- Carbohydrates: 30
- Fiber: 1
- Protein: 5
Keywords: no-knead bread, artisan bread, crusty bread, homemade bread, easy bread recipe, no-knead artisan bread


