“Are you sure these are supposed to be so flat?” I muttered under my breath, peering suspiciously at the cookie sheet in the oven. The batter looked promising, glossy and thick, but after the first batch slid out like thin discs, my confidence wavered. Honestly, I’d tried countless cookie recipes, and my quest for the perfect puffy cookie had become this ongoing battle between hope and disappointment. I remember texting my friend Sarah at midnight, “How do you get your cookies so fluffy and soft? Mine keep turning out like hockey pucks.”
Then, late one night, in between sips of lukewarm coffee and half-hearted attempts to fix my batch, I stumbled on a tiny tweak — a simple trick that transformed these stubborn cookies into the puffy, tender treats I’d been craving. It wasn’t about fancy ingredients or complicated techniques, just a small adjustment that made all the difference. Since then, I’ve made these cookies so often that my family jokes they’re my signature. And honestly, they’re the kind of cookies that make you pause after one bite — that soft, pillowy texture with just the right hint of chewiness.
What stuck with me about this easy fix for perfectly puffy cookies every time is how it turned baking from a guessing game into a dependable joy. No more second-guessing oven temperatures or ingredient swaps. It’s like the cookies finally understood what I was aiming for. So, if you’ve ever been frustrated by flat, hard cookies that just don’t satisfy, this recipe might quietly become your go-to, too. Let’s talk about what makes these cookies stand out and why you might find yourself making them again and again.
Why You’ll Love This Recipe
After testing dozens of recipes and tweaking little details, I can say this easy fix for perfectly puffy cookies every time is what I’ve landed on for consistently great results. From a home baker’s point of view (and a few friendly kitchen experiments), here’s why this recipe stands apart:
- Quick & Easy: No complicated steps or long prep times — you can have dough ready in 15 minutes and cookies baking shortly after.
- Simple Ingredients: Uses basic pantry staples you probably already have — no specialty flours or odd additives.
- Perfect for Any Occasion: Whether it’s an unexpected visit or a weekend treat, these cookies work great for casual snacking or parties alike.
- Crowd-Pleaser: Kids, friends, coworkers — everyone asks for seconds thanks to that irresistibly soft center and just-right exterior.
- Unbelievably Delicious Texture: The trick involves a touch of baking powder combined with chilling the dough, which makes the cookies puff up just enough without spreading too thin.
This recipe isn’t just another chocolate chip cookie variation. The little secret tweak — adding cornstarch to the dough — creates this ultra-soft crumb that feels almost bakery-level. Plus, chilling the dough overnight allows the flavors to marry and the texture to perfect itself. It’s a personal favorite because it turns the whole cookie-making experience into something reliably satisfying, even if you’re juggling a busy schedule or baking on a whim.
If you’ve ever enjoyed flaky treats like the buttery crust in rose-shaped apple tarts or the soft crumb in lemon poppy seed muffins, you’ll appreciate the same attention to texture and timing here. It’s like comfort food with a little finesse — no stress, just delicious results.
What Ingredients You Will Need
This recipe calls for straightforward, everyday ingredients that come together beautifully to make those perfectly puffy cookies. Each one plays a key role in ensuring the right texture, flavor, and rise.
- All-purpose flour (2 1/4 cups / 280 g) – The base for your dough. I prefer King Arthur for consistent results.
- Cornstarch (2 teaspoons) – The secret weapon! It tenderizes the dough and helps keep cookies puffed up.
- Baking powder (1 teaspoon) – Adds just enough lift without the bitterness baking soda sometimes leaves behind.
- Baking soda (1/2 teaspoon) – Gives a subtle rise and helps with browning.
- Salt (1/2 teaspoon) – Balances sweetness and enhances flavor.
- Unsalted butter (1 cup / 226 g), softened – For richness and that melt-in-your-mouth feel. I always use European-style butter when I can.
- Granulated sugar (3/4 cup / 150 g) – Adds sweetness and a bit of crunch on the edges.
- Light brown sugar (3/4 cup / 165 g), packed – Keeps cookies moist and adds depth.
- Large eggs (2), room temperature – Helps bind and provides structure.
- Vanilla extract (2 teaspoons) – For that warm, inviting flavor.
- Chocolate chips (1 1/2 cups / 270 g) – Semi-sweet or milk chocolate, your choice! I’m partial to Ghirardelli chips for their melt and flavor.
Optional but recommended:
- Sea salt flakes for sprinkling on top before baking — adds a nice contrast to the sweetness.
You’ll notice this recipe leans on classic ingredients, but the cornstarch addition is what really changes the cookie game. If you want to try a gluten-free twist, swapping the flour for a 1:1 gluten-free blend usually works well, though you might want to chill the dough a bit longer.
Equipment Needed
- Mixing bowls: Medium and large sizes for dry and wet ingredients. Glass or stainless steel works best to see the texture clearly.
- Electric mixer: Handheld or stand mixer with paddle attachment — helps cream butter and sugar thoroughly for that perfect dough texture.
- Measuring cups and spoons: Accurate measurements are key here, especially for baking powder and cornstarch.
- Baking sheets: Two standard half-sheet pans lined with parchment paper or silicone baking mats to prevent sticking and promote even baking.
- Cooling rack: Essential for letting cookies cool properly to keep their shape and texture.
- Cookie scoop: A medium-sized scoop (about 1.5 tablespoons) helps keep cookies uniform in size and thickness.
If you don’t have a mixer, you can cream the butter and sugars by hand with a sturdy wooden spoon, but it might take a bit more elbow grease. For budget-conscious kitchens, silicone mats are a great alternative to parchment paper (and they’re reusable). Keeping your baking sheets cool between batches helps avoid spreading, so I recommend rotating pans if baking multiple trays.
Preparation Method
- Prep your ingredients: Take the butter and eggs out 30 minutes before baking to bring them to room temperature. This helps them mix smoothly without lumps or curdling.
- Mix dry ingredients: In a medium bowl, whisk together 2 1/4 cups (280 g) all-purpose flour, 2 teaspoons cornstarch, 1 teaspoon baking powder, 1/2 teaspoon baking soda, and 1/2 teaspoon salt. Set aside.
- Cream butter and sugars: In a large bowl, beat 1 cup (226 g) softened unsalted butter with 3/4 cup (150 g) granulated sugar and 3/4 cup (165 g) packed light brown sugar until light and fluffy, about 3 to 5 minutes. This step is essential to trap air and get that puffiness later.
- Add eggs and vanilla: Beat in 2 large eggs (room temp), one at a time, then mix in 2 teaspoons vanilla extract. Scrape down the bowl as needed to keep everything well combined.
- Combine wet and dry: Gradually add the dry ingredients into the wet mixture, mixing on low speed just until incorporated. Overmixing can make cookies tough, so stop once you see no dry streaks.
- Fold in chocolate chips: Gently fold 1 1/2 cups (270 g) chocolate chips using a spatula, making sure they’re evenly distributed.
- Chill the dough: Cover the bowl with plastic wrap and refrigerate for at least 1 hour, preferably overnight. This step firms up the dough and allows the cornstarch and leavening agents to work their magic for puffiness.
- Preheat oven and prepare pans: Heat your oven to 350°F (175°C). Line baking sheets with parchment paper or silicone mats.
- Scoop dough: Use a cookie scoop or tablespoon to drop dough balls about 2 inches apart on the baking sheets. For a little extra flair, sprinkle a tiny pinch of sea salt on top of each dough ball before baking.
- Bake: Bake for 10–12 minutes until edges are set but centers still look soft. Avoid overbaking — the cookies will firm up as they cool.
- Cool: Let cookies rest on the pan for 5 minutes, then transfer to a wire rack to cool completely.
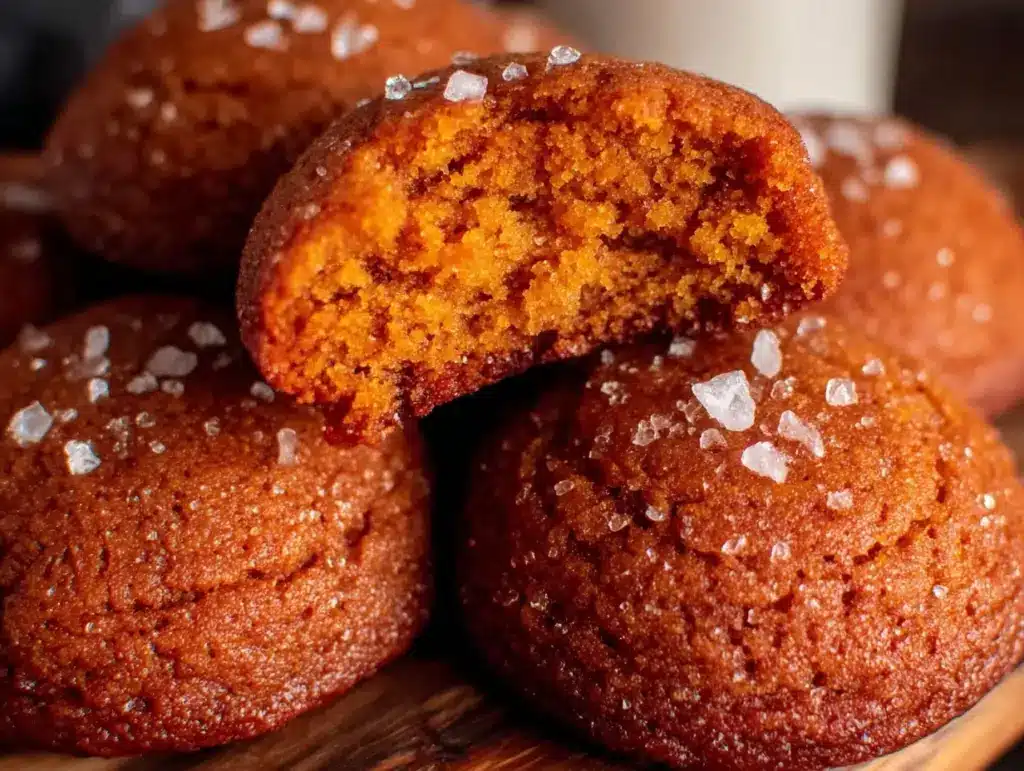
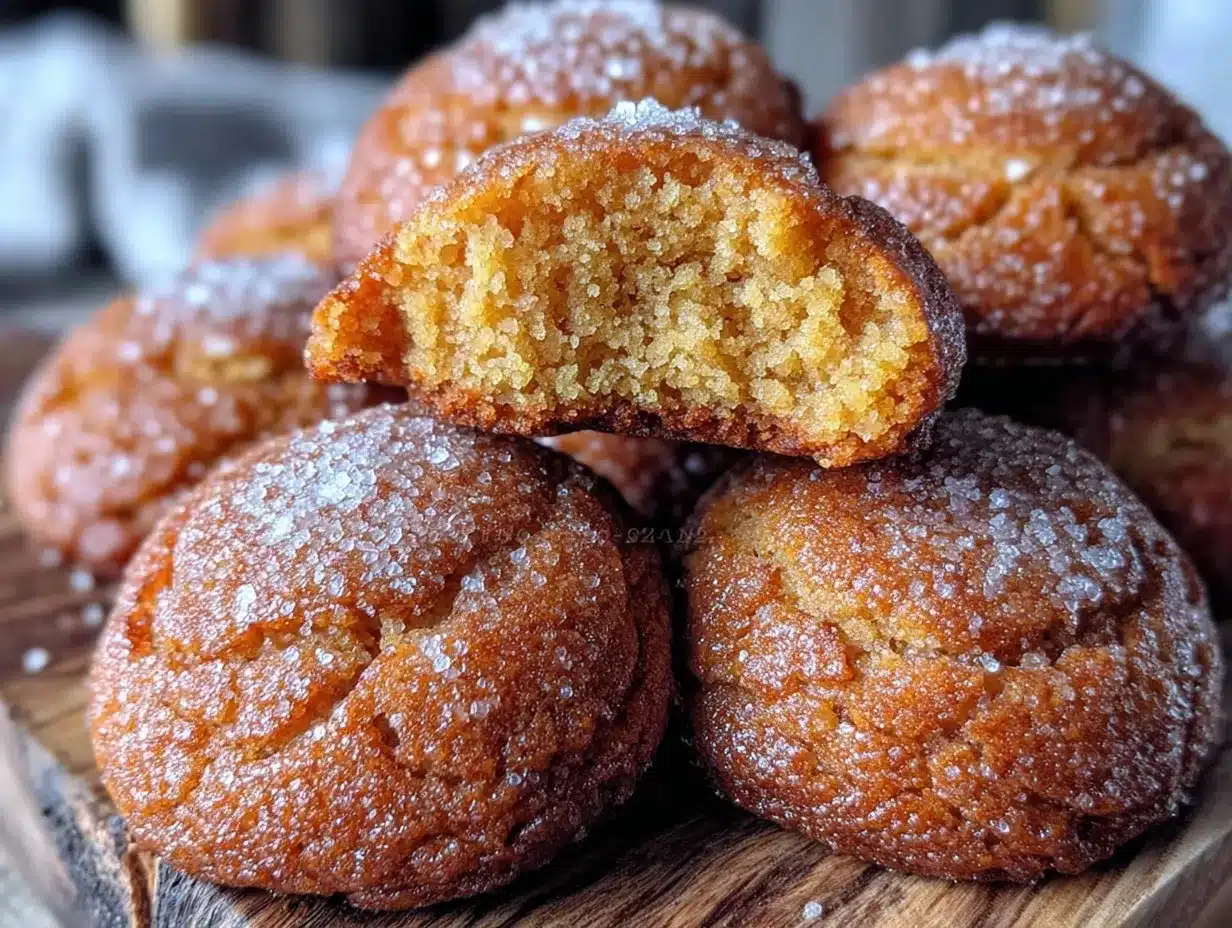
If your cookies start spreading too much, your butter might be too soft—try chilling the dough longer or popping the scooped dough back in the fridge before baking. When baked right, you’ll notice a slight dome on the cookies, a tender crumb, and a delicate crackle on top. It’s honestly satisfying to see those puffy mounds come out every time once you get the hang of this technique.
Cooking Tips & Techniques
Over the years, baking these cookies has taught me a few crucial things:
- Butter temperature matters: If your butter is too warm, cookies spread flat. Softened, not melted, is the sweet spot.
- Don’t skip chilling: I know it’s tempting to bake immediately, but chilling the dough is the key step that keeps cookies thick and puffy.
- Measure flour correctly: Scooping flour straight with your measuring cup can pack it too tightly, leading to dense cookies. Fluff the flour with a spoon and spoon it into your cup for best results.
- Use cornstarch wisely: Just a small amount creates a tender crumb by softening the proteins in flour. It’s a trick I’ve borrowed from biscuit recipes and it works wonders here.
- Watch your oven: Oven temperatures vary, so check cookies around 10 minutes to avoid overbaking. The centers should still look a little underdone.
- Multitasking tip: While dough chills, use the time to prep a fresh batch of fresh spring roll bowls or clean your workspace. It’s a perfect baking pause.
Early on, I made the mistake of skipping the cornstarch, and the cookies turned out flat and crispy. After adding it, the texture changed dramatically — softer, thicker, and more indulgent. Also, sprinkling a tiny pinch of flaky sea salt on top before baking adds a subtle complexity that I swear takes these cookies over the edge.
Variations & Adaptations
This recipe is a fantastic base for all sorts of cookie creativity:
- Nutty upgrade: Stir in 1 cup chopped walnuts or pecans along with the chocolate chips for a crunchy contrast.
- Seasonal flavors: Swap chocolate chips for dried cranberries and white chocolate chips during the holidays for a festive twist.
- Gluten-free option: Use a 1:1 gluten-free flour blend and add an extra teaspoon of cornstarch to maintain tenderness.
- Vegan adaptation: Substitute butter with vegan margarine and replace eggs with flax eggs (1 tablespoon ground flaxseed + 3 tablespoons water per egg).
- For a citrusy note: Add 1 teaspoon finely grated orange or lemon zest to the batter for a subtle zing.
I personally tried mixing in some chopped lavender lemon bars crumble bits for a fun floral surprise once — it was delightfully unexpected and made for a great party conversation starter.
Serving & Storage Suggestions
These cookies are best enjoyed fresh from the oven when they’re soft and puffy, but they also hold up well if stored properly. Serve them at room temperature for the best flavor and texture.
They pair beautifully with a glass of cold milk, a cup of coffee, or even a lightly brewed tea. If you’re hosting brunch or a casual gathering, they make a wonderful sweet finish alongside dishes like quiche Lorraine or a bright fruit salad.
To store, place cookies in an airtight container at room temperature for up to 3 days. For longer storage, freeze the baked cookies in a single layer on a baking sheet, then transfer to a freezer bag for up to 3 months. Thaw at room temperature or warm briefly in a low oven (about 300°F / 150°C) for 5 minutes to regain that just-baked softness.
Interestingly, the flavors deepen slightly after resting overnight, so sometimes I purposely bake them the day before an event — they taste almost better the next day!
Nutritional Information & Benefits
Each cookie (assuming 24 cookies from this batch) roughly contains:
| Nutrient | Amount |
|---|---|
| Calories | 190 |
| Fat | 9g |
| Saturated Fat | 5g |
| Carbohydrates | 26g |
| Sugar | 17g |
| Protein | 2g |
| Fiber | 1g |
While these cookies are definitely a treat, using real butter and high-quality chocolate means you’re getting some beneficial fats and antioxidants (especially if you choose dark chocolate chips). The cornstarch helps keep the texture soft without needing extra fat or oil, making these cookies less greasy than many traditional recipes.
If you’re watching allergens, note that this recipe contains gluten, dairy, and eggs, but with simple swaps, it can be adapted for many dietary needs. This balance of flavor and texture makes it a wholesome choice for an indulgent moment without going overboard.
Conclusion
This easy fix for perfectly puffy cookies every time has become my reliable recipe for when I want that classic, soft, and tender cookie without the stress or guesswork. The cornstarch addition and dough chilling are small steps that changed everything — from flat disappointments to mouthwatering results. I love how simple ingredients come together to create something that feels special, whether it’s a late-night craving or a casual weekend bake.
Feel free to tweak the chocolate chips or add your favorite nuts or zest. Baking is, after all, part science and part fun experimentation. I’d love to hear how you customize these or what tips you discover along the way. Drop a comment or share your version — it’s always exciting to see how a recipe grows in different kitchens.
So, next time you want cookies that puff up just right and melt in your mouth, this recipe’s got your back. Happy baking!
FAQs about Perfectly Puffy Cookies
Why are my cookies flat instead of puffy?
Flat cookies usually mean the butter was too warm or the dough wasn’t chilled long enough. Make sure your butter is softened, not melted, and refrigerate the dough for at least an hour before baking.
Can I skip the cornstarch?
Skipping cornstarch will likely result in thinner, chewier cookies. Cornstarch tenderizes the dough and helps keep cookies soft and puffy, so it’s a key ingredient for this texture.
How long should I chill the dough?
At minimum, 1 hour in the fridge, but overnight chilling is best for flavor and texture development.
Can I freeze the cookie dough?
Yes! Scoop the dough onto a baking sheet, freeze until solid, then transfer to a freezer bag. Bake frozen dough balls adding a couple of extra minutes to baking time.
What’s the best way to prevent cookies from spreading too much?
Use chilled dough, avoid over-softened butter, and don’t overcrowd the baking sheet. Baking on parchment or silicone mats also helps cookies hold their shape.
Pin This Recipe!
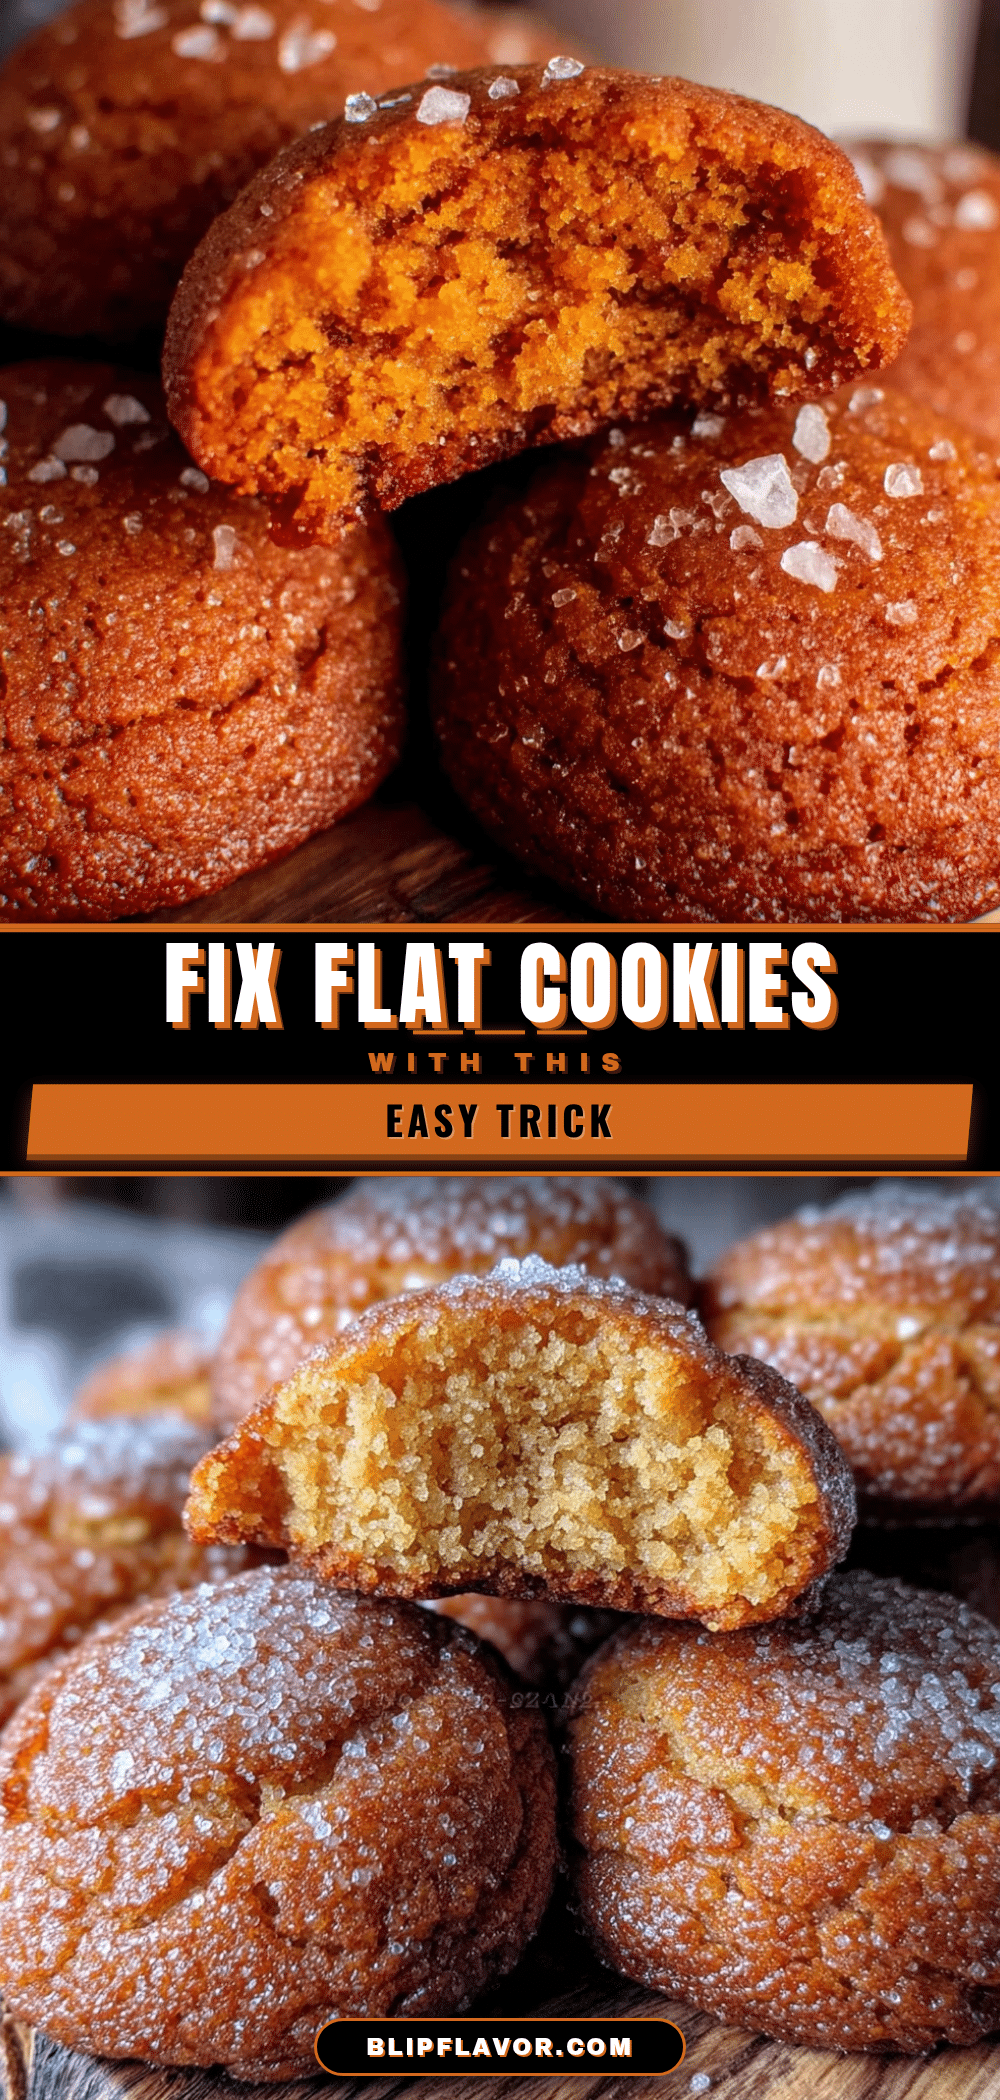
Easy Fix for Perfectly Puffy Cookies Every Time

This recipe delivers soft, puffy cookies with a tender crumb and just the right hint of chewiness, achieved by adding cornstarch and chilling the dough.
- Prep Time: 15 minutes
- Cook Time: 10-12 minutes
- Total Time: 1 hour 30 minutes to overnight (including chilling time)
- Yield: 24 cookies 1x
- Category: Dessert
- Cuisine: American
Ingredients
- 2 1/4 cups (280 g) all-purpose flour
- 2 teaspoons cornstarch
- 1 teaspoon baking powder
- 1/2 teaspoon baking soda
- 1/2 teaspoon salt
- 1 cup (226 g) unsalted butter, softened
- 3/4 cup (150 g) granulated sugar
- 3/4 cup (165 g) light brown sugar, packed
- 2 large eggs, room temperature
- 2 teaspoons vanilla extract
- 1 1/2 cups (270 g) chocolate chips (semi-sweet or milk chocolate)
- Sea salt flakes for sprinkling (optional)
Instructions
- Take the butter and eggs out 30 minutes before baking to bring them to room temperature.
- In a medium bowl, whisk together the flour, cornstarch, baking powder, baking soda, and salt. Set aside.
- In a large bowl, beat the softened butter with granulated sugar and light brown sugar until light and fluffy, about 3 to 5 minutes.
- Beat in the eggs one at a time, then mix in the vanilla extract. Scrape down the bowl as needed.
- Gradually add the dry ingredients into the wet mixture, mixing on low speed just until incorporated. Avoid overmixing.
- Gently fold in the chocolate chips using a spatula.
- Cover the bowl with plastic wrap and refrigerate the dough for at least 1 hour, preferably overnight.
- Preheat the oven to 350°F (175°C). Line baking sheets with parchment paper or silicone mats.
- Use a cookie scoop or tablespoon to drop dough balls about 2 inches apart on the baking sheets. Sprinkle a tiny pinch of sea salt on top if desired.
- Bake for 10–12 minutes until edges are set but centers still look soft. Avoid overbaking.
- Let cookies rest on the pan for 5 minutes, then transfer to a wire rack to cool completely.
Notes
Use softened, not melted butter to prevent spreading. Chilling the dough is essential for puffiness. If cookies spread too much, chill dough longer or refrigerate scooped dough before baking. Sprinkle sea salt flakes on top before baking for added flavor contrast.
Nutrition
- Serving Size: 1 cookie
- Calories: 190
- Sugar: 17
- Sodium: 115
- Fat: 9
- Saturated Fat: 5
- Carbohydrates: 26
- Fiber: 1
- Protein: 2
Keywords: puffy cookies, soft cookies, chocolate chip cookies, easy cookie recipe, baking tips, homemade cookies


