“Hey, you gotta try this nacho thing I whipped up,” my buddy texted me one Friday night, right as I was staring down an empty fridge and a growing sense of “what in the world am I going to feed everyone?” I was skeptical—honestly, I thought it was gonna be just another soggy mess of chips and cheese that nobody really enjoys. But curiosity got the better of me, so I grabbed a sheet pan and some odds and ends from the pantry.
Fast forward 30 minutes, and the kitchen was filled with this irresistible aroma—sharp melted cheese, smoky spices, and a hint of something fresh. The nachos were crispy, layered with just enough toppings to make you want more but not so heavy they felt like a heart attack waiting to happen. What really stuck with me was how easy it was to get a crowd fed without standing over a hot stove or wrestling with a mountain of dishes. The sheet pan method makes cleanup a breeze, which, let’s face it, is half the battle when feeding a bunch of hungry people.
Since that night, I’ve made these crispy sheet pan loaded nachos more times than I care to admit. They’ve become my go-to for game days, casual get-togethers, and even a quick weeknight treat when I’m craving something both crunchy and comforting. The recipe is flexible, too, which means I can switch things up based on what’s in the fridge or what kind of mood strikes me. Plus, the way they hold up crispy under all those toppings? Game changer.
Honestly, this isn’t just a snack—it’s a crowd-pleaser with personality and crunch. It’s the kind of recipe that makes you realize simple ingredients, when treated right, can turn into something unexpectedly good. So if you’re tired of the same old nachos that turn into a soggy mess halfway through your party, this recipe might just become your new favorite trick.
Why You’ll Love This Crispy Sheet Pan Loaded Nachos Recipe
After testing and tweaking this crispy sheet pan loaded nachos recipe more times than I can count, I trust it completely to deliver on flavor and ease. The perfect balance of crispiness and gooey cheese is no accident—it’s the result of a few key tricks I picked up along the way. Here’s what makes this recipe stand out:
- Quick & Easy: This recipe comes together in under 30 minutes, making it perfect for last-minute plans or busy weeknights when you want to impress without stress.
- Simple Ingredients: No need for specialty stores or complicated shopping trips. It uses pantry staples like tortilla chips, shredded cheese, and canned beans, plus fresh toppings you probably have on hand.
- Perfect for Parties & Game Days: Whether you’re hosting a crowd or just feeding the family, this recipe scales effortlessly and satisfies every kind of appetite.
- Crowd-Pleaser: Kids love it, adults rave about it, and picky eaters find plenty to enjoy. Everyone ends up reaching for seconds.
- Unbelievably Delicious: The crispy base combined with melty cheese, savory toppings, and a touch of heat makes it a flavor-packed comfort food classic.
What really makes this recipe different is the sheet pan technique itself. Unlike traditional nachos piled high on a plate, these get perfectly crispy because the toppings are distributed evenly on a rimmed pan, allowing heat to circulate and cheese to melt just right. Plus, I add a little seasoning to the chips before baking, which makes a subtle but noticeable difference in flavor that keeps people coming back for more.
Honestly, it’s comfort food that doesn’t feel heavy or greasy. It’s got soul but won’t leave you regretting that extra handful you grabbed. And if you want to take it a step further, you could pair these nachos with a chilled mimosa bar for brunch, similar to the ideas in my perfect mimosa bar ideas post. Trust me, it’s a combination that makes any gathering feel special.
What Ingredients You Will Need for Crispy Sheet Pan Loaded Nachos
This recipe calls for straightforward, wholesome ingredients that work together to create bold flavors and a satisfying crunch. Most are pantry-friendly staples, and the fresh toppings add brightness and balance.
- Tortilla chips: Use thick, sturdy chips that hold up well to baking. I prefer brands like Tostitos Restaurant Style for the best texture.
- Shredded cheese blend: Sharp cheddar and Monterey Jack mix (about 3 cups/340g) for meltiness and flavor. Freshly shredded cheese works better than pre-shredded.
- Canned black beans: Drained and rinsed, about 1 cup (240 ml), for protein and added texture.
- Ground beef or turkey: About 1 lb (450 g), cooked and seasoned with taco seasoning (store-bought or homemade).
- Jalapeños: Thinly sliced, fresh or pickled, for a touch of heat.
- Green onions: Thinly sliced, about 3-4, for freshness.
- Cherry tomatoes: Halved, about 1 cup (150 g), to add juicy brightness.
- Olives: Sliced black olives, ½ cup (75 g), optional but fantastic for depth.
- Sour cream or Greek yogurt: For dolloping on top after baking, about ½ cup (120 ml).
- Fresh cilantro: Roughly chopped, for garnish.
- Seasonings: Taco seasoning, salt, and pepper, to taste. I like to use a homemade blend with cumin, chili powder, garlic powder, and smoked paprika.
- Olive oil or avocado oil: A drizzle (1-2 tablespoons/15-30 ml) to lightly coat the chips and help crisp them up.
If you want to swap the meat out, feel free to try cooked shredded chicken or crumbled tofu seasoned the same way. For a vegetarian version, you can boost the beans and add some sautéed peppers and onions. I’ve even tried swapping the black beans with pinto beans for a creamier bite, and it turns out great.
Equipment Needed
- Large rimmed sheet pan: A sturdy, rimmed baking sheet (about 18×13 inches/46×33 cm) is essential to hold all the nachos and toppings without any mess.
- Mixing bowls: For tossing chips and combining toppings.
- Non-stick skillet or frying pan: For browning the ground meat or cooking any sautéed veggies.
- Spatula or wooden spoon: To stir and break up meat evenly.
- Measuring cups and spoons: For precise seasoning and ingredient amounts.
- Oven mitts: For safe handling of the hot sheet pan.
If you don’t have a large sheet pan, two smaller pans work just fine, but it might affect the crispiness a bit depending on how crowded the chips get. I’ve used a budget-friendly aluminum pan a few times, which works in a pinch, but a heavier-duty pan retains heat better and crisps the chips more evenly. A silicone baking mat can help with cleanup but isn’t necessary.
Preparation Method for Crispy Sheet Pan Loaded Nachos
- Preheat your oven to 400°F (200°C). This temperature crisps the chips nicely without burning the cheese.
- Cook the ground meat: Heat a tablespoon of oil in a skillet over medium-high heat. Add 1 lb (450 g) ground beef or turkey. Break it up with a spatula and cook until browned and no longer pink, about 7-9 minutes. Drain excess fat if needed.
- Season the meat: Stir in 2 tablespoons (30 ml) of taco seasoning and a splash of water (about 2 tablespoons/30 ml). Let it simmer for 2-3 minutes until thickened. Taste and adjust salt and pepper if needed.
- Prepare the chips: In a large bowl, toss 10 cups (about 280 g) of tortilla chips lightly with 1-2 tablespoons (15-30 ml) olive or avocado oil and a pinch of salt. This step helps the chips crisp up in the oven.
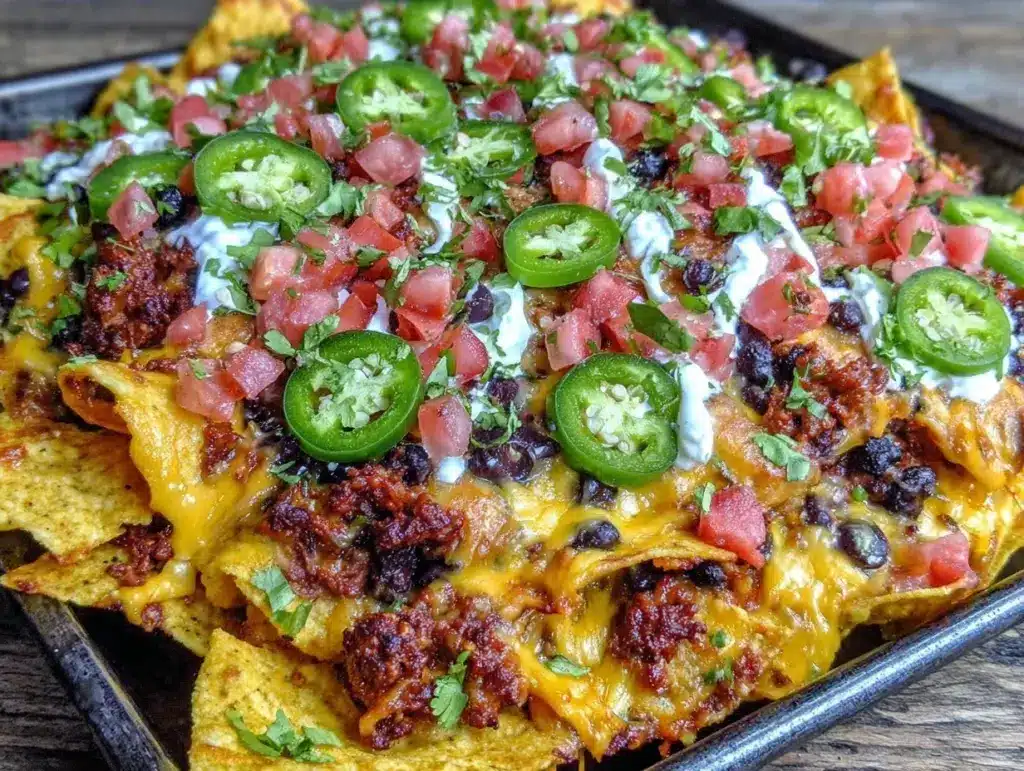
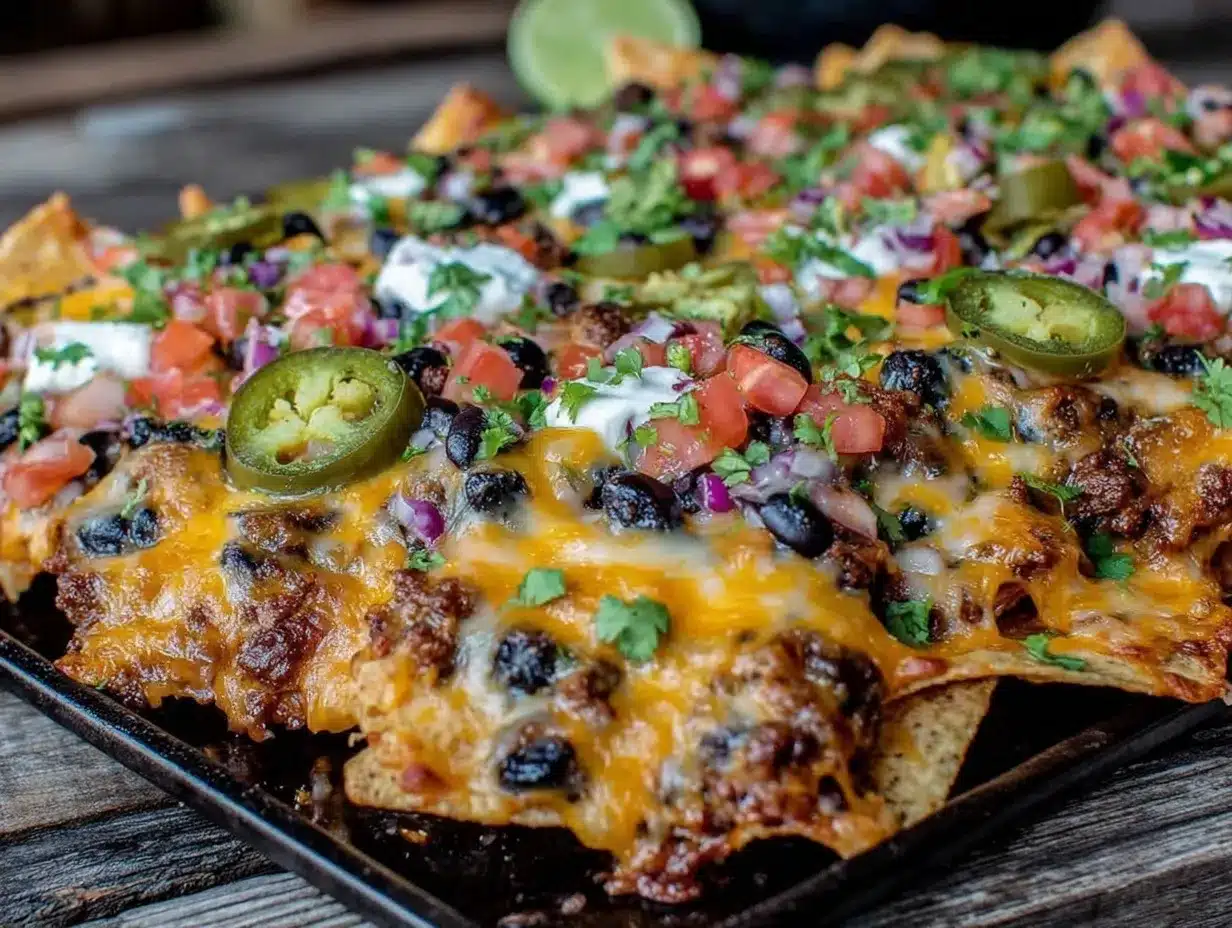
- Layer the nachos: Spread half the chips evenly on the sheet pan. Sprinkle half the cooked meat, ½ cup (120 ml) black beans, 1½ cups (170 g) shredded cheese, jalapeños, olives, and some cherry tomatoes. Repeat with the remaining chips and toppings. Be sure to spread everything out so the oven heat circulates well.
- Bake: Place the sheet pan in the oven for 10-12 minutes until the cheese is melted and bubbly, and the chips are golden and crispy around the edges.
- Add fresh toppings: Once out of the oven, dollop sour cream or Greek yogurt across the nachos. Sprinkle with sliced green onions and fresh cilantro.
- Serve immediately: These nachos are best enjoyed hot and crispy. Grab a spatula and get ready to dig in!
Note: If you find some chips have softened too much, try using thicker chips next time or baking the chips alone for 3-4 minutes before adding toppings. This little trick helped me avoid soggy nachos after a few trial runs.
Cooking Tips & Techniques for Perfect Nachos
One of the trickiest parts about nachos is keeping them crispy while still loaded with toppings, and honestly, I’ve learned this the hard way. Here are some tips that saved me from soggy disasters:
- Don’t overload the chips: Too many toppings in one spot can weigh down the chips and cause sogginess. Spread everything out evenly.
- Use a rimmed sheet pan: This allows heat to circulate better than a flat pan or plate, which helps crisp the chips.
- Preheat the oven fully: A hot oven melts the cheese quickly and crisps the chips without drying them out.
- Cook the meat thoroughly before topping: This prevents moisture from the raw meat making the chips soggy.
- Fresh toppings go on after baking: Ingredients like sour cream, green onions, and cilantro add brightness and texture without adding moisture during baking.
- Use quality cheese: Freshly shredded cheese melts better and doesn’t clump. Avoid pre-shredded blends with anti-caking agents.
Also, multitasking is key. While the meat browns, I prepare toppings and preheat the oven, saving precious minutes. Over the years, I realized that timing is everything—waiting too long after baking can make the nachos lose their crisp edge, so plan to serve immediately for the best results.
Variations & Adaptations
This recipe is like a blank canvas, ready for your personal touch. Here are some variations I’ve tried or recommend:
- Vegetarian: Skip the meat and add sautéed bell peppers, onions, and extra beans or lentils. A sprinkle of smoked paprika amps up the flavor.
- Spicy Kick: Add diced chipotle peppers in adobo sauce to the meat or mix in hot sauce before baking for a smoky heat.
- Low-Carb: Swap tortilla chips for thinly sliced and baked jicama or zucchini chips. Use dairy-free cheese for a keto-friendly option.
- Seasonal Freshness: In summer, top with fresh avocado slices and corn kernels right after baking for a bright, fresh bite.
- Cheese Variations: Try pepper jack or smoked gouda for a different flavor profile that keeps things interesting.
Once, I even made a breakfast version with scrambled eggs, chorizo, and a drizzle of salsa verde, inspired by the savory richness I love in my spring garden vegetable frittata. It was a hit for a brunch crowd looking for something a little different.
Serving & Storage Suggestions
These crispy sheet pan loaded nachos shine best straight out of the oven, but if you need to serve later, here’s what works:
- Serving temperature: Serve hot and crispy for the best experience. If they’ve cooled, a quick 5-minute reheat in a 350°F (175°C) oven helps revive the crispiness.
- Presentation: Use a large platter or serve directly from the sheet pan for a casual vibe. Garnish with fresh herbs and dollops of sour cream or guacamole.
- Complementary dishes: Pair with a fresh salad, like a strawberry spinach salad, to balance the richness.
- Storage: Store leftovers in an airtight container in the fridge for up to 2 days. Chips will soften, so reheat in the oven to crisp up again.
Nachos tend to get soggy if stored too long, so I recommend making just enough or planning to reheat quickly. Flavors actually deepen overnight, which can be nice if you like a softer texture.
Nutritional Information & Benefits
Per serving (approximate, serves 6):
| Calories | 450 |
|---|---|
| Protein | 28g |
| Carbohydrates | 35g |
| Fat | 22g |
| Fiber | 7g |
The combination of black beans and lean ground meat offers a solid protein boost, while the fiber from beans and tomatoes supports digestion. Using fresh toppings adds vitamins and antioxidants, especially from the tomatoes, cilantro, and jalapeños. You can easily swap in gluten-free chips to make this recipe gluten-free. Just watch dairy if you need to keep it vegan or lactose-free by using plant-based cheese and sour cream alternatives.
I appreciate this recipe because it balances indulgence with nutrition, letting me enjoy a crowd-pleasing snack without feeling weighed down afterward.
Conclusion
Crispy sheet pan loaded nachos have become my secret weapon for feeding a crowd with minimal fuss and maximum flavor. The magic lies in the simple layering and baking technique that keeps each chip perfectly crispy under a blanket of cheesy, savory goodness. What started as a skeptical text message from a friend turned into a reliable recipe I reach for again and again.
Feel free to tweak the toppings or swap ingredients to suit your taste or dietary needs—this recipe is as flexible as it is delicious. I hope it finds a spot in your rotation, whether for game day, casual dinners, or whenever you need a no-fail crowd pleaser. And if you give it a try, I’d love to hear how you made it your own!
For a sweet finish after your nacho feast, you might want to try the rose shaped apple tarts I shared recently—simple, elegant, and totally satisfying.
FAQs About Crispy Sheet Pan Loaded Nachos
How do I keep my nachos from getting soggy?
Use sturdy tortilla chips, avoid piling too many toppings in one spot, and bake on a rimmed sheet pan so heat circulates evenly. Add fresh toppings like sour cream after baking.
Can I make these nachos ahead of time?
They’re best served fresh, but you can prepare toppings and meat ahead. Assemble and bake just before serving for the best texture.
What can I use instead of ground beef?
Ground turkey, shredded chicken, tofu, or extra beans work well. Season them with taco spices for similar flavor.
Is there a vegan version?
Yes! Use plant-based cheese and sour cream alternatives, skip the meat, and add extra veggies and beans for protein.
Can these nachos be frozen?
Freezing is not recommended as the chips will lose their crispiness. It’s better to store leftovers in the fridge and reheat in the oven.
Pin This Recipe!
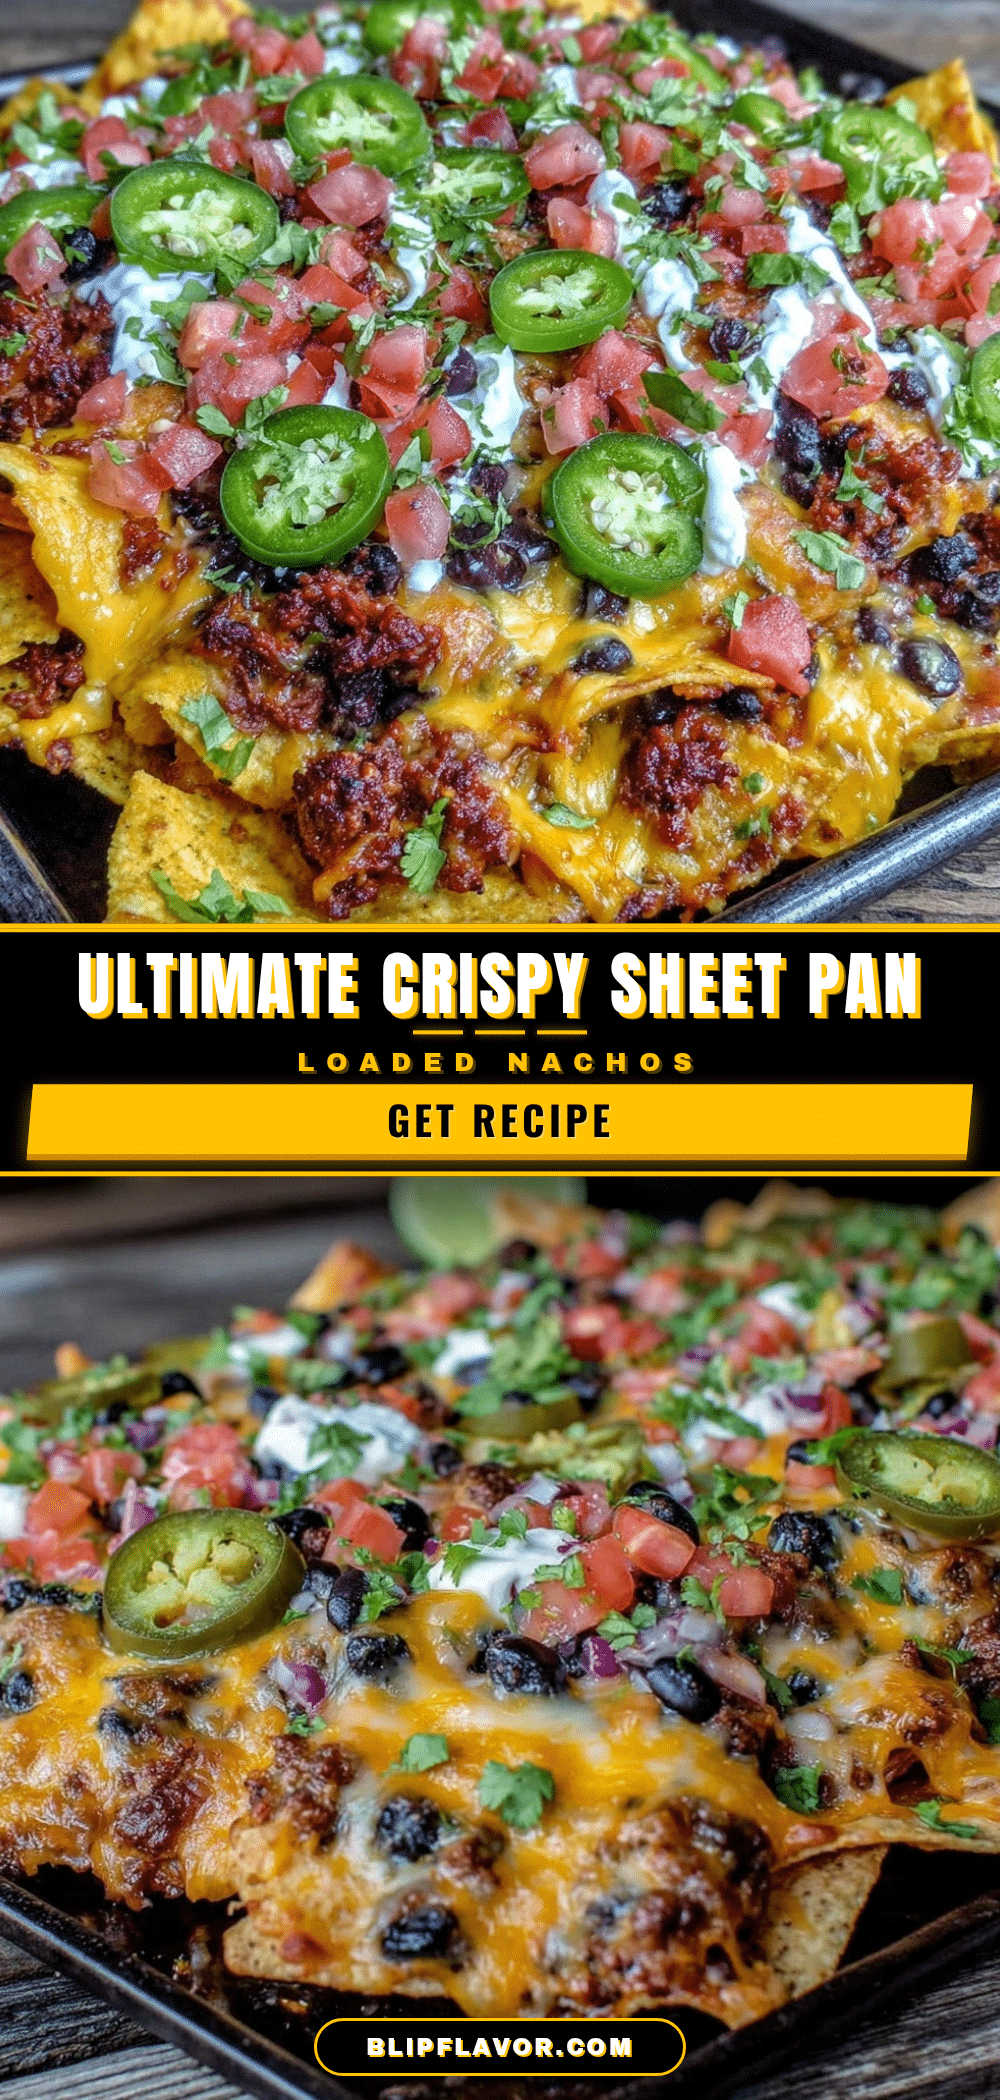
Crispy Sheet Pan Loaded Nachos

A quick and easy recipe for crispy, loaded nachos made on a sheet pan, perfect for feeding a crowd with minimal fuss and maximum flavor.
- Prep Time: 10 minutes
- Cook Time: 20 minutes
- Total Time: 30 minutes
- Yield: 6 servings 1x
- Category: Snack
- Cuisine: Mexican
Ingredients
- 10 cups (about 280 g / 10 oz) thick, sturdy tortilla chips (e.g., Tostitos Restaurant Style)
- 3 cups (340 g / 12 oz) shredded cheese blend (sharp cheddar and Monterey Jack)
- 1 cup (240 ml / 8 fl oz) canned black beans, drained and rinsed
- 1 lb (450 g / 16 oz) ground beef or turkey, cooked and seasoned with taco seasoning
- Thinly sliced jalapeños, fresh or pickled, to taste
- 3–4 green onions, thinly sliced
- 1 cup (150 g / 5 oz) cherry tomatoes, halved
- ½ cup (75 g / 2.6 oz) sliced black olives (optional)
- ½ cup (120 ml / 4 fl oz) sour cream or Greek yogurt, for topping
- Fresh cilantro, roughly chopped, for garnish
- Taco seasoning (store-bought or homemade with cumin, chili powder, garlic powder, smoked paprika), salt, and pepper to taste
- 1–2 tablespoons (15–30 ml / 0.5–1 fl oz) olive oil or avocado oil
Instructions
- Preheat your oven to 400°F (200°C).
- Heat 1 tablespoon of oil in a skillet over medium-high heat. Add 1 lb ground beef or turkey. Break it up with a spatula and cook until browned and no longer pink, about 7-9 minutes. Drain excess fat if needed.
- Stir in 2 tablespoons (30 ml) of taco seasoning and about 2 tablespoons (30 ml) water. Let simmer for 2-3 minutes until thickened. Adjust salt and pepper to taste.
- In a large bowl, toss tortilla chips lightly with 1-2 tablespoons olive or avocado oil and a pinch of salt to help crisp them in the oven.
- Spread half the chips evenly on a large rimmed sheet pan. Sprinkle half the cooked meat, ½ cup black beans, 1½ cups shredded cheese, jalapeños, olives, and some cherry tomatoes. Repeat with remaining chips and toppings, spreading everything evenly.
- Bake in the oven for 10-12 minutes until cheese is melted and bubbly and chips are golden and crispy around the edges.
- Remove from oven and dollop sour cream or Greek yogurt across the nachos. Sprinkle with sliced green onions and fresh cilantro.
- Serve immediately while hot and crispy.
Notes
Use thick, sturdy tortilla chips to prevent sogginess. Avoid overloading chips with toppings to keep them crispy. Preheat oven fully to 400°F for best results. Add fresh toppings like sour cream, green onions, and cilantro after baking to maintain texture. For softer chips, bake chips alone for 3-4 minutes before adding toppings. Leftovers can be stored in an airtight container in the fridge for up to 2 days and reheated in a 350°F oven for 5 minutes to restore crispiness.
Nutrition
- Serving Size: 1/6 of the recipe
- Calories: 450
- Fat: 22
- Carbohydrates: 35
- Fiber: 7
- Protein: 28
Keywords: nachos, sheet pan nachos, loaded nachos, crispy nachos, game day snacks, easy party food


