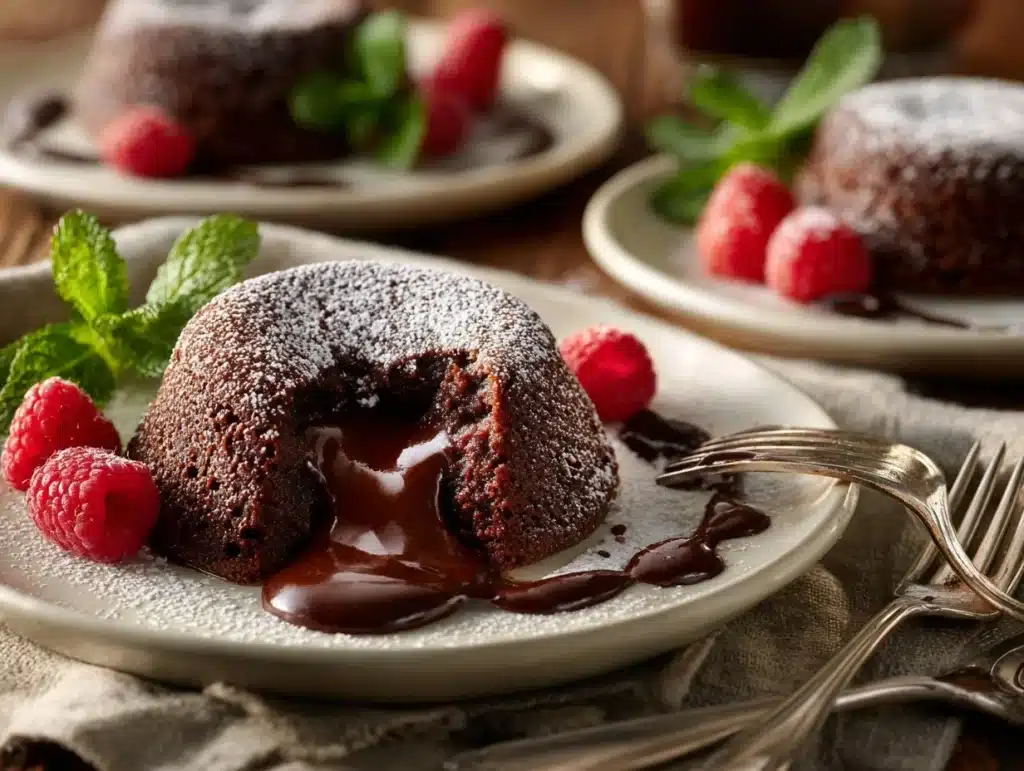
The magic of cutting into a warm chocolate lava cake and watching the gooey, molten center spill out is one of life’s sweetest pleasures. I still remember the first time I made these little chocolate wonders—it was a Valentine’s Day dinner at home, and I wanted to impress my husband. Let’s just say, the look on his face after the first bite was priceless! Whether you’re planning a romantic evening, hosting a dinner party, or simply indulging your chocolate cravings, this recipe is your go-to for pure decadence.
These chocolate lava cakes are surprisingly simple to make and don’t require fancy techniques or ingredients. With a few pantry staples, you’ll have a dessert that tastes like it came straight from a five-star restaurant. Plus, the gooey center adds that “wow” factor that turns an ordinary dessert into something unforgettable. Trust me, once you’ve made these, you’ll be looking for every excuse to bake them again!
Why You’ll Love This Recipe
- Quick & Easy: These lava cakes come together in under 30 minutes, perfect for last-minute dessert cravings or impromptu dinner parties.
- Simple Ingredients: You probably already have everything you need in your pantry—no special shopping trips required!
- Perfect for Any Occasion: Whether it’s Valentine’s Day, date night, or just a cozy evening in, these lava cakes are the ultimate treat.
- Crowd-Pleaser: Everyone loves chocolate, and these cakes never fail to impress friends, family, or anyone lucky enough to try them.
- Unbelievably Delicious: The contrast between the rich, soft cake and the gooey chocolate center is pure dessert bliss.
What sets this recipe apart is its balance of flavors and textures. The outer cake is tender and just firm enough to hold its shape, while the inside remains perfectly molten and luscious. Plus, I’ve tested this recipe multiple times to ensure the gooey center is just right—every single time. It’s the kind of dessert that makes you close your eyes and savor every bite. You’ll want to keep this one in your back pocket for impressing guests or treating yourself!
What Ingredients You Will Need
This recipe uses simple, high-quality ingredients to create a rich and luscious dessert. Here’s what you’ll need:
- Unsalted butter: Melted and used to grease the ramekins (plus extra for the batter).
- Bittersweet chocolate: Use good-quality chocolate (around 60–70% cocoa) for the best flavor.
- Granulated sugar: Adds sweetness and balances the richness of the chocolate.
- Large eggs: You’ll need two whole eggs and two egg yolks for structure and richness.
- All-purpose flour: Just a small amount to bind the batter without making it dense.
- Vanilla extract: Enhances the chocolate flavor.
- Salt: A pinch to bring out the sweetness and depth of the chocolate.
- Optional toppings: Powdered sugar, whipped cream, berries, or a scoop of vanilla ice cream.
If you need substitutions, you can use semi-sweet chocolate instead of bittersweet, but avoid milk chocolate as it’s too sweet and won’t give the same flavor. For a gluten-free version, swap the all-purpose flour for almond flour or gluten-free baking mix.
Equipment Needed
- Ramekins: Use 4–6 small ramekins (about 6 ounces each). If you don’t have ramekins, a muffin tin can work in a pinch.
- Mixing bowls: One large and one medium for combining the ingredients.
- Whisk: A good whisk helps to mix the batter evenly.
- Double boiler or microwave-safe bowl: For melting the chocolate and butter.
- Measuring cups and spoons: Precision is key for this recipe!
- Spatula: For folding ingredients together gently.
Pro tip: If using ramekins, grease them thoroughly with butter and dust with cocoa powder to ensure the cakes release easily. I’ve learned this the hard way—there’s nothing worse than a lava cake that won’t come out of the dish!
Preparation Method
- Prep the ramekins: Preheat your oven to 425°F (220°C). Generously grease 4–6 ramekins with butter and dust with cocoa powder. Place them on a baking sheet for easy handling.
- Melt the chocolate and butter: In a double boiler or microwave-safe bowl, melt ½ cup (115g) unsalted butter with 4 ounces (113g) bittersweet chocolate. Stir until smooth, then let it cool slightly.
- Mix the eggs and sugar: In a large mixing bowl, whisk together 2 large eggs, 2 egg yolks, and ½ cup (100g) granulated sugar until the mixture is pale and slightly thickened.
- Combine wet ingredients: Add the melted chocolate mixture to the eggs and sugar, whisking until fully combined.
- Add dry ingredients: Sift in 2 tablespoons (15g) all-purpose flour, 1 teaspoon vanilla extract, and a pinch of salt. Fold gently with a spatula until just combined—don’t overmix.
- Fill the ramekins: Divide the batter evenly among the prepared ramekins, filling each about ¾ full.
- Bake: Bake the lava cakes for 12–14 minutes. The edges should be firm, but the centers will appear soft. Avoid overbaking to keep the centers gooey!
- Cool briefly: Let the cakes cool for 1–2 minutes before gently running a knife around the edges to loosen them.
- Serve: Invert the ramekins onto serving plates and carefully lift them off. Serve immediately with your favorite toppings!
If the cakes stick, don’t panic. Gently tap the bottom of the ramekin or use a warm towel to loosen them. The gooey center makes it worth the effort!
Cooking Tips & Techniques
- Don’t overbake: The key to a perfect lava cake is keeping the center soft. Stick to the recommended baking time and trust the process.
- Grease properly: Butter and cocoa powder will prevent sticking and ensure the cakes slide out effortlessly.
- Use good-quality chocolate: The flavor of the cakes largely depends on the chocolate you use, so splurge on the best you can find.
- Make ahead: Prepare the batter and fill the ramekins ahead of time, then refrigerate until ready to bake. Just add 1–2 minutes to the baking time.
- Test with one cake first: If you’re new to lava cakes, bake one as a test to gauge the perfect timing for your oven.
Variations & Adaptations
- Gluten-Free: Substitute all-purpose flour with almond flour or a gluten-free baking mix.
- Spiced Chocolate Lava Cakes: Add a pinch of cinnamon or cayenne pepper to the batter for a warm, spicy kick.
- Peanut Butter Center: Drop a small spoonful of peanut butter into the center of each ramekin before baking.
- Fruit Swirl: Add a teaspoon of raspberry or strawberry jam to the center for a fruity surprise.
My personal favorite? Adding a touch of espresso powder to the batter for a mocha twist—it’s a game-changer!
Serving & Storage Suggestions
Chocolate lava cakes are best served warm, straight out of the oven. Pair them with:
- Fresh berries for a burst of freshness.
- A dollop of whipped cream or crème fraîche.
- A scoop of vanilla or salted caramel ice cream.
To store leftovers (if you have any!), cover the ramekins tightly and refrigerate for up to 2 days. Reheat gently in the microwave for about 15–20 seconds to revive the gooey center.
Nutritional Information & Benefits
While these lava cakes are a decadent treat, they offer a few perks:
- Calories (per serving): Approximately 350–400, depending on toppings.
- Rich in antioxidants: Thanks to the dark chocolate, these cakes provide a dose of flavonoids.
- Customizable: Adjust the sweetness or use healthier alternatives like almond flour.
Note: These cakes contain eggs, butter, and flour, so they’re not suitable for vegans or those with gluten or dairy allergies without modifications.
Conclusion
If you’re looking for a dessert that’s indulgent, impressive, and surprisingly easy to make, these irresistible chocolate lava cakes with a gooey center are it. They’re perfect for any occasion, customizable to suit your taste, and always guaranteed to delight. I love making these for my family and friends—it’s such a joy to watch their faces light up with every bite!
Now it’s your turn! Try the recipe, share your thoughts in the comments, and let me know how you made it your own. Don’t forget to snap a photo of your gooey masterpiece and share it with me—I can’t wait to see your creations!
FAQs
Can I make chocolate lava cakes ahead of time?
Yes! You can prepare the batter and fill the ramekins, then refrigerate them for up to 24 hours. Bake directly from the fridge, adding an extra 1–2 minutes to the baking time.
What if my lava cakes don’t have a gooey center?
This usually happens if they’re overbaked. Stick to the suggested baking time, and test with one cake first to ensure the timing works for your oven.
Can I freeze lava cakes?
Absolutely! Bake the cakes, let them cool completely, then wrap tightly and freeze. Reheat in the microwave for about 30 seconds before serving.
Can I use milk chocolate instead of bittersweet?
Milk chocolate is sweeter and less intense, so the flavor won’t be as rich. If you prefer a sweeter dessert, it’s fine to use milk chocolate, but bittersweet is recommended.
How do I know when the cakes are done?
The edges should be set and firm, while the centers will look slightly soft and jiggly. The top may crack slightly, which is perfectly normal.
Pin This Recipe!
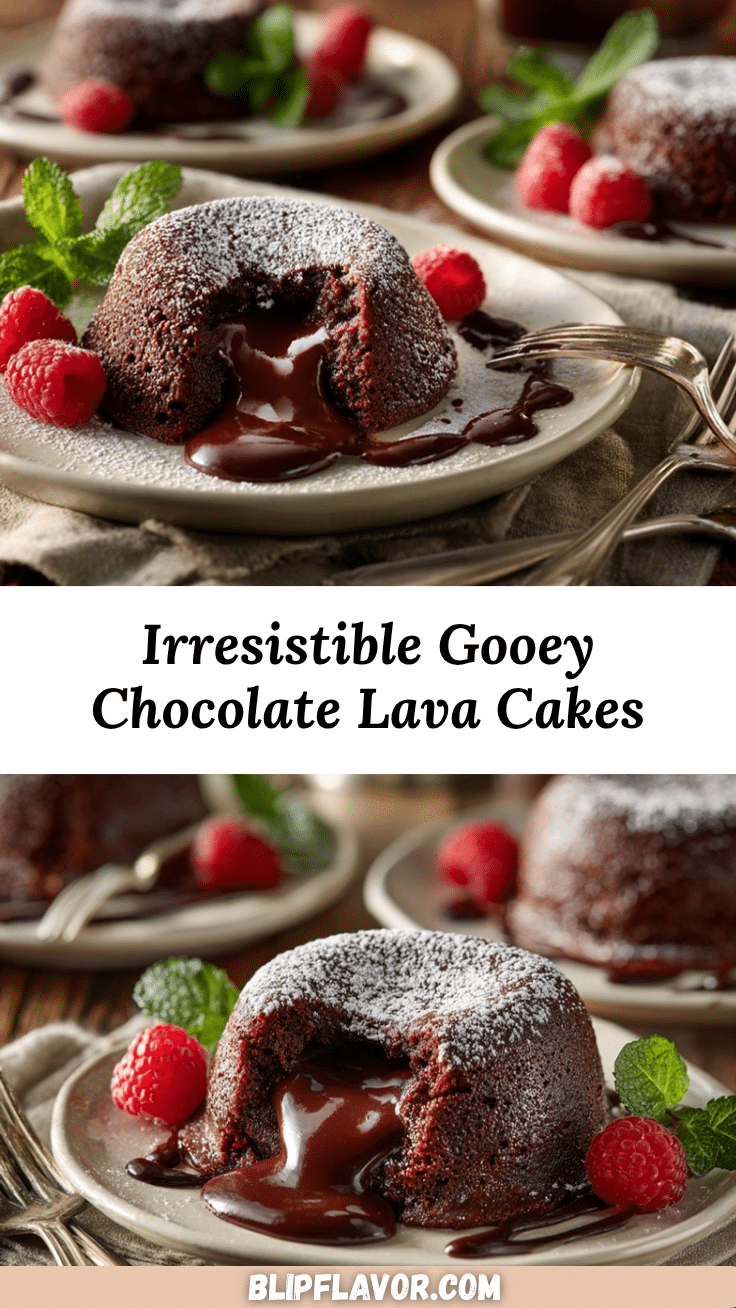
Irresistible Chocolate Lava Cakes Recipe with Gooey Center
A decadent dessert with a rich, soft cake and a gooey chocolate center, perfect for any occasion.
- Prep Time: 10 minutes
- Cook Time: 14 minutes
- Total Time: 24 minutes
- Yield: 4–6 servings 1x
- Category: Dessert
- Cuisine: American
Ingredients
- ½ cup (115g) unsalted butter, melted (plus extra for greasing ramekins)
- 4 ounces (113g) bittersweet chocolate (60–70% cocoa)
- ½ cup (100g) granulated sugar
- 2 large eggs
- 2 egg yolks
- 2 tablespoons (15g) all-purpose flour
- 1 teaspoon vanilla extract
- Pinch of salt
- Optional toppings: powdered sugar, whipped cream, berries, or vanilla ice cream
Instructions
- Preheat your oven to 425°F (220°C). Grease 4–6 ramekins with butter and dust with cocoa powder. Place them on a baking sheet.
- In a double boiler or microwave-safe bowl, melt ½ cup (115g) unsalted butter with 4 ounces (113g) bittersweet chocolate. Stir until smooth and let cool slightly.
- In a large mixing bowl, whisk together 2 large eggs, 2 egg yolks, and ½ cup (100g) granulated sugar until pale and slightly thickened.
- Add the melted chocolate mixture to the eggs and sugar, whisking until fully combined.
- Sift in 2 tablespoons (15g) all-purpose flour, 1 teaspoon vanilla extract, and a pinch of salt. Fold gently with a spatula until just combined.
- Divide the batter evenly among the prepared ramekins, filling each about ¾ full.
- Bake for 12–14 minutes. The edges should be firm, but the centers will appear soft.
- Let the cakes cool for 1–2 minutes before gently running a knife around the edges to loosen them.
- Invert the ramekins onto serving plates and carefully lift them off. Serve immediately with your favorite toppings.
Notes
[‘Grease ramekins thoroughly with butter and dust with cocoa powder to prevent sticking.’, ‘Stick to the recommended baking time to ensure a gooey center.’, ‘Use high-quality bittersweet chocolate for the best flavor.’, ‘Prepare the batter ahead of time and refrigerate until ready to bake.’]
Nutrition
- Serving Size: 1 lava cake
- Calories: 375
- Sugar: 28
- Sodium: 100
- Fat: 25
- Saturated Fat: 15
- Carbohydrates: 35
- Fiber: 2
- Protein: 5
Keywords: chocolate lava cake, gooey center, dessert, easy recipe, quick dessert, chocolate dessert, Valentine's Day, date night


