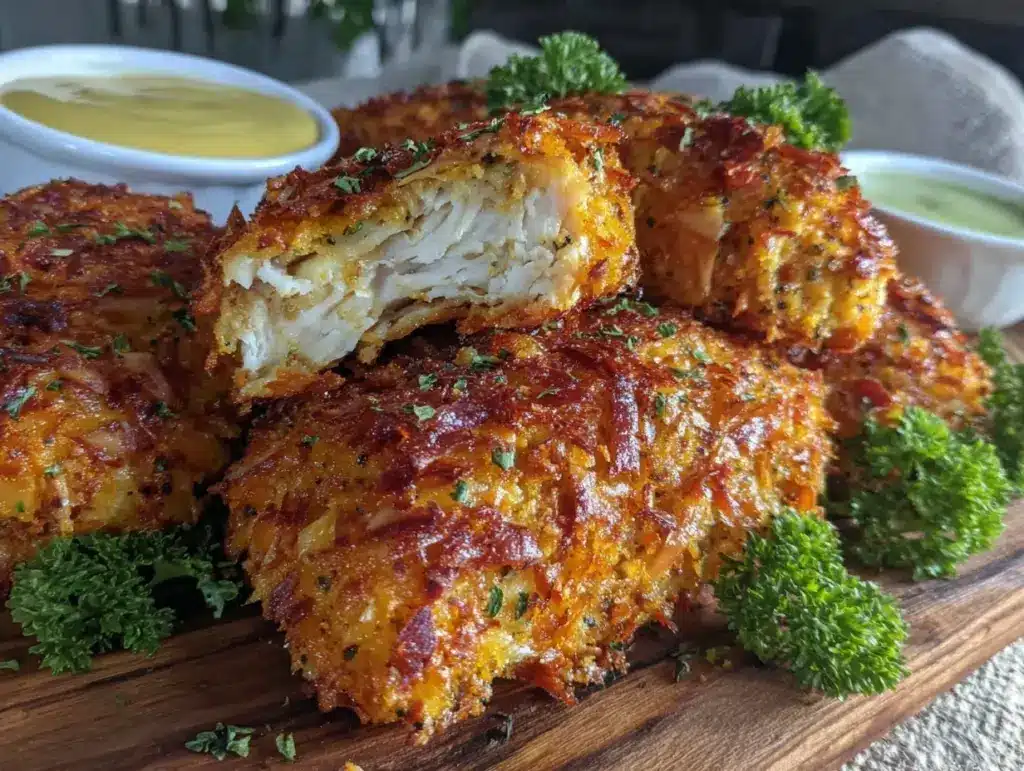
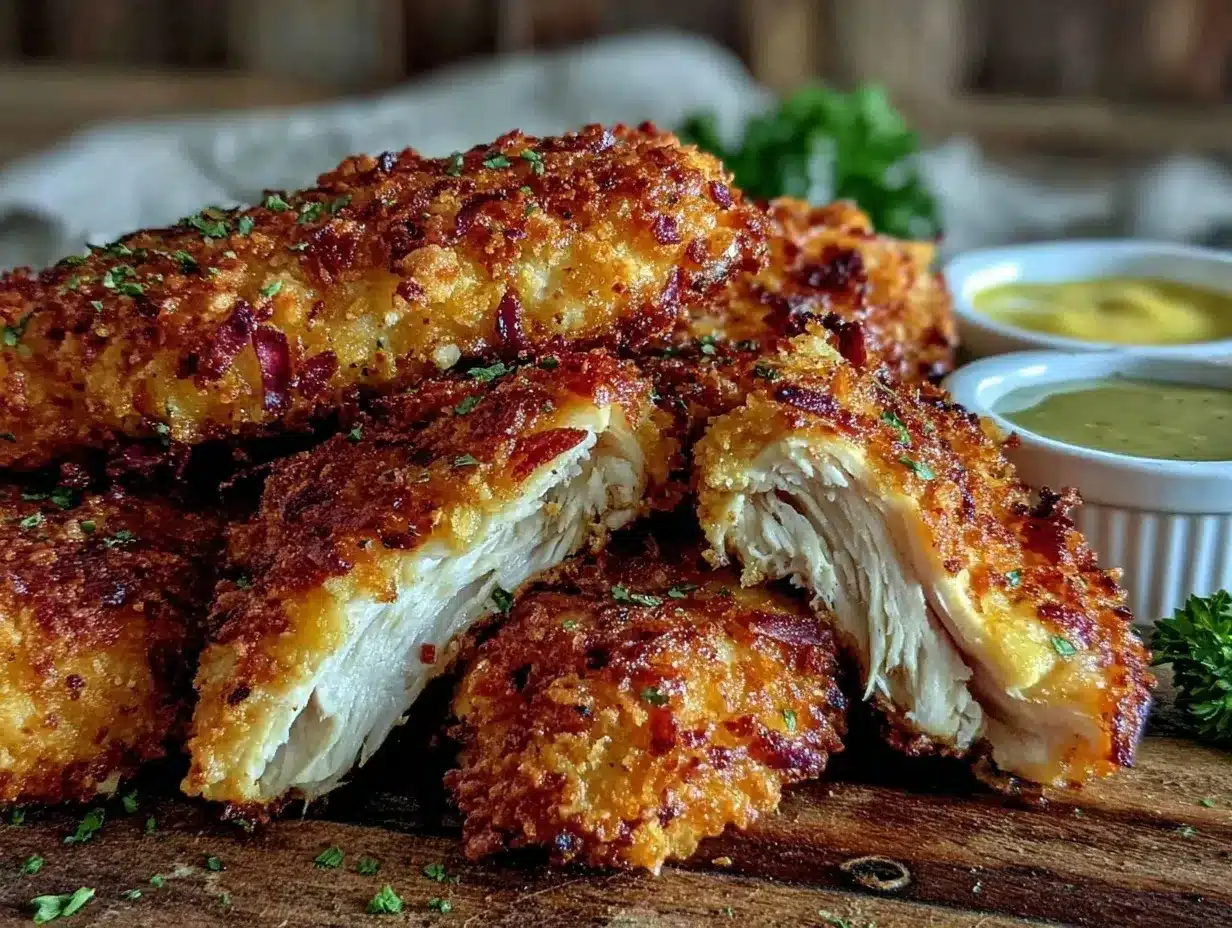
“Hey, did you try making those chicken tenders yet?” That text popped up just as I was peeling off my work shoes after a marathon day. Honestly, I wasn’t in the mood for anything complicated, but the thought of crispy baked chicken tenders with that golden panko crust lingered like a tempting promise. I’d made them earlier that week, almost by accident—trying to skip frying yet still get that satisfying crunch. The first bite was a surprise: crisp, flavorful, and juicy without the greasy mess. It wasn’t just a quick fix for a tired evening; it became my go-to comfort food, a little reset button after chaos.
What stuck wasn’t just the texture or the taste but how easy it felt to pull together. No hours sweating over the stove, no oil splatters that haunt your kitchen for days. Just simple ingredients, a straightforward method, and that crispy golden crust that hits the spot every time. Honestly, I can’t count how many times I’ve made these since then—sometimes for a quick dinner, sometimes for a casual get-together when friends drop by unexpectedly. There’s something about that crunch paired with tender chicken that feels like a small celebration in your mouth.
Looking back, I realize these crispy baked chicken tenders aren’t just a recipe. They’re my little secret weapon for busy nights and hungry appetites. And if you ask me, they’re exactly the kind of dish worth mastering. So, if you’re ready to shake up your chicken game with something easy, tasty, and downright satisfying, this recipe might just become your new favorite too.
Why You’ll Love This Recipe
After testing this recipe multiple times, I’m confident it ticks all the boxes for a homemade crispy baked chicken tenders dish that really delivers. Here’s what makes it stand out:
- Quick & Easy: From prep to plate in under 30 minutes—perfect when time is tight but cravings are big.
- Simple Ingredients: No exotic spices or hard-to-find items; just pantry staples and fresh chicken.
- Perfect for Any Occasion: Whether it’s a cozy family dinner, casual weekend lunch, or a crowd-pleasing snack for friends, these tenders fit the bill.
- Crowd-Pleaser: Kids, adults, picky eaters—you name it. The golden panko crust wins everyone over.
- Unbelievably Delicious: The secret is the combination of a well-seasoned panko crust and juicy chicken that stays tender inside.
This isn’t just another baked chicken tender recipe. What sets it apart is the technique of lightly misting the panko with oil before baking, which creates that unbeatable crunch without frying. Plus, the seasoning blend is balanced—just enough kick to be interesting without overpowering the natural chicken flavor. I’ve tried versions with regular breadcrumbs before, but the panko crust truly gives it that light, flaky texture that feels special yet approachable.
Honestly, making these reminds me of a simpler way to enjoy comfort food without the guilt. They’re perfect for impressing guests without the stress, or just treating yourself to something tasty and homemade. And if you’re into pairing them with a brunch spread, they’re a natural companion to fluffy lemon ricotta pancakes or a fresh spring garden vegetable frittata for a full, satisfying meal.
What Ingredients You Will Need
This recipe uses simple, wholesome ingredients to deliver bold flavor and satisfying texture without the fuss. Most are pantry staples, and you can swap a few to fit your preferences or dietary needs.
- Chicken Tenders: About 1.5 pounds (680 grams) of fresh chicken tenders. If unavailable, boneless, skinless chicken breasts cut into strips work fine.
- Panko Breadcrumbs: 1.5 cups (150 grams) of Japanese-style panko breadcrumbs for that signature golden crunch. I prefer Kikkoman brand for consistent texture.
- Parmesan Cheese: ½ cup (50 grams), finely grated. Adds a subtle savory depth to the crust.
- All-Purpose Flour: ½ cup (60 grams), for the initial coating to help the egg adhere.
- Eggs: 2 large eggs, beaten, room temperature. Acts as the glue for the panko coating.
- Garlic Powder: 1 teaspoon, for a gentle savory note.
- Paprika: 1 teaspoon, adds color and a hint of smokiness.
- Salt & Black Pepper: 1 teaspoon salt and ½ teaspoon freshly ground black pepper, balanced seasoning.
- Olive Oil or Cooking Spray: To lightly mist the coated tenders before baking, ensuring crispiness.
For easy substitutions:
- Use gluten-free panko or almond flour for a gluten-free option.
- Swap Parmesan with nutritional yeast for a dairy-free crust variation.
- Try smoked paprika instead of regular for a deeper flavor twist.
Seasoning is simple but key here. I’ve found that using freshly ground black pepper and good-quality paprika makes a noticeable difference. The basic flour and egg setup is classic for breading, but the magic really happens with the panko-Parmesan combo. You can also add a pinch of dried herbs like thyme or oregano if you want a little extra personality.
Equipment Needed
- Baking Sheet: A rimmed baking sheet works best to catch any drips and ensure even cooking. I use a heavy-duty aluminum one that’s easy to clean.
- Wire Rack: Optional but highly recommended. Placing tenders on a wire rack over the baking sheet helps air circulate underneath, making the crust crispier all around.
- Mixing Bowls: At least three—one for flour, one for beaten eggs, and one for the panko mixture.
- Tongs or Fork: For dipping and flipping the chicken tenders without messing your hands too much.
- Cooking Spray or Oil Mister: To lightly coat the panko before baking. A mister is great for even coverage.
If you don’t have a wire rack, no worries—just flip the tenders halfway through baking to crisp both sides. For budget-friendly options, a simple cooling rack placed on the baking sheet can work just fine. Also, a silicone baking mat can prevent sticking if you prefer not to use parchment paper.
From experience, investing in a decent quality baking sheet makes a difference; cheap, thin pans tend to create hot spots that can burn the crust. I learned this the hard way after my first batch was unevenly cooked. Having the right tools makes the whole process smoother and the results more consistent.
Preparation Method
- Preheat Your Oven: Set it to 425°F (220°C). This high heat is crucial to get that golden crust without drying out the chicken. Line your baking sheet with parchment paper or foil for easy cleanup, and place a wire rack on top if you have one.
- Prepare the Breading Stations: In one bowl, add the all-purpose flour. In the second, beat the eggs until smooth. In the third, mix panko breadcrumbs, grated Parmesan, garlic powder, paprika, salt, and pepper.
- Coat the Chicken: Take each chicken tender and first dredge it in the flour, shaking off excess. Then dip it into the beaten eggs, allowing excess to drip back into the bowl. Finally, press the chicken firmly into the panko mixture, making sure it’s evenly coated on all sides. Place coated tenders on the prepared rack or directly on the baking sheet.
- Mist with Oil: Lightly spray or drizzle olive oil over each coated tender. This step is the secret to achieving that deep golden color and crunch without frying. Don’t skip it!
- Bake: Place the baking sheet in the preheated oven. Bake for 15-18 minutes, flipping the tenders halfway through to ensure both sides crisp up evenly. The chicken should reach an internal temperature of 165°F (74°C) when tested with a meat thermometer.
- Rest and Serve: Let the tenders rest for 3-5 minutes after baking. This helps the juices redistribute, keeping the chicken moist inside. Serve with your favorite dipping sauces or alongside a fresh salad.
During prep, keep an eye on how firmly you press the panko onto the chicken; too light and it might fall off during baking, too heavy and it can get soggy. Also, make sure your tenders aren’t overcrowded on the baking sheet—give them space so the hot air can crisp every side.
One time, I accidentally skipped the flipping step and ended up with one side pale and soft while the other had that perfect crunch. Lesson learned—flip those tenders!
Cooking Tips & Techniques
Getting that perfect crispy baked chicken tenders crust takes a few insider tricks I’ve picked up over time. First off, don’t underestimate the power of the panko breadcrumb. Its larger flakes make all the difference between a soggy coating and a crunch that lasts.
Here’s what I’ve learned:
- Oil is Your Friend: Lightly misting or brushing the panko with oil before baking helps create that irresistible golden crust. Skip it, and you’ll end up with dull, dry-looking tenders.
- Temperature Matters: Baking at 425°F ensures the coating crisps quickly, sealing in chicken juices. Lower temps tend to dry out the meat before the crust forms.
- Use a Wire Rack: Elevating the tenders allows air to circulate underneath, preventing sogginess. No rack? Flip halfway!
- Don’t Overcrowd: Crowding traps steam, turning the crust limp. Give each tender breathing room.
- Season Every Layer: Salt the flour, egg, or panko mixture lightly to build flavor throughout the crust.
I once tried baking these with regular breadcrumbs and no oil spray. The result? Meh. Dry, crumbly coating that didn’t hold up. After switching to panko and using a simple olive oil mister, the texture shot way up. Also, multitasking helps: prep your dipping stations first, then coat the chicken in batches for a smoother workflow.
Variations & Adaptations
This crispy baked chicken tenders recipe is a blank canvas for all sorts of flavor twists or dietary tweaks. Here are a few ideas I’ve played around with:
- Spicy Kick: Add ½ teaspoon cayenne pepper or a dash of hot sauce to the egg wash for a subtle heat. My family loves this version paired with a cooling ranch dip.
- Herby Crunch: Mix dried Italian herbs like oregano, thyme, and basil into the panko for a Mediterranean vibe. It brings a fresh aroma and depth.
- Gluten-Free: Swap all-purpose flour for rice flour and use gluten-free panko breadcrumbs. The texture stays satisfyingly crisp.
- Parmesan-Free: Replace Parmesan with nutritional yeast or finely ground toasted nuts like almonds for a dairy-free crust.
- Air Fryer Adaptation: If you want an even faster route, these tenders crisp up beautifully in an air fryer at 400°F (200°C) for 10-12 minutes, flipping halfway.
Personally, I once made a batch with smoked paprika and fresh rosemary for a dinner party—got rave reviews and zero leftovers. It’s fun to tweak this recipe depending on the season or mood. If you’re curious, you might enjoy pairing these with a bright, fresh salad like the fresh strawberry spinach salad with poppy seed dressing to balance the crunch with something juicy and light.
Serving & Storage Suggestions
These crispy baked chicken tenders are best served warm and fresh, right out of the oven when that panko crust is at its crunchiest. For presentation, arrange them on a platter with an assortment of dipping sauces—honey mustard, classic ranch, or spicy sriracha mayo all work wonders.
They make a fantastic finger food for casual gatherings or a hearty main dish paired with sides like roasted veggies or garlic mashed potatoes. If you’re putting together a brunch spread, they fit right in alongside dishes such as the Quiche Lorraine or fluffy lemon ricotta pancakes for a savory twist.
To store, keep leftovers in an airtight container in the refrigerator for up to 3 days. When reheating, use the oven or air fryer to regain crispness—microwaving tends to soften the crust.
For freezing, flash freeze the baked tenders on a tray for about an hour, then transfer to a freezer bag. Reheat straight from frozen at 375°F (190°C) for 15-20 minutes until hot and crispy again. Flavors actually deepen a bit after resting, so leftovers can taste even better the next day.
Nutritional Information & Benefits
Each serving of these crispy baked chicken tenders (about 4 pieces) contains roughly 320 calories, 25 grams of protein, 12 grams of fat, and 15 grams of carbohydrates. The panko crust provides a satisfying crunch with moderate calories, while the chicken offers lean protein for muscle repair.
Key ingredients like Parmesan add calcium and umami, and using olive oil mist instead of deep frying keeps the fat content healthier. This recipe fits nicely into balanced diets and can be adapted for gluten-free or dairy-free needs.
From a wellness perspective, these tenders offer comfort food with less guilt compared to fried versions. They’re a practical way to include protein in your meals without overloading on oil or heavy breading. Plus, controlling seasoning and ingredients at home means no hidden additives or preservatives.
Conclusion
If you’re looking for a straightforward way to enjoy crispy, juicy chicken tenders without the mess of frying, this recipe nails it every time. The golden panko crust delivers that crave-worthy crunch, while the tender chicken inside keeps things satisfying and wholesome. Plus, the simple prep and quick bake make it perfect for busy weeknights or casual entertaining.
Feel free to experiment with the seasoning or try one of the variations to put your own spin on this classic. I’ve found myself returning to this recipe again and again—sometimes as a quick dinner, sometimes as a snack that wins over unexpected guests. It’s just one of those recipes that feels like a little homemade win.
Give it a shot and let me know how your batch turns out. I’d love to hear your twists or favorite dipping sauces. Here’s to crispy, golden, homemade goodness that’s easier than you think!
FAQs About Crispy Baked Chicken Tenders
Can I use frozen chicken tenders for this recipe?
Yes, but make sure to fully thaw and pat them dry before breading to help the coating stick and crisp up properly.
How do I keep the panko crust from falling off?
Press the panko mixture firmly onto the chicken and use the flour-egg-panko dredging sequence. Also, lightly misting with oil helps the crumbs adhere and crisp.
What dipping sauces go well with these chicken tenders?
Honey mustard, ranch, BBQ sauce, or spicy sriracha mayo are popular choices. You can even mix Greek yogurt with herbs for a lighter dip.
Can I make these tenders ahead of time?
You can bread them ahead and refrigerate for a few hours before baking, but for best crispness, bake just before serving.
Is it possible to bake these without Parmesan cheese?
Absolutely. You can skip Parmesan or replace it with nutritional yeast or finely ground nuts for a similar savory flavor.
Pin This Recipe!
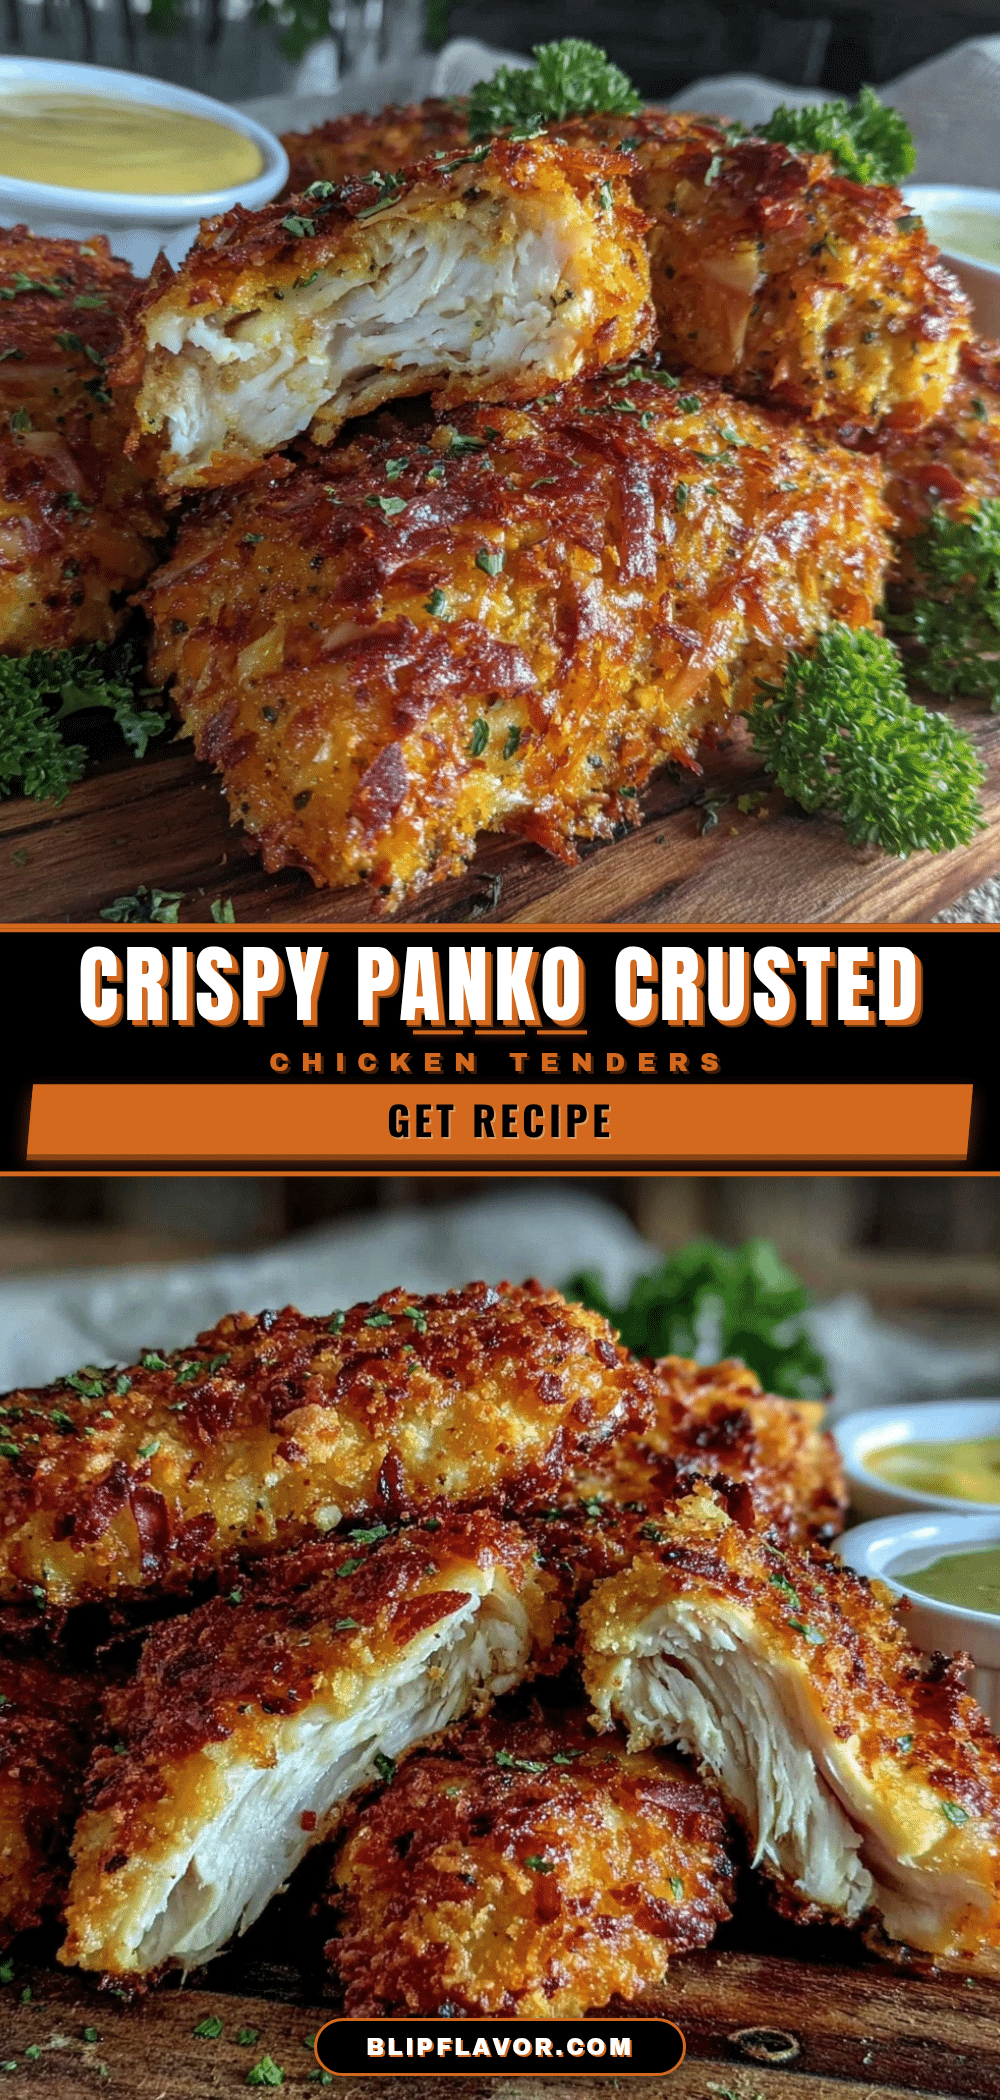
Crispy Baked Chicken Tenders Recipe Easy Homemade Golden Panko Crust

This recipe delivers crispy, flavorful, and juicy baked chicken tenders with a golden panko crust, perfect for quick dinners or casual gatherings without the mess of frying.
- Prep Time: 10 minutes
- Cook Time: 18 minutes
- Total Time: 28 minutes
- Yield: 4 servings 1x
- Category: Main Course
- Cuisine: American
Ingredients
- 1.5 pounds fresh chicken tenders (or boneless, skinless chicken breasts cut into strips)
- 1.5 cups Japanese-style panko breadcrumbs
- ½ cup finely grated Parmesan cheese
- ½ cup all-purpose flour
- 2 large eggs, beaten
- 1 teaspoon garlic powder
- 1 teaspoon paprika
- 1 teaspoon salt
- ½ teaspoon freshly ground black pepper
- Olive oil or cooking spray for misting
Instructions
- Preheat oven to 425°F (220°C). Line a baking sheet with parchment paper or foil and place a wire rack on top if available.
- Set up three bowls: one with flour, one with beaten eggs, and one with panko breadcrumbs mixed with Parmesan, garlic powder, paprika, salt, and pepper.
- Dredge each chicken tender in flour, shaking off excess.
- Dip the floured chicken tender into the beaten eggs, allowing excess to drip off.
- Press the chicken firmly into the panko mixture, coating evenly on all sides.
- Place coated tenders on the wire rack or directly on the baking sheet.
- Lightly mist or drizzle olive oil over each coated tender.
- Bake for 15-18 minutes, flipping halfway through, until chicken reaches an internal temperature of 165°F (74°C) and crust is golden and crispy.
- Let tenders rest for 3-5 minutes before serving.
Notes
Lightly misting the panko-coated tenders with oil before baking is key to achieving a golden, crispy crust without frying. Use a wire rack for even crispiness or flip tenders halfway if no rack is available. Avoid overcrowding the baking sheet to prevent soggy crusts. For gluten-free, substitute flour and panko with gluten-free alternatives. Parmesan can be replaced with nutritional yeast or ground nuts for dairy-free versions.
Nutrition
- Serving Size: About 4 pieces per s
- Calories: 320
- Fat: 12
- Carbohydrates: 15
- Protein: 25
Keywords: crispy baked chicken tenders, panko crust chicken, easy chicken tenders, baked chicken recipe, homemade chicken tenders, healthy chicken tenders