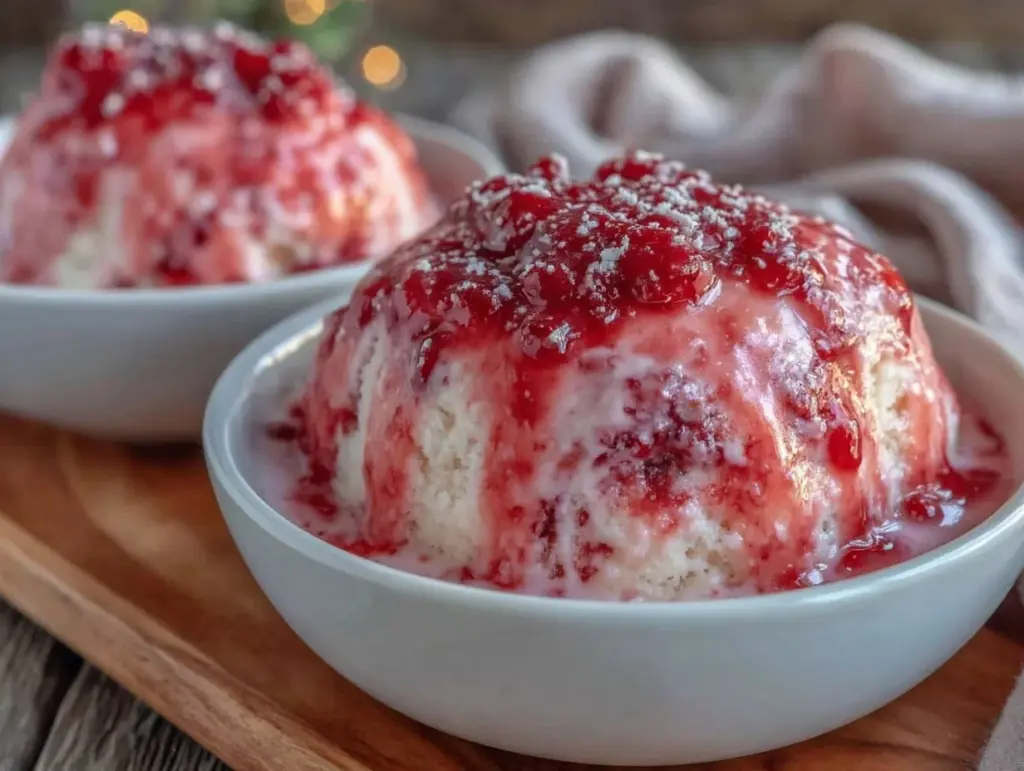
Let me tell you, the moment you catch a glimpse of that glossy, creamy pink glaze shimmering atop a dessert, your sweet tooth instantly perks up. The kind of shine that makes you pause, take a deep breath, and just smile because you know you’re about to experience something truly special. The first time I whipped up this creamy pink glaze recipe, I was instantly hooked. It was a rainy weekend, and I was trying to recreate a glaze I’d seen in a bakery window years ago when I was knee-high to a grasshopper. Honestly, I wish I’d found this recipe way sooner—it’s dangerously easy and adds pure, nostalgic comfort to any dessert.
My family couldn’t stop sneaking spoonfuls right off the mixing bowl (and I can’t really blame them). Whether it’s brightening up a batch of cupcakes, draping over a simple pound cake, or giving your Pinterest cookie board that extra pop of color and shine, this creamy pink glaze recipe is a surefire crowd-pleaser. Tested multiple times in the name of research, of course, it’s become a staple for family gatherings and last-minute celebrations alike. You’re going to want to bookmark this one, trust me.
Why You’ll Love This Recipe
You know, not all glazes are created equal. What sets this creamy pink glaze recipe apart is how effortlessly it turns ordinary desserts into something that looks and tastes like a masterpiece. Here’s why this recipe is a total winner:
- Quick & Easy: Whips up in under 10 minutes – perfect for those last-minute dessert emergencies or when you’re craving something sweet and pretty.
- Simple Ingredients: No fancy, hard-to-find items here. Chances are you already have everything in your pantry and fridge.
- Perfect for Any Occasion: From casual family dinners to birthday parties and bridal showers, this glaze adds that wow factor effortlessly.
- Crowd-Pleaser: Kids and adults alike can’t get enough of that creamy, shiny finish.
- Unbelievably Delicious: The balance of sweetness and subtle tartness from the pink hue makes every bite a joy.
What really makes this recipe stand out is the secret blend of creaminess and just the right sheen. It’s not too runny, not too thick – it coats your dessert perfectly, holding that irresistible shine without cracking. Plus, you can tweak it to your heart’s content, whether you want it a bit sweeter or more tangy. Honestly, it’s comfort food with a twist, making your desserts feel like a warm hug on a plate.
What Ingredients You Will Need
This recipe uses simple, wholesome ingredients to deliver bold flavor and a satisfying texture without the fuss. Most of these ingredients are pantry staples, and you can easily swap a few based on what you have on hand.
- Powdered Sugar – about 1 ½ cups (180g), the base that gives the glaze its smooth sweetness.
- Heavy Cream – 2 to 3 tablespoons (30-45 ml), adds that luscious creaminess you want in a glaze.
- Unsalted Butter – 2 tablespoons (28g), melted and slightly cooled, for richness and shine.
- Vanilla Extract – 1 teaspoon, for a warm, inviting aroma.
- Beet Juice or Natural Pink Food Coloring – 1 to 2 teaspoons, to create that gorgeous pink hue without artificial dyes (I love using beet juice for a natural touch).
- Fresh Lemon Juice – 1 teaspoon, to balance sweetness with a subtle tang (optional but recommended).
Ingredient Tips: I personally recommend using a high-quality powdered sugar like Domino for the smoothest texture. If you want a dairy-free version, swap heavy cream and butter for coconut cream and vegan butter – it still comes out creamy and shiny! For seasonal flair, you can mix in a bit of strawberry puree instead of beet juice for a fresh summer vibe.
Equipment Needed
- Medium mixing bowl – for combining your glaze ingredients.
- Whisk or hand mixer – helps get that perfect, lump-free consistency. I prefer a small whisk for better control.
- Measuring cups and spoons – precise measurements matter here to get that balance just right.
- Rubber spatula – great for scraping down the sides and folding everything together.
- Optional: Small sieve or fine mesh strainer – if you want an ultra-smooth glaze, passing it through a sieve removes any lumps.
If you’re on a budget, no need to splurge on fancy mixers – a good old-fashioned whisk works wonders. Just make sure your bowl is big enough to whisk without mess. And a quick tip: keep your butter softened but not melted to avoid a greasy glaze.
Preparation Method
- Start by melting the butter. Use a microwave-safe bowl or stovetop, and let it cool slightly so it’s warm but not hot (about 1-2 minutes). Hot butter can melt the powdered sugar too much and cause separation.
- Sift the powdered sugar into your mixing bowl. This step helps avoid any lumps and ensures a silky smooth glaze.
- Add the warm melted butter to the powdered sugar and start whisking gently. The mixture will begin to look thick and sandy.
- Slowly pour in the heavy cream, one tablespoon at a time, whisking after each addition. The glaze will start to loosen up, getting creamy and glossy. You want it thick enough to coat a spoon but still pourable.
- Mix in the vanilla extract and fresh lemon juice (if using). The lemon juice adds a subtle brightness that cuts through the sweetness beautifully.
- Add your pink colorant: either a teaspoon or two of beet juice or natural pink food coloring. Whisk until the color is uniform. If you want a deeper pink, add a little more, but be careful not to thin out the glaze.
- Check consistency. If it feels too thick, add a splash more cream, a teaspoon at a time. Too thin? Dust in a bit more powdered sugar.
- Optional step: For an ultra-smooth finish, pour the glaze through a fine mesh sieve into a clean bowl.
- Use immediately by drizzling or spreading over your cooled desserts. The glaze sets beautifully in about 10-15 minutes at room temperature, leaving that irresistible shine.
When I first made this, I found whisking by hand gave me the best control over thickness. Also, if you want a thicker glaze for piping, just add more powdered sugar and less cream. Just remember, this glaze is best when fresh—though you can store leftovers in the fridge and gently warm before using again.
Cooking Tips & Techniques
Getting that creamy pink glaze recipe just right can feel like a little dance, but a few tricks make all the difference. First, always sift your powdered sugar—lumps are the enemy here. I learned the hard way when my first batch had those sneaky clumps that refused to melt in.
Temperature matters: warm butter mixes better but avoid hot butter that can separate the glaze. Also, add cream gradually; it’s easier to thin out thick glaze than to fix one that’s too runny.
Whisking vigorously helps develop that beautiful shine, but don’t overdo it or you might incorporate air bubbles that dull the surface. If you notice any, a gentle tap on the counter often smooths things out.
Timing is key. This glaze sets quickly, so have your dessert ready to go before you start mixing. Multitasking by prepping your toppings or decorations while the glaze sets can save time and keep things efficient.
Variations & Adaptations
One of the best things about this creamy pink glaze recipe is how easy it is to customize.
- Flavor Variations: Swap vanilla for almond or rose water extract for a fragrant twist. A splash of orange juice instead of lemon brightens the flavor wonderfully.
- Dietary Adaptations: Use coconut cream and vegan butter to make a dairy-free glaze that’s just as creamy and glossy. For a sugar-free option, try powdered erythritol, though the texture will be slightly different.
- Color Alternatives: Instead of beet juice, try pureed raspberries or strawberries for a fresh pink tint with a hint of fruity flavor. Or add a drop of natural purple sweet potato powder for a pastel purple glaze.
I once made a batch with lavender extract and it was a hit at a spring brunch. Honestly, you can’t go wrong experimenting with your favorite flavors and colors here—just keep an eye on consistency!
Serving & Storage Suggestions
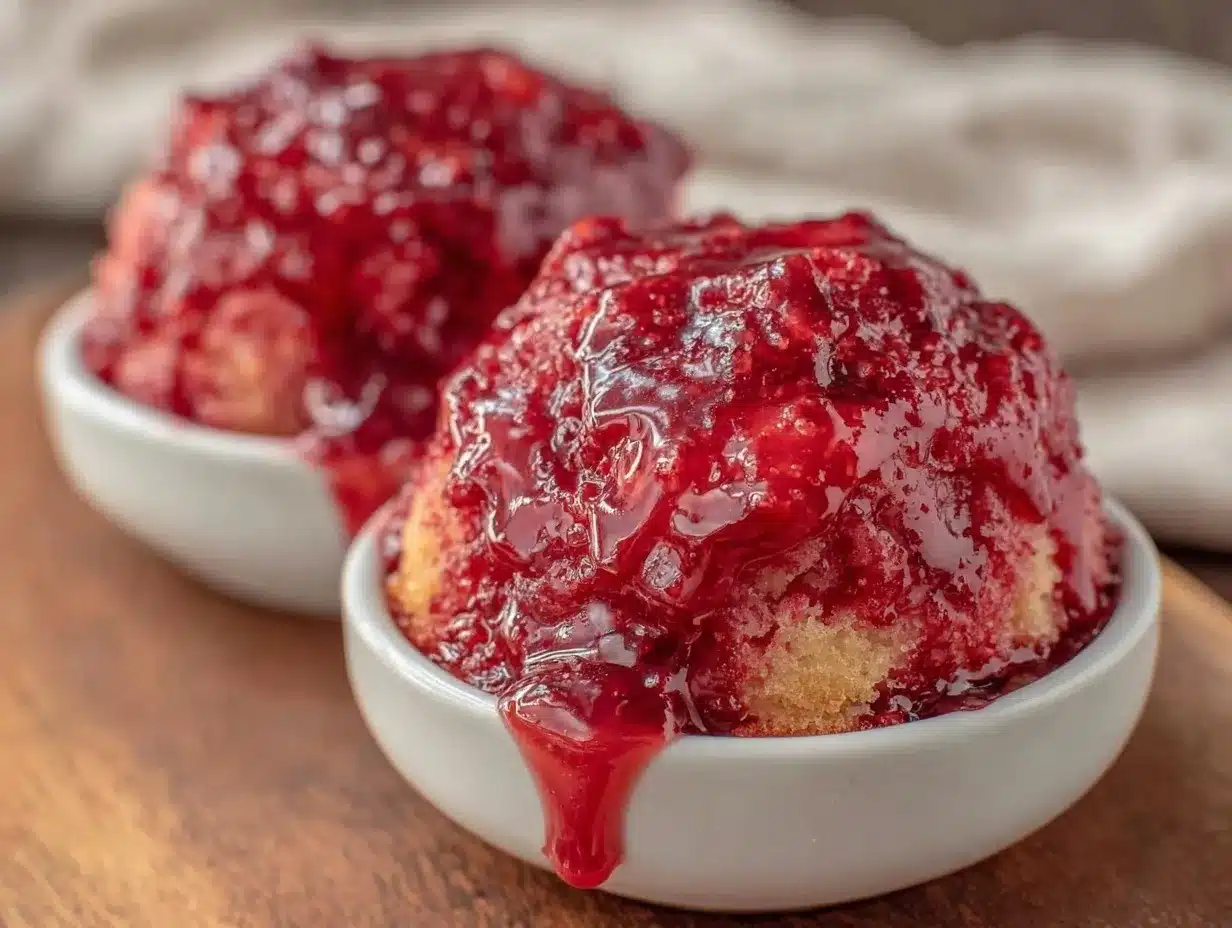
This creamy pink glaze is best served at room temperature, so your dessert looks glossy and inviting. It pairs beautifully with vanilla cakes, lemon bars, and sugar cookies. For a lovely presentation, drizzle it in a zigzag or smooth it over the top with an offset spatula for that perfect shine.
Store any leftover glaze in an airtight container in the refrigerator for up to 3 days. When you’re ready to use it again, gently warm and whisk until smooth. Keep in mind, the glaze thickens as it cools, so warming helps bring back that pourable consistency.
Flavors tend to develop slightly over time, especially if you’ve added fresh juice or extracts, giving your glaze a richer, more complex taste after a day or two. Just don’t wait too long—fresh is best for that signature creamy shine.
Nutritional Information & Benefits
This creamy pink glaze recipe is a sweet treat, so enjoy it in moderation. Each serving (about 2 tablespoons) contains roughly:
| Calories | 90 |
|---|---|
| Fat | 4.5g |
| Sugar | 13g |
| Protein | 0.2g |
Key ingredients like beet juice or fresh lemon add a touch of antioxidants and vitamin C, which is a nice bonus in a sweet glaze. This recipe is naturally gluten-free and can be made dairy-free with simple swaps, making it accessible for many dietary needs. Just watch for allergies related to dairy or specific flavor extracts.
From a wellness perspective, I love that this glaze uses natural coloring options and real ingredients rather than artificial dyes or preservatives. It’s a small indulgence that feels a little bit better knowing what’s inside.
Conclusion
In the end, this creamy pink glaze recipe is one of those little kitchen gems that instantly lifts your desserts from everyday to unforgettable. Whether you’re dressing up a batch of cupcakes or adding a shiny kiss to a lemon loaf, this glaze brings charm, flavor, and a luscious texture that’s hard to beat.
Feel free to play around with flavors and colors to make it your own—it’s flexible enough to match your mood and occasion. Honestly, it’s become one of my favorite go-to recipes because it’s quick, reliable, and just plain fun to make.
Give it a try, then come back and tell me how you customized it or which desserts you paired it with. I love hearing your stories! Here’s to many glossy, creamy, pink-glazed treats ahead.
FAQs
Can I make this creamy pink glaze ahead of time?
Yes! You can prepare it a day in advance and store it in the fridge. Just warm it gently and whisk before using to restore that perfect shine and pourable consistency.
What natural ingredients can I use for the pink color?
Beet juice is my favorite natural choice, but you can also use pureed raspberries, strawberries, or even a small amount of freeze-dried berry powder for vibrant pink hues.
How do I fix a glaze that’s too runny or too thick?
If it’s too runny, add a little more powdered sugar gradually. If it’s too thick, thin it out with a splash of heavy cream or milk, mixing carefully until you reach the desired consistency.
Can this glaze be used on warm desserts?
It’s best applied to cooled or room temperature desserts. Warm desserts can cause the glaze to melt and lose its shine, so wait until your baked goods have cooled completely.
Is this glaze suitable for vegan diets?
With simple swaps like coconut cream and vegan butter instead of dairy, yes! Just make sure your powdered sugar is vegan-friendly, and you’re good to go.
Pin This Recipe!
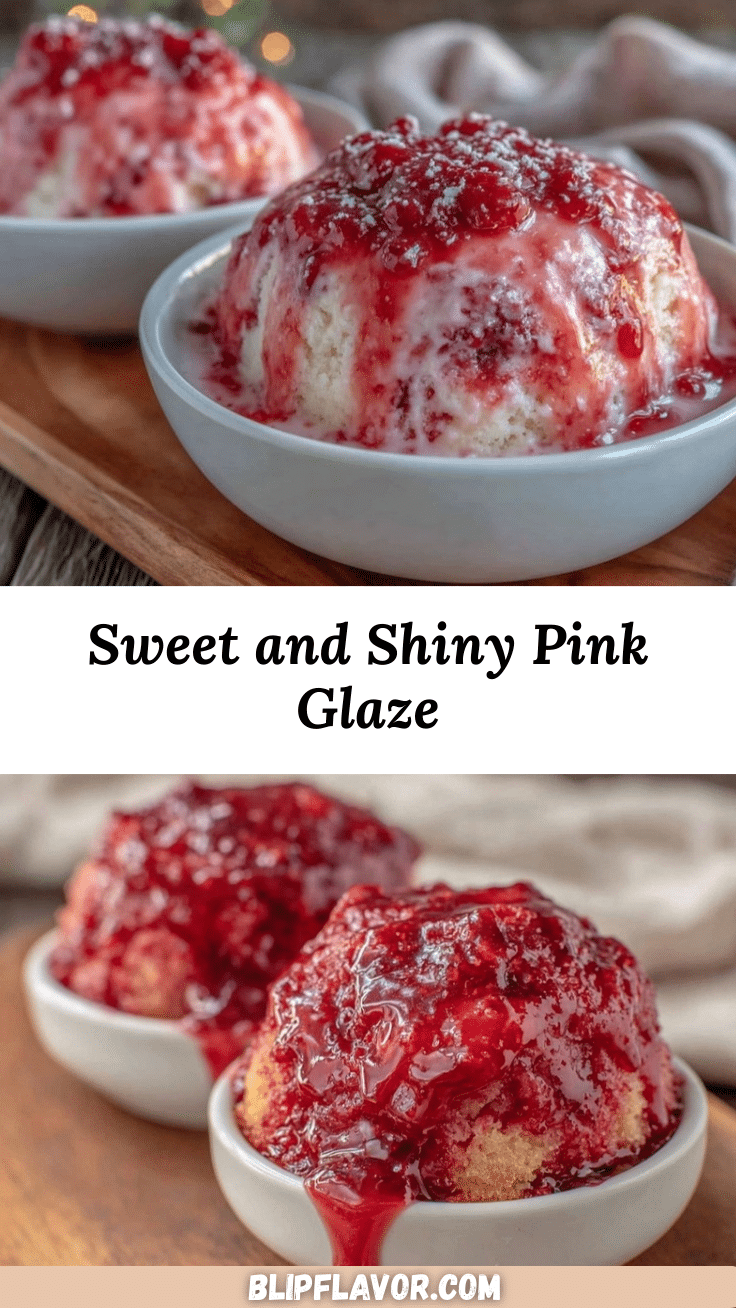
Creamy Pink Glaze Recipe Easy Homemade Shine for Desserts
A quick and easy creamy pink glaze that adds a glossy, luscious finish to any dessert. Made with simple ingredients, it delivers a perfect balance of sweetness and subtle tartness with a beautiful pink hue.
- Prep Time: 5 minutes
- Cook Time: 0 minutes
- Total Time: 10 minutes
- Yield: About 12 servings (2 tablespoons per serving) 1x
- Category: Dessert
- Cuisine: American
Ingredients
- 1 ½ cups (180g) powdered sugar
- 2 to 3 tablespoons (30–45 ml) heavy cream
- 2 tablespoons (28g) unsalted butter, melted and slightly cooled
- 1 teaspoon vanilla extract
- 1 to 2 teaspoons beet juice or natural pink food coloring
- 1 teaspoon fresh lemon juice (optional)
Instructions
- Melt the butter using a microwave-safe bowl or stovetop and let it cool slightly so it’s warm but not hot (about 1-2 minutes).
- Sift the powdered sugar into a mixing bowl to avoid lumps.
- Add the warm melted butter to the powdered sugar and whisk gently until the mixture looks thick and sandy.
- Slowly pour in the heavy cream, one tablespoon at a time, whisking after each addition until the glaze is creamy and glossy but still pourable.
- Mix in the vanilla extract and fresh lemon juice if using.
- Add beet juice or natural pink food coloring and whisk until the color is uniform. Add more colorant if a deeper pink is desired, but avoid thinning the glaze.
- Check consistency: if too thick, add a splash more cream; if too thin, add more powdered sugar.
- Optional: Pass the glaze through a fine mesh sieve for an ultra-smooth finish.
- Use immediately by drizzling or spreading over cooled desserts. The glaze sets in about 10-15 minutes at room temperature.
Notes
Use warm but not hot butter to avoid glaze separation. Sift powdered sugar to prevent lumps. Adjust consistency by adding cream or powdered sugar as needed. For dairy-free, substitute heavy cream and butter with coconut cream and vegan butter. Store leftovers in an airtight container in the fridge for up to 3 days and gently warm before reuse.
Nutrition
- Serving Size: 2 tablespoons
- Calories: 90
- Sugar: 13
- Fat: 4.5
- Protein: 0.2
Keywords: pink glaze, creamy glaze, dessert glaze, homemade glaze, easy glaze, shiny glaze, natural food coloring, beet juice glaze


