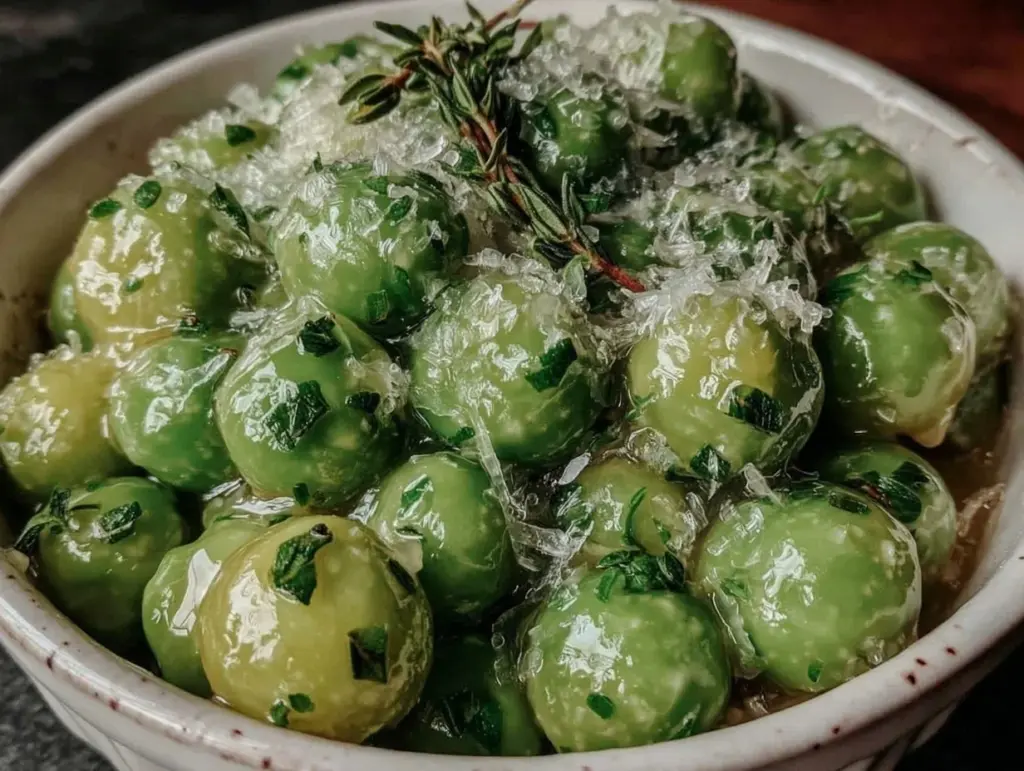
Let me tell you, the scent of fresh minted peas sizzling gently with a hint of zesty lemon and garlic is enough to make anyone’s mouth water. The first time I whipped up this fresh minted peas recipe with that lively zesty flavor, I was instantly hooked. It was one of those moments where you pause, take a deep breath, and just smile because you know you’re onto something truly special. Years ago, when I was knee-high to a grasshopper, peas were just the bland side dish my grandma served, but this version? It completely changed the game for me.
I actually stumbled upon this fresh minted peas recipe on a rainy weekend when I wanted something quick but bursting with flavor. Honestly, my family couldn’t stop sneaking them off the plate (and I can’t really blame them). It’s dangerously easy yet offers pure, nostalgic comfort with a bright twist. Whether you’re looking to brighten up your Pinterest recipe board or want a sweet, simple side for your dinner plate, this is it. After testing this fresh minted peas recipe more times than I can count (in the name of research, of course), it’s become a staple for family gatherings and a go-to giftable dish for friends. Trust me, this little bowl of green feels like a warm hug, and you’re going to want to bookmark this one.
Why You’ll Love This Recipe
Having made this fresh minted peas recipe again and again, I can confidently say it hits all the right notes. Here’s why it’s become a kitchen favorite:
- Quick & Easy: Comes together in under 15 minutes, perfect for busy weeknights or last-minute cravings.
- Simple Ingredients: No fancy grocery trips needed; you likely already have everything on hand.
- Perfect for Any Occasion: Great for potlucks, cozy dinners, or even a fancy brunch side.
- Crowd-Pleaser: Always gets rave reviews from kids and adults alike, even the picky eaters.
- Unbelievably Delicious: The fresh mint combined with zesty lemon and tender peas creates a next-level flavor combo.
This isn’t just another peas recipe. What makes it stand out is the way the mint is added at just the right moment—so it stays fresh and fragrant, not muddled. The zesty lemon juice and garlic bring a lively brightness that balances the natural sweetness of the peas perfectly. Honestly, it’s comfort food reimagined—healthier, faster, but with all the soul-soothing satisfaction. Whether you’re trying to impress guests without fuss or just want a simple side that feels special, this fresh minted peas recipe delivers every single time.
What Ingredients You Will Need
This fresh minted peas recipe calls for simple, wholesome ingredients that pack a flavor punch without any fuss. Most are pantry staples or easy to find in any grocery store, making this a breeze to put together.
- Fresh or Frozen Peas (about 3 cups / 450 grams) – Fresh is best if you can find it, but frozen works great too and is super convenient.
- Fresh Mint Leaves (1/4 cup, finely chopped) – Adds that crisp, refreshing aroma and flavor. I recommend using bright green, tender leaves for best results.
- Garlic Cloves (2 cloves, minced) – Brings a savory depth that balances the sweetness of the peas.
- Extra Virgin Olive Oil (2 tablespoons) – For sautéing and a silky finish. I like the fruity notes in California Olive Ranch brand.
- Lemon Juice (1 tablespoon, freshly squeezed) – The zesty kick that brightens everything up. Always fresh if possible.
- Salt (to taste) – I prefer sea salt flakes for a subtle crunch.
- Black Pepper (freshly cracked, to taste) – Adds just the right bit of warmth.
- Optional: Red Pepper Flakes (a pinch) – If you like a little heat.
You can swap out olive oil for avocado oil if you want a milder taste or use lemon zest in addition to juice for extra citrus punch. If you’re dairy-free, this recipe is already perfect as-is, but adding a sprinkle of nutritional yeast can give a subtle cheesy note without dairy. This fresh minted peas recipe is flexible and forgiving, so feel free to experiment a bit!
Equipment Needed
- Medium-sized skillet or sauté pan: Non-stick is ideal to keep the peas tender and prevent sticking.
- Sharp knife and cutting board: For finely chopping the mint and mincing garlic.
- Citrus juicer or reamer: To get the most juice out of your lemon easily.
- Measuring spoons and cups: For accurate ingredient amounts—because a little too much lemon can overpower the peas!
- Wooden spoon or silicone spatula: For gentle stirring to keep peas intact.
If you don’t have a skillet, a small saucepan works fine. When I first made this, I actually used a cast iron pan, which gave a nice caramelized edge to the peas—just watch the heat carefully. For chopping mint, I sometimes use kitchen shears instead of a knife for speed and less mess. Budget-wise, these tools are basics in most kitchens and don’t require any fancy gadgetry.
Preparation Method
- Prepare your ingredients: Rinse fresh peas under cold water and drain well. If using frozen peas, no need to thaw; just measure them out. Finely chop about 1/4 cup of fresh mint leaves and mince 2 garlic cloves. Squeeze 1 tablespoon of fresh lemon juice and set aside.
- Heat the skillet: Place your medium skillet over medium heat and add 2 tablespoons of extra virgin olive oil. Let it warm for about 1 minute until shimmering but not smoking.
- Sauté garlic: Add minced garlic to the skillet and cook for about 30 seconds to 1 minute, stirring constantly. You want the garlic fragrant but not browned (burnt garlic will turn bitter).
- Add peas: Toss in the peas and stir gently to coat with the garlic and oil. Cook for 3-4 minutes, stirring occasionally. If using fresh peas, they’ll turn tender-crisp; frozen peas will heat through nicely.
- Season and add lemon: Sprinkle salt and freshly cracked black pepper to taste. Add the tablespoon of lemon juice and stir well to combine. The citrus should brighten the dish instantly.
- Fold in fresh mint: Remove the skillet from heat and gently fold in the chopped mint leaves. This keeps the mint bright and fresh, avoiding that cooked-down, dull flavor.
- Final taste check: Give it a quick taste and adjust seasoning if needed—maybe a pinch more salt or a little extra lemon juice, depending on your preference.
- Serve immediately: Transfer to a serving dish and enjoy warm. This recipe shines best fresh but can be gently reheated.
Pro tip: Watch your garlic closely as it cooks; even a few seconds too long and it can overpower the delicate peas. Also, adding the mint at the end is crucial—trust me, I learned the hard way when I tossed it in too early and ended up with a dull flavor.
Cooking Tips & Techniques
Here’s what I’ve learned making this fresh minted peas recipe over the years. First, timing is everything—don’t overcook the peas or they’ll turn mushy and lose that lovely pop. Aim for tender but still vibrant green peas. Also, when you add the lemon juice, do it off the heat to preserve that fresh citrus zing.
Using fresh mint is key; dried mint just won’t cut it here. If you only have dried, add it sparingly and earlier in the cooking process so it can rehydrate. I recommend chopping the mint finely with a sharp knife rather than tearing it—this releases oils without bruising the leaves too much.
One common mistake is overheating the olive oil. If it starts to smoke, it will give a bitter note. Medium heat works best for gently coaxing out those flavors. For multitasking, prep your mint and garlic while the skillet heats up to keep things moving fast.
Finally, don’t rush the seasoning. Salt and pepper are your friends here, and a little tweak can make the whole dish sing. Taste as you go, and remember, the goal is a bright, lively side that complements rather than overwhelms.
Variations & Adaptations
Here are some fun ways to mix up this fresh minted peas recipe to suit different tastes or dietary needs:
- Vegan & Dairy-Free: This recipe is naturally vegan, but you can add a splash of coconut cream for a silky texture and subtle sweetness.
- Low-Carb/Keto: Keep it simple and serve with a sprinkle of toasted pine nuts or almonds for crunch and healthy fats.
- Seasonal Twist: Swap fresh mint for basil in summer to give a sweeter, peppery note. Or add chopped fresh dill in spring for a fresh herbaceous flavor.
- Spicy Kick: Toss in a pinch of red pepper flakes or a dash of smoked paprika to warm things up.
- Personal Favorite: I’ve tried stirring in crumbled feta cheese just before serving—adds a salty creaminess that pairs beautifully with the zesty peas.
Serving & Storage Suggestions
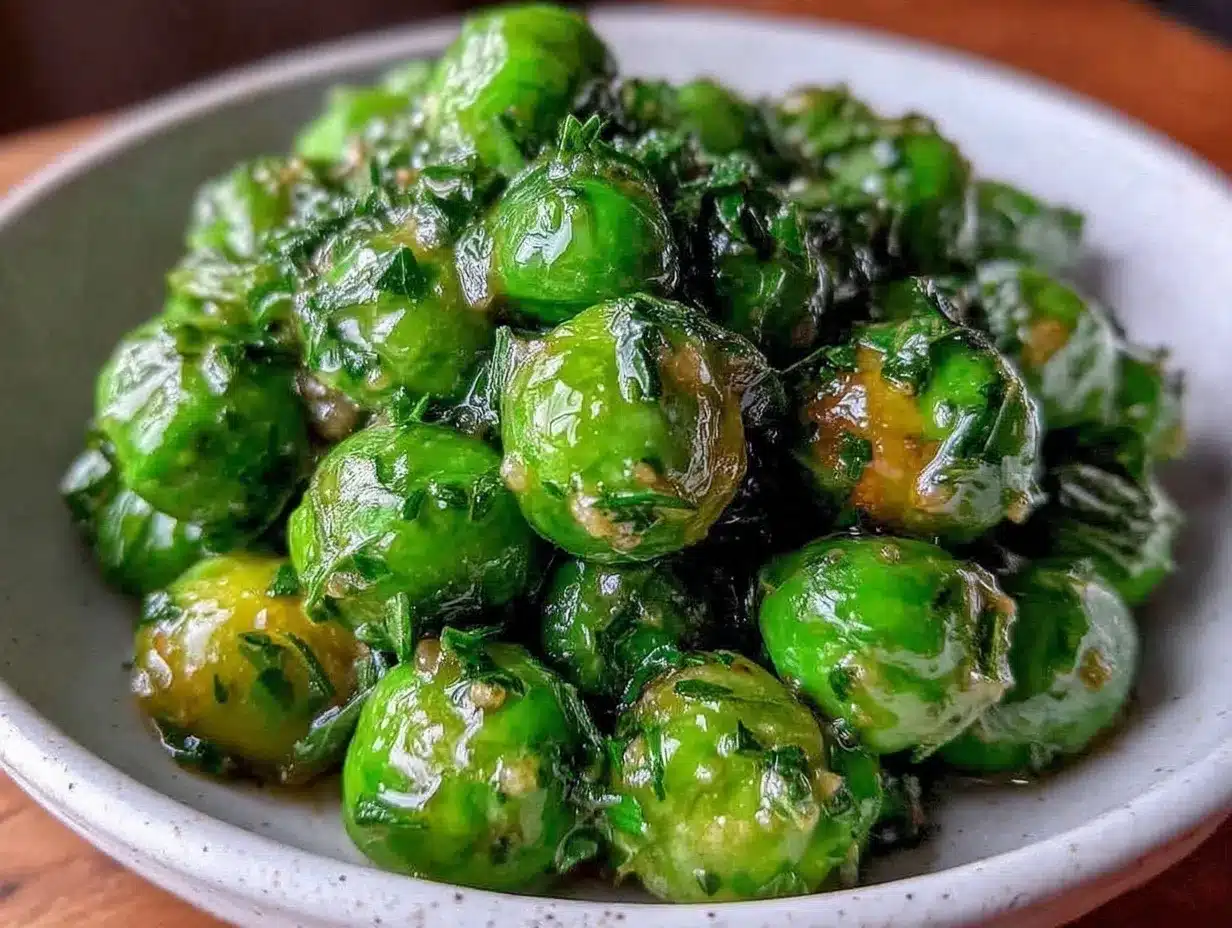
This fresh minted peas recipe is best served warm, right off the stove. It pairs wonderfully with grilled chicken, roasted fish, or even a simple egg dish for a bright, fresh side. For a casual gathering, serve in a pretty bowl garnished with a few whole mint leaves and a lemon wedge.
If you have leftovers, store them in an airtight container in the refrigerator for up to 3 days. When reheating, do so gently over low heat or in the microwave at short intervals to avoid overcooking. The flavors actually mellow and blend a bit after a day, making the dish even more harmonious.
For longer storage, you can freeze the cooked peas (without the mint) in a freezer-safe bag for up to 2 months. Thaw overnight in the fridge and add fresh mint just before serving to revive that fresh flavor.
Nutritional Information & Benefits
This fresh minted peas recipe is a nutrient powerhouse. Peas are rich in fiber, plant-based protein, and vitamins A, C, and K. Fresh mint adds antioxidants and aids digestion, while olive oil provides heart-healthy fats. With only a handful of ingredients, it’s naturally low in calories and gluten-free, making it friendly for many diets.
For those watching carbs, peas are moderate but packed with nutrients, and the addition of lemon boosts vitamin C for immune support. This dish is free from dairy and nuts unless you add optional toppings, making it a safe bet for many with allergies. Personally, I love how this recipe brings wholesome goodness without sacrificing flavor or comfort.
Conclusion
If you’re searching for a fresh, flavorful side that’s quick, easy, and downright delicious, this fresh minted peas recipe is your answer. The zesty lemon and fragrant mint lift the humble pea into something memorable and special. I love how versatile it is—perfect for weeknights, holidays, or any time you want to brighten your plate without fuss.
Give it a try and feel free to tweak the herbs or seasoning to your liking. After all, cooking is about making a recipe your own. I’d love to hear how you customize this one—drop a comment below or share your fresh minted peas adaptations. Happy cooking, and here’s to many more tasty, simple dishes to come!
FAQs
Can I use frozen peas for this fresh minted peas recipe?
Absolutely! Frozen peas work wonderfully and save prep time. Just add them straight to the pan without thawing and cook until heated through.
How do I keep the mint flavor fresh and vibrant?
Add the chopped mint off the heat at the very end of cooking. This avoids dulling the bright, fresh flavor.
Can I make this recipe ahead of time?
Yes, you can prepare the peas and refrigerate them for up to 3 days. Reheat gently and add fresh mint just before serving.
What can I serve alongside fresh minted peas?
They pair great with grilled meats, roasted fish, or eggs. They also work well as a light side for vegetarian meals.
Is this recipe suitable for a vegan diet?
Yes, it’s naturally vegan and dairy-free. Just keep optional add-ons like feta cheese out if you want to maintain vegan status.
Pin This Recipe!
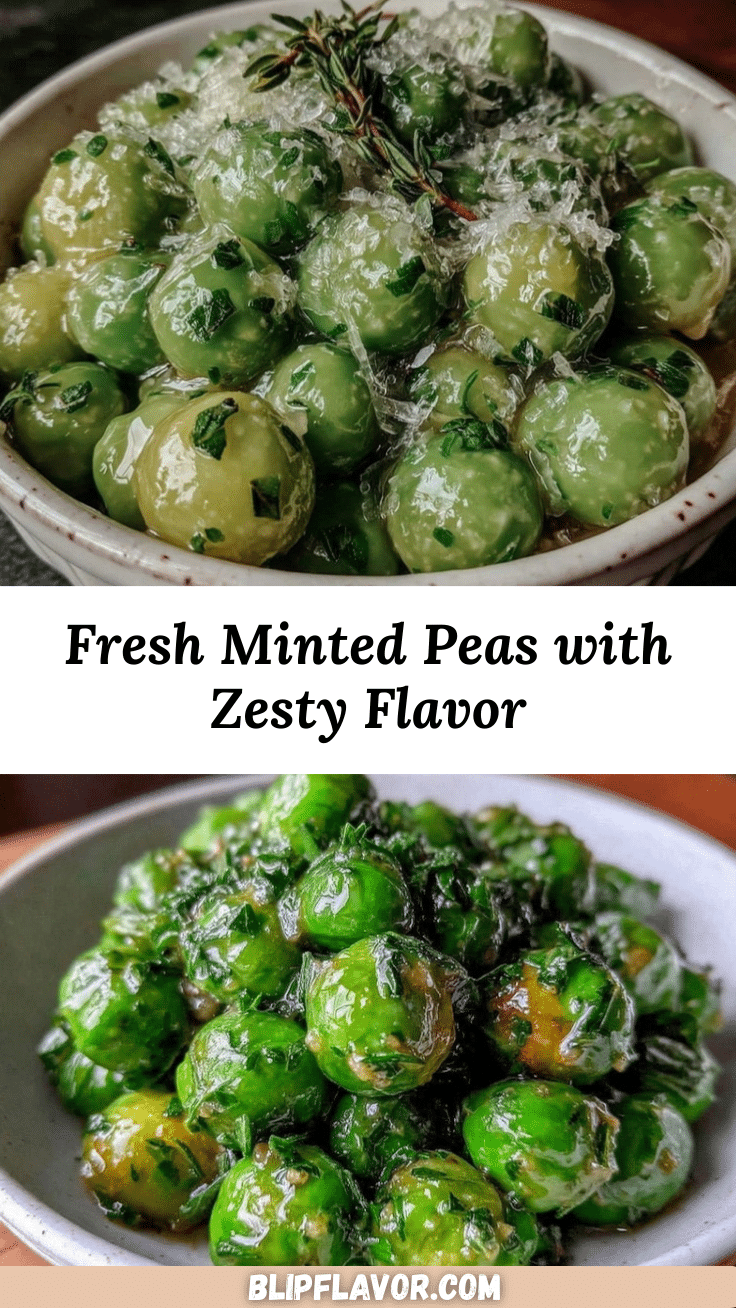
Fresh Minted Peas Recipe Easy Zesty Flavor Side Dish to Try Today

A quick and easy side dish featuring fresh or frozen peas sautéed with garlic, zesty lemon, and fresh mint for a bright, flavorful twist on a classic comfort food.
- Prep Time: 5 minutes
- Cook Time: 10 minutes
- Total Time: 15 minutes
- Yield: 4 servings 1x
- Category: Side Dish
- Cuisine: American
Ingredients
- 3 cups fresh or frozen peas (about 450 grams)
- 1/4 cup fresh mint leaves, finely chopped
- 2 garlic cloves, minced
- 2 tablespoons extra virgin olive oil
- 1 tablespoon freshly squeezed lemon juice
- Salt to taste
- Freshly cracked black pepper to taste
- Optional: pinch of red pepper flakes
Instructions
- Rinse fresh peas under cold water and drain well. If using frozen peas, no need to thaw; just measure them out.
- Finely chop about 1/4 cup of fresh mint leaves and mince 2 garlic cloves. Squeeze 1 tablespoon of fresh lemon juice and set aside.
- Place a medium skillet over medium heat and add 2 tablespoons of extra virgin olive oil. Let it warm for about 1 minute until shimmering but not smoking.
- Add minced garlic to the skillet and cook for about 30 seconds to 1 minute, stirring constantly, until fragrant but not browned.
- Toss in the peas and stir gently to coat with the garlic and oil. Cook for 3-4 minutes, stirring occasionally, until peas are tender-crisp or heated through.
- Sprinkle salt and freshly cracked black pepper to taste. Add the tablespoon of lemon juice and stir well to combine.
- Remove the skillet from heat and gently fold in the chopped mint leaves to keep the mint bright and fresh.
- Taste and adjust seasoning if needed, adding more salt or lemon juice as preferred.
- Serve immediately warm.
Notes
Add the mint off the heat at the very end to keep its flavor fresh and vibrant. Watch garlic closely to avoid burning. Use fresh lemon juice for best flavor. Frozen peas can be used without thawing. Optional red pepper flakes add a spicy kick.
Nutrition
- Serving Size: About 3/4 cup per se
- Calories: 90
- Sugar: 3
- Sodium: 150
- Fat: 7
- Saturated Fat: 1
- Carbohydrates: 7
- Fiber: 3
- Protein: 4
Keywords: minted peas, fresh peas recipe, easy side dish, zesty peas, lemon garlic peas, quick peas recipe, healthy side dish, vegan side dish


