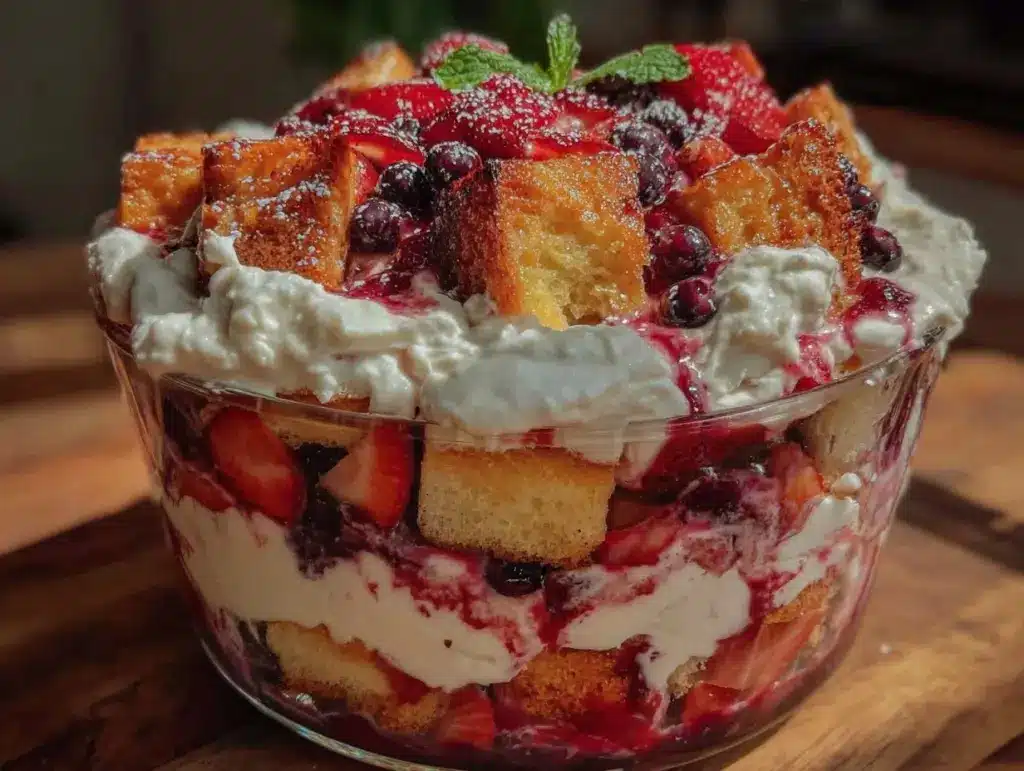
Let me tell you, the moment you scoop into this Easy Layered Berry Trifle Delight, the burst of fresh berries mingling with creamy layers is downright irresistible. The sight alone—a vibrant mosaic of reds, blues, and whites stacked high in a glass bowl—makes your mouth water before the first bite. The first time I put this trifle together, I was instantly hooked. It was one of those rare kitchen moments where you pause, take a deep breath, and just smile because you know you’ve stumbled on something truly special.
Years ago, when I was knee-high to a grasshopper, my grandma used to make a version of this dessert on warm summer afternoons. Back then, I never quite appreciated how dangerously easy and satisfying a trifle could be. Now, after perfecting my own Easy Layered Berry Trifle Delight recipe, I wish I’d discovered this quick, charming dessert years sooner. It’s pure, nostalgic comfort made fresh and fun.
Honestly, my family couldn’t stop sneaking spoonfuls straight from the bowl—especially my kids, who adored the layers of berries and whipped cream. This trifle has become a staple for potlucks, birthday parties, and those cozy weekend treats you want to share with friends. You know what? Whether you’re looking to brighten up your Pinterest cookie board or whip up a last-minute dessert that feels special, this recipe has got your back.
After testing this recipe multiple times—in the name of research, of course—I’m confident it’s a keeper. It’s the kind of dessert that feels like a warm hug, and I promise you’re going to want to bookmark this one.
Why You’ll Love This Recipe
This Easy Layered Berry Trifle Delight has been tested in my kitchen more times than I can count, and here’s why it’s become a go-to dessert for so many:
- Quick & Easy: Comes together in under 20 minutes, perfect for busy weeknights or unexpected guests.
- Simple Ingredients: No need for fancy or hard-to-find items—you probably have everything in your pantry or fridge already.
- Perfect for Any Occasion: Whether it’s brunch, a summer picnic, or a holiday gathering, this trifle makes a stunning centerpiece.
- Crowd-Pleaser: Kids, adults, picky eaters—they all rave about the fresh berries combined with creamy textures.
- Unbelievably Delicious: The balance of tart berries, fluffy whipped cream, and soft cake layers creates an unforgettable bite every time.
What makes this recipe stand out is the clever layering technique I use to keep the cake moist without turning soggy—plus a little secret ingredient in the whipped cream that adds a subtle tang and holds its shape longer. This isn’t just another berry trifle you find online; it’s the best version you’ll ever try.
Honestly, this dessert isn’t just good—it’s the kind of sweet that makes you close your eyes after the first bite and savor every mouthful. It’s comfort food reimagined: fresh, light, but with the same soul-soothing satisfaction you crave after a long day. If you want to impress guests without sweating over complicated steps, this recipe is your new best friend.
What Ingredients You Will Need
This recipe uses simple, wholesome ingredients that deliver bold flavor and satisfying texture without the fuss. Most are pantry staples or fresh produce you can grab at any grocery store.
- For the Cake Layer:
- 1 pound (450g) store-bought pound cake or angel food cake, cut into 1-inch cubes (I prefer Sara Lee pound cake for its moist texture)
- For the Berry Layer:
- 2 cups (300g) fresh strawberries, hulled and sliced
- 1 cup (150g) fresh blueberries
- 1 cup (150g) fresh raspberries
- 2 tablespoons granulated sugar (optional, for macerating berries)
- For the Cream Layer:
- 2 cups (480ml) heavy whipping cream, chilled
- 1/3 cup (40g) powdered sugar
- 1 teaspoon vanilla extract (use pure vanilla for best flavor)
- 1 tablespoon cream cheese, softened (this secret touch helps stabilize the whipped cream)
- Optional Garnishes:
- Fresh mint leaves
- Grated dark chocolate or chocolate curls
- Additional berries for topping
If you want to switch it up seasonally, in summer, swap in fresh peaches or nectarines for part of the berries. For a dairy-free version, try coconut cream instead of heavy cream, though the texture will be a bit different. The key is fresh, ripe berries to keep the flavor bright and lively.
Equipment Needed
- Large mixing bowl for whipping cream
- Electric hand mixer or stand mixer (a whisk works but takes longer)
- Trifle bowl or clear glass bowl (for pretty layers; a large glass jar works too!)
- Measuring cups and spoons
- Rubber spatula for folding and layering
- Sharp knife and cutting board for prepping berries and cake
If you don’t have a trifle bowl, no worries—you can use any clear glass container to showcase those beautiful layers. I’ve even used large mason jars for individual servings when entertaining. When it comes to whipping cream, an electric mixer is a huge time-saver. I remember the first time I tried hand-whisking—it took forever, and I ended up with tired arms and a somewhat uneven texture!
Budget-wise, you can find affordable mixers online or in stores, and they make desserts like this way less of a hassle. Just a heads up: keep your cream chilled, and chill your bowl too if you can—that little trick helps everything whip up fluffy and fast.
Preparation Method

- Macerate the berries (10 minutes): In a medium bowl, combine strawberries, blueberries, raspberries, and granulated sugar. Toss gently and let sit at room temperature for about 10 minutes to release their natural juices. This step adds a lovely, slightly syrupy layer to your trifle.
- Whip the cream (5-7 minutes): In a chilled mixing bowl, beat the heavy cream, powdered sugar, vanilla extract, and softened cream cheese on medium-high speed until soft peaks form. The cream cheese adds a subtle tang and helps the whipped cream hold its shape longer—trust me, it makes a difference!
- Prepare the cake layer: Cut the pound cake into 1-inch cubes. If your cake is a bit stale, no worries—this dessert is forgiving, and the cream and berries will soften it perfectly.
- Assemble the trifle (10 minutes): In your trifle bowl, start with a layer of cake cubes spread evenly on the bottom. Next, spoon a generous layer of macerated berries over the cake. Then, gently spread a thick layer of whipped cream on top. Repeat these layers until you reach the top of the bowl, finishing with a final layer of whipped cream.
- Garnish and chill: Decorate the top with fresh berries, mint leaves, and a sprinkle of grated dark chocolate if you like. Cover with plastic wrap and refrigerate for at least 2 hours (overnight is even better) to let all the flavors marry and the layers set beautifully.
Pro tip: If you notice your whipped cream starts to deflate as you spread it, give it a quick whisk to bring it back to life. Also, don’t skip the chilling step—this dessert tastes best when the layers have mingled and the cake has softened just right.
Cooking Tips & Techniques
When it comes to making this Easy Layered Berry Trifle Delight, a few tricks can really make your dessert shine. First off, always use chilled heavy cream and a cold bowl for whipping. It’s a classic tip but honestly, it works wonders for getting that fluffy, stable cream that holds up between layers.
One common mistake I’ve seen (including my early attempts!) is over-whipping the cream into butter. Keep a close eye, and stop as soon as soft peaks form—that’s when the cream holds shape but is still smooth and spreadable.
Another tip: macerating the berries with a touch of sugar isn’t just for sweetness. It draws out natural juices that soak into the cake for a juicy, flavorful experience. You know, sometimes I skip it if the berries are super sweet, but usually, it adds a lovely syrupy touch.
When layering, be gentle—especially with the berries. You want the colors to stay vibrant and the textures distinct, not mashed into a berry mush. Using a rubber spatula to spread whipped cream helps keep those clean layers.
Timing-wise, this dessert is perfect for making a few hours ahead or even the day before. It gives the flavors time to meld and makes entertaining way less stressful. If you’re short on time, even a quick 30-minute chill helps, but longer is definitely better.
Variations & Adaptations
This trifle is a flexible canvas, ready for your personal spin. Here are some ideas I’ve tried or recommend:
- Dietary Swap: Use gluten-free pound cake or sponge cake for a gluten-free version. Almond flour cakes also work well for a nutty twist.
- Seasonal Flavors: In fall, swap berries for spiced poached pears or apple compote with a sprinkle of cinnamon. It’s cozy and just as delightful.
- Flavor Boost: Add a splash of liqueur like Grand Marnier or Amaretto to the berries for an adult-friendly version. Just a tablespoon mixed in brings a lovely depth.
- Alternative Cream: For a lighter option, try mixing Greek yogurt with whipped cream or use coconut cream for a dairy-free treat. I tested the coconut cream variation with friends and it was a big hit, especially for those avoiding dairy.
Personally, I once swapped the cake for crumbled ladyfingers soaked in berry juice for a tiramisu-inspired twist. It was a fun change and got rave reviews at a summer potluck!
Serving & Storage Suggestions
This trifle is best served chilled straight from the refrigerator. The creamy layers and fresh berries taste brightest when cool, making it a refreshing dessert on warm days. For presentation, I love adding a few whole berries and a sprig of mint on top just before serving—it makes it look restaurant-worthy without much effort.
Pair it with a cup of coffee, a glass of sparkling wine, or even a light herbal tea to round out the experience. The trifle’s freshness balances nicely with beverages that have a crisp or slightly bitter edge.
Leftovers store wonderfully in the fridge, covered tightly with plastic wrap or a lid, for up to 3 days. The flavors continue to meld, and honestly, I sometimes find it tastes even better the next day. Just give it a gentle stir before serving again.
If you want to freeze it, I’d recommend freezing individual portions without the whipped cream topping, then thawing overnight in the fridge. Re-whip fresh cream for garnish after thawing to keep that lovely texture.
Nutritional Information & Benefits
Per serving (about 1 cup), this Easy Layered Berry Trifle Delight offers approximately 250 calories, 15 grams of fat, 25 grams of carbohydrates, and 3 grams of protein. The fresh berries bring a boost of antioxidants, vitamin C, and fiber, making this dessert a bit more wholesome than your average sweet treat.
Using real cream provides healthy fats that are satisfying and keep you feeling full longer. If you swap in Greek yogurt for some of the cream, you add protein and probiotics, which is a nice bonus.
Gluten-free versions can be made easily, and the recipe is naturally free of nuts unless you add certain cakes or toppings. For those watching sugar, consider using a sugar substitute in the berries and cream.
From a personal wellness perspective, I love that this dessert strikes a balance between indulgence and fresh, natural ingredients. It feels like a treat without being over-the-top heavy or artificial.
Conclusion
All in all, this Easy Layered Berry Trifle Delight is a dessert worth making again and again. It’s quick, straightforward, and endlessly adaptable to fit your mood and pantry. Whether you keep it classic or add your twist, it’s sure to bring smiles and satisfied sighs around the table.
I love this recipe because it combines the best of fresh berries, creamy textures, and soft cake in a way that feels both nostalgic and fresh. It’s the kind of dessert that reminds me of family gatherings and warm summer afternoons.
Give it a try, customize it to your taste, and don’t be shy about sharing your own version—I’d love to hear what you come up with! Drop a comment below, share this recipe with friends, or save it for your next special occasion. Trust me, this trifle is going to be a new favorite in your dessert rotation.
Happy layering and happy eating!
FAQs
Can I make this trifle ahead of time?
Yes! It actually tastes better after chilling for a few hours or overnight, as the flavors meld and the cake softens beautifully.
What can I use instead of pound cake?
Angel food cake, sponge cake, ladyfingers, or gluten-free cakes all work well. Just cut them into similar-sized cubes for even layering.
How do I stabilize whipped cream so it doesn’t deflate?
Adding a tablespoon of softened cream cheese or using a bit of powdered sugar helps. Also, chill your bowl and beaters before whipping.
Can I freeze the trifle?
It’s best to freeze individual portions without the whipped cream topping. Thaw overnight in the fridge and add fresh whipped cream before serving.
What if I don’t like berries?
You can substitute with other fruits like peaches, mangoes, or even pineapple for a tropical twist. Just adjust the sugar based on the fruit’s sweetness.
Pin This Recipe!
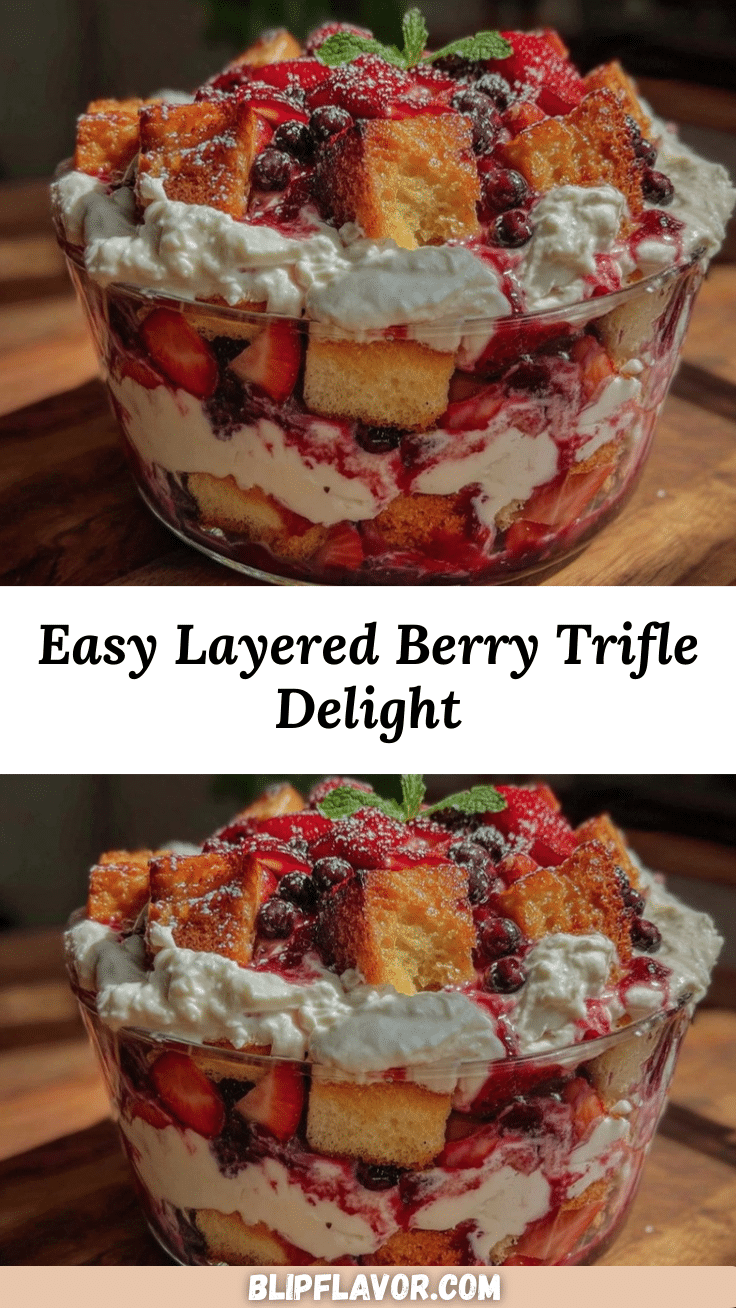
Easy Layered Berry Trifle Delight

A quick and easy layered dessert featuring fresh berries, whipped cream, and moist cake cubes, perfect for any occasion and crowd-pleasing.
- Prep Time: 15 minutes
- Cook Time: 0 minutes
- Total Time: 2 hours 15 minutes
- Yield: 8 servings 1x
- Category: Dessert
- Cuisine: American
Ingredients
- 1 pound (450g) store-bought pound cake or angel food cake, cut into 1-inch cubes
- 2 cups (300g) fresh strawberries, hulled and sliced
- 1 cup (150g) fresh blueberries
- 1 cup (150g) fresh raspberries
- 2 tablespoons granulated sugar (optional, for macerating berries)
- 2 cups (480ml) heavy whipping cream, chilled
- 1/3 cup (40g) powdered sugar
- 1 teaspoon vanilla extract
- 1 tablespoon cream cheese, softened
- Optional garnishes: fresh mint leaves, grated dark chocolate or chocolate curls, additional berries for topping
Instructions
- Macerate the berries: In a medium bowl, combine strawberries, blueberries, raspberries, and granulated sugar. Toss gently and let sit at room temperature for about 10 minutes to release their natural juices.
- Whip the cream: In a chilled mixing bowl, beat the heavy cream, powdered sugar, vanilla extract, and softened cream cheese on medium-high speed until soft peaks form.
- Prepare the cake layer: Cut the pound cake into 1-inch cubes.
- Assemble the trifle: In your trifle bowl, start with a layer of cake cubes spread evenly on the bottom. Next, spoon a generous layer of macerated berries over the cake. Then, gently spread a thick layer of whipped cream on top. Repeat these layers until you reach the top of the bowl, finishing with a final layer of whipped cream.
- Garnish and chill: Decorate the top with fresh berries, mint leaves, and a sprinkle of grated dark chocolate if desired. Cover with plastic wrap and refrigerate for at least 2 hours (overnight is better) to let flavors meld and layers set.
Notes
Keep the heavy cream and mixing bowl chilled for best whipping results. Avoid over-whipping cream to prevent turning it into butter. Macerate berries to release natural juices and add syrupy flavor. Chill the assembled trifle for at least 2 hours or overnight for best flavor and texture. For dairy-free version, substitute coconut cream for heavy cream. Gluten-free cakes can be used for gluten-free adaptation.
Nutrition
- Serving Size: About 1 cup
- Calories: 250
- Sugar: 18
- Sodium: 150
- Fat: 15
- Saturated Fat: 9
- Carbohydrates: 25
- Fiber: 3
- Protein: 3
Keywords: berry trifle, layered dessert, easy dessert, whipped cream dessert, pound cake dessert, summer dessert, quick dessert


