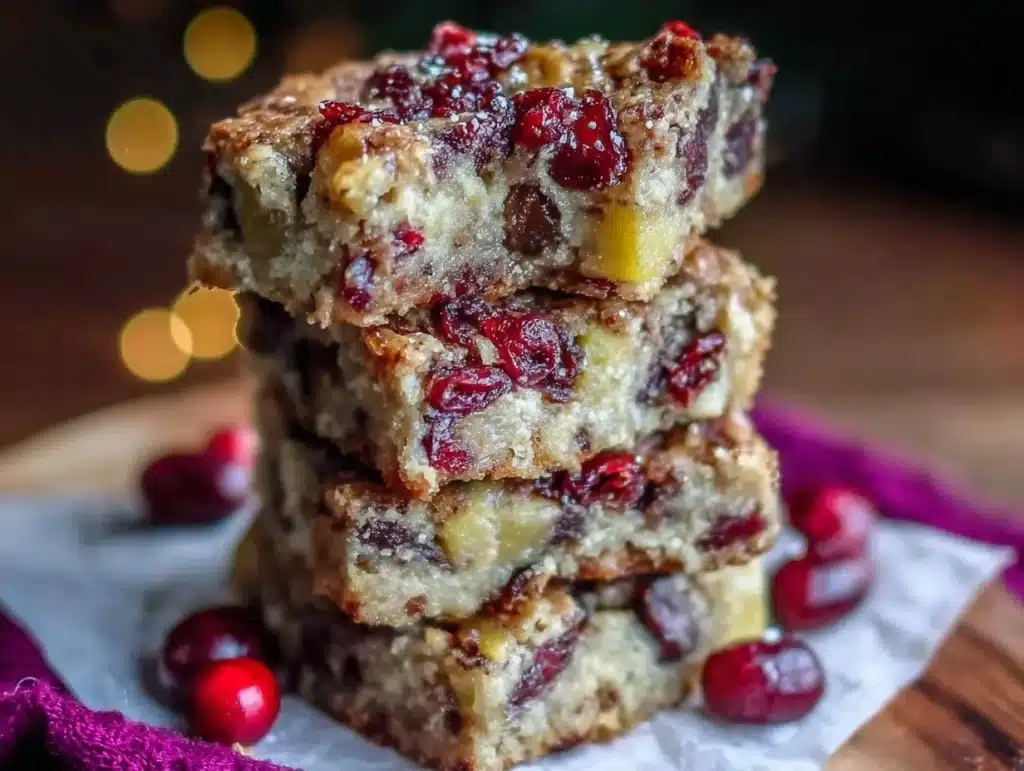
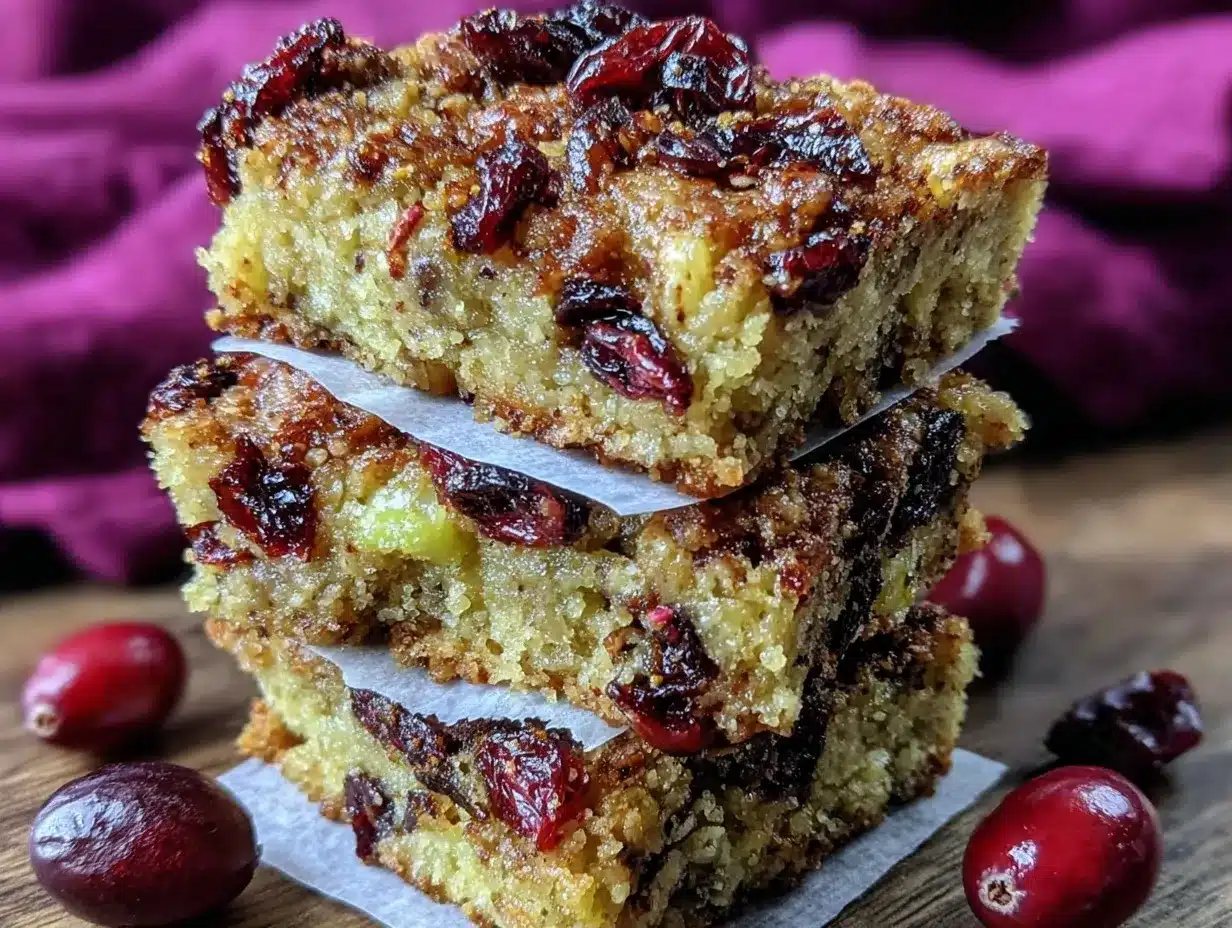
Imagine waking up to the smell of toasted oats, a hint of cinnamon, and the subtle sweetness of honey filling your kitchen. That’s exactly what greeted me the first time I made these Healthy Homemade Breakfast Bars. It was a chilly Saturday morning, and I wanted something hearty yet wholesome to fuel my day. I took one bite of these soft, chewy bars, packed with nuts, seeds, and dried fruit, and I knew I’d struck gold. They were the perfect mix of sweet and nutty, with just the right amount of crunch.
This recipe has become a staple in my household. Whether it’s my kids grabbing a bar on their way out to school or my partner sneaking one before an evening workout, these breakfast bars are always a hit. And let’s be honest—who doesn’t love a snack that’s healthy, satisfying, and ridiculously easy to make? These bars are great for meal prep Sundays and have saved me more times than I can count when mornings get hectic. You’re going to want to make a double batch because trust me, they disappear fast!
Why You’ll Love This Recipe
- Quick & Easy: These breakfast bars come together in under 30 minutes. Perfect for those busy mornings when you need a grab-and-go option.
- Made with Simple Ingredients: You don’t need fancy or hard-to-find items—most of these ingredients are pantry staples.
- Customizable: Whether you’re a chocolate lover or a fan of tart dried fruits, this recipe is incredibly adaptable to suit your taste.
- Healthy and Nourishing: Packed with fiber, protein, and healthy fats to keep you satisfied and energized all morning.
- Kid-Friendly: Even picky eaters can’t resist these delicious bars—they’re perfect for lunchboxes or after-school snacks.
- Perfect for Meal Prep: Make a batch on Sunday, and you’ll have breakfast ready for the entire week.
What sets these breakfast bars apart is their balance of taste and healthy goodness. No overly sweet, processed flavor here—just simple, wholesome ingredients that deliver big on taste and texture. Plus, there’s something so satisfying about making your own breakfast bars at home. You get to control the ingredients, avoid unnecessary additives, and enjoy a treat that feels like it’s made just for you.
What Ingredients You Will Need
This recipe uses simple, wholesome ingredients to deliver bold flavor and satisfying texture without the fuss. You likely have most of these in your pantry already!
- Rolled oats: The base of the bars, providing fiber and a hearty texture. Use gluten-free oats if needed.
- Natural peanut butter: Creamy and rich, it helps bind the bars together and adds protein.
- Honey: A natural sweetener that balances the flavors and helps hold the mixture together.
- Chia seeds: Packed with omega-3s, fiber, and antioxidants, these tiny seeds add a nutritional punch.
- Ground cinnamon: Adds warmth and depth to the flavor profile.
- Vanilla extract: Enhances the sweetness and rounds out the flavors.
- Dried fruits: Choose your favorites like cranberries, raisins, or chopped apricots for bursts of natural sweetness.
- Nuts: Walnuts, almonds, or pecans add crunch and healthy fats.
- Dark chocolate chips (optional): For a little indulgence, choose a brand with minimal added sugar.
If you’re missing an ingredient, don’t worry! You can easily swap out the peanut butter for almond butter, or use maple syrup instead of honey for a vegan-friendly option. Get creative with your mix-ins—add shredded coconut, seeds, or even a sprinkle of sea salt for a gourmet touch.
Equipment Needed
- Mixing bowls: One large for the dry ingredients and a smaller one for the wet ingredients.
- Spatula or wooden spoon: For stirring and combining the ingredients.
- 8×8-inch square baking pan: Perfect for achieving the ideal thickness.
- Parchment paper: Makes it easy to remove the bars from the pan.
- Measuring cups and spoons: Accuracy is key for the right consistency.
- Knife: To cut the bars into equal portions once they’ve set.
If you don’t have an 8×8-inch pan, you can use a similar-sized dish or even a loaf pan—just adjust your baking time slightly. Pro tip: Invest in a good quality non-stick pan to make cleaning up a breeze!
Preparation Method
- Preheat your oven to 350°F (175°C). Line an 8×8-inch baking pan with parchment paper, leaving some overhang for easy removal.
- In a large mixing bowl, combine 2 cups (200g) of rolled oats, 1/2 cup (50g) of chopped nuts, and 1/4 cup (30g) of chia seeds. Stir to mix evenly.
- In a separate bowl, whisk together 1/2 cup (120g) of natural peanut butter, 1/4 cup (60ml) of honey, 1 tsp of vanilla extract, and 1 tsp of ground cinnamon until smooth and creamy.
- Pour the wet mixture into the dry ingredients. Mix thoroughly until everything is well-incorporated. The mixture should stick together easily—if it’s too dry, add a tablespoon of honey or peanut butter.
- Fold in 1/2 cup (75g) of dried fruit and 1/4 cup (30g) of dark chocolate chips, if using. Make sure they’re evenly distributed.
- Transfer the mixture into the prepared baking pan, pressing it down firmly and evenly. Use the back of a spoon to smooth it out.
- Bake for 15-20 minutes or until the edges are lightly golden. The bars will still feel soft but will firm up as they cool.
- Allow the pan to cool for at least 30 minutes before lifting the parchment paper out and slicing the bars into squares or rectangles.
These bars are best stored in an airtight container, but don’t be surprised if they’re gone before you even have the chance!
Cooking Tips & Techniques
Making these Healthy Homemade Breakfast Bars is pretty straightforward, but here are a few tips to ensure success:
- Don’t skip the parchment paper: It makes lifting the bars out of the pan so much easier and prevents sticking.
- Pack it tight: Pressing the mixture firmly into the pan ensures the bars hold their shape after baking.
- Let them cool completely: Resist the urge to cut into the bars too soon. Giving them time to cool ensures they’re firm and won’t crumble.
- Check the edges: The bars are ready when the edges start to turn golden. Don’t overbake them—they’ll lose their chewy texture.
- Experiment with mix-ins: From shredded coconut to sunflower seeds, you can make these bars uniquely yours.
One thing I learned the hard way is that adding too many mix-ins can make the bars fall apart—so stick to the measurements for the best results!
Variations & Adaptations
One of the best things about these breakfast bars is how versatile they are. Here are some ideas to make them your own:
- Low-carb option: Replace rolled oats with almond flour or coconut flakes for a keto-friendly version.
- Seasonal twist: Add pumpkin puree and a pinch of nutmeg during the fall for a cozy, autumn-inspired flavor.
- Nut-free alternative: Swap peanut butter for seed butter and use sunflower seeds instead of nuts for a school-safe option.
- Protein-packed version: Add a scoop of your favorite protein powder to the mix for an extra boost.
- Fruity variation: Mix in freeze-dried strawberries or blueberries for a burst of color and flavor.
Serving & Storage Suggestions
These Healthy Homemade Breakfast Bars are versatile and convenient. Here’s how to enjoy and store them:
- Serving: Serve them at room temperature or slightly warmed for a soft, gooey texture. Pair them with a hot cup of coffee or tea for a cozy breakfast.
- Presentation: Arrange the bars on a rustic wooden tray or parchment paper for a picture-perfect display—great for brunch or gatherings.
- Storage: Store in an airtight container at room temperature for up to a week or in the fridge for up to two weeks. For longer storage, freeze them in a zip-top bag for up to three months.
- Reheating: To reheat, pop a bar in the microwave for 10-15 seconds or let it thaw at room temperature for about 20 minutes.
- Flavor development: These bars taste even better after a day or two as the flavors meld together beautifully.
Nutritional Information & Benefits
Here’s what you can expect from these Healthy Homemade Breakfast Bars:
- Calories: Approximately 200 per bar (depending on mix-ins).
- Protein: Packed with protein from peanut butter and nuts, making them a great energy booster.
- Fiber: Rolled oats and chia seeds ensure you stay full and satisfied for longer.
- Healthy fats: Nuts and seeds provide essential fatty acids that support heart health.
- Allergen note: Contains nuts and honey—swap as needed for dietary needs.
These bars are perfect for gluten-free diets (when using certified gluten-free oats) and can be adapted for vegan lifestyles by swapping honey with maple syrup.
Conclusion
If you’ve been searching for the perfect healthy snack or breakfast option, look no further. These Healthy Homemade Breakfast Bars are quick to make, endlessly customizable, and taste like a little slice of comfort food heaven. Whether you’re meal prepping for the week or need a wholesome snack to keep you going, these bars fit the bill perfectly.
Personally, I love these breakfast bars because they remind me of cozy mornings spent in the kitchen, experimenting with ingredients and creating something that feels both nourishing and indulgent. So, grab your mixing bowl and give them a try—you won’t be disappointed!
Let me know how you customize your batch of breakfast bars in the comments below. Did you add chocolate chips, swap out the nuts, or go for a seasonal twist? I’d love to hear your ideas!
Don’t forget to share this recipe with your friends and family—it’s too good to keep to yourself. Happy baking!
FAQs
Can I make these breakfast bars vegan?
Absolutely! Simply swap the honey for maple syrup or agave nectar, and use dairy-free chocolate chips if adding chocolate.
Can I freeze these breakfast bars?
Yes! These bars freeze beautifully. Store them in a zip-top bag or airtight container for up to three months. Just let them thaw at room temperature or microwave for a few seconds before eating.
What’s the best way to make these gluten-free?
Use certified gluten-free rolled oats to make the recipe safe for gluten-sensitive diets.
How do I prevent the breakfast bars from crumbling?
Be sure to press the mixture tightly into the pan before baking, and let the bars cool completely before slicing.
Can I use fresh fruit instead of dried fruit?
While dried fruit works best for texture, you can experiment with fresh fruit. Just be cautious, as it may add extra moisture and affect how the bars hold together.
Pin This Recipe!
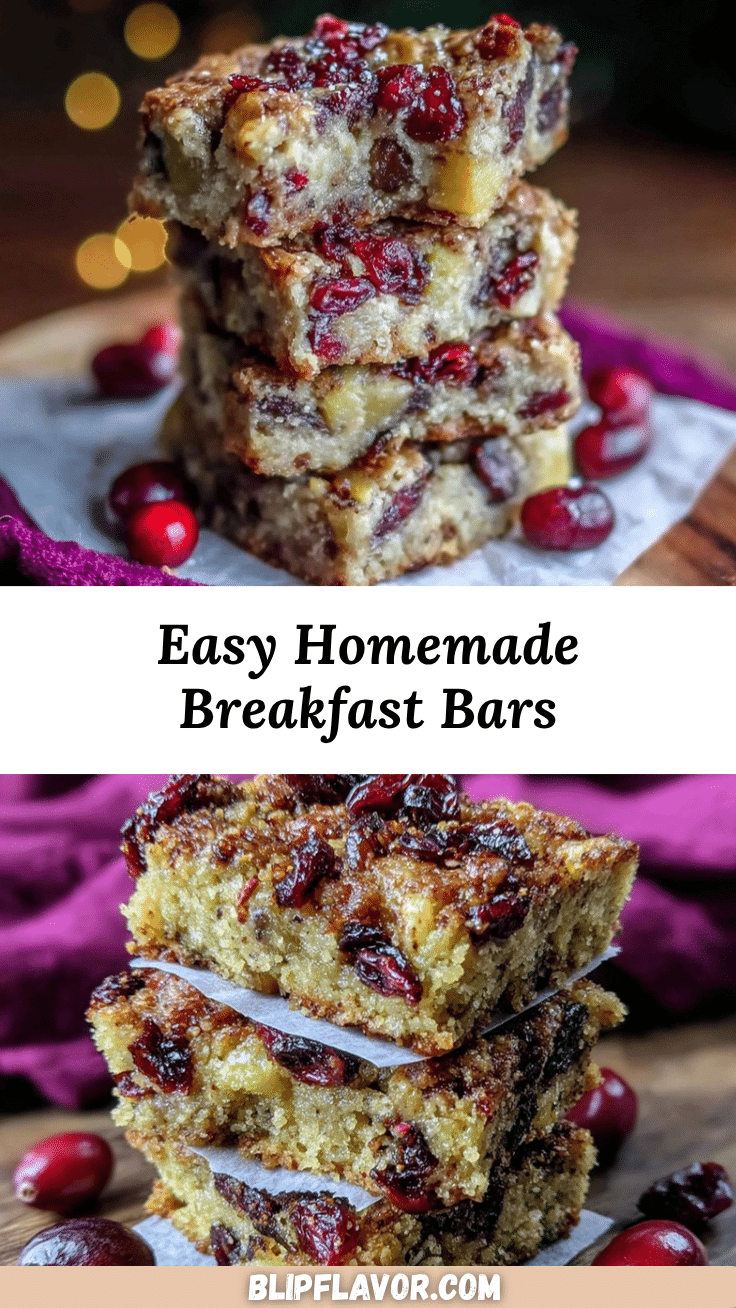
Healthy Homemade Breakfast Bars
These Healthy Homemade Breakfast Bars are quick to make, endlessly customizable, and taste like a little slice of comfort food heaven. Packed with nuts, seeds, and dried fruit, they are a wholesome and satisfying snack or breakfast option.
- Prep Time: 10 minutes
- Cook Time: 20 minutes
- Total Time: 30 minutes
- Yield: 12 bars 1x
- Category: Breakfast
- Cuisine: American
Ingredients
- 2 cups (200g) rolled oats
- 1/2 cup (50g) chopped nuts (walnuts, almonds, or pecans)
- 1/4 cup (30g) chia seeds
- 1/2 cup (120g) natural peanut butter
- 1/4 cup (60ml) honey
- 1 tsp vanilla extract
- 1 tsp ground cinnamon
- 1/2 cup (75g) dried fruits (cranberries, raisins, or chopped apricots)
- 1/4 cup (30g) dark chocolate chips (optional)
Instructions
- Preheat your oven to 350°F (175°C). Line an 8×8-inch baking pan with parchment paper, leaving some overhang for easy removal.
- In a large mixing bowl, combine 2 cups (200g) of rolled oats, 1/2 cup (50g) of chopped nuts, and 1/4 cup (30g) of chia seeds. Stir to mix evenly.
- In a separate bowl, whisk together 1/2 cup (120g) of natural peanut butter, 1/4 cup (60ml) of honey, 1 tsp of vanilla extract, and 1 tsp of ground cinnamon until smooth and creamy.
- Pour the wet mixture into the dry ingredients. Mix thoroughly until everything is well-incorporated. The mixture should stick together easily—if it’s too dry, add a tablespoon of honey or peanut butter.
- Fold in 1/2 cup (75g) of dried fruit and 1/4 cup (30g) of dark chocolate chips, if using. Make sure they’re evenly distributed.
- Transfer the mixture into the prepared baking pan, pressing it down firmly and evenly. Use the back of a spoon to smooth it out.
- Bake for 15-20 minutes or until the edges are lightly golden. The bars will still feel soft but will firm up as they cool.
- Allow the pan to cool for at least 30 minutes before lifting the parchment paper out and slicing the bars into squares or rectangles.
Notes
[‘Don’t skip the parchment paper—it makes lifting the bars out of the pan easier and prevents sticking.’, ‘Press the mixture firmly into the pan to ensure the bars hold their shape after baking.’, ‘Let the bars cool completely before slicing to prevent crumbling.’, ‘Experiment with mix-ins like shredded coconut, sunflower seeds, or a sprinkle of sea salt for a unique twist.’, ‘Avoid adding too many mix-ins to prevent the bars from falling apart.’]
Nutrition
- Serving Size: 1 bar
- Calories: 200
- Sugar: 10
- Sodium: 50
- Fat: 10
- Saturated Fat: 2
- Carbohydrates: 22
- Fiber: 4
- Protein: 6
Keywords: healthy breakfast, homemade bars, breakfast bars, meal prep, healthy snack, gluten-free, kid-friendly


